This straightforward, easy-to-follow method is perfect for anyone who wants to learn how to make a sourdough starter the easiest way possible!
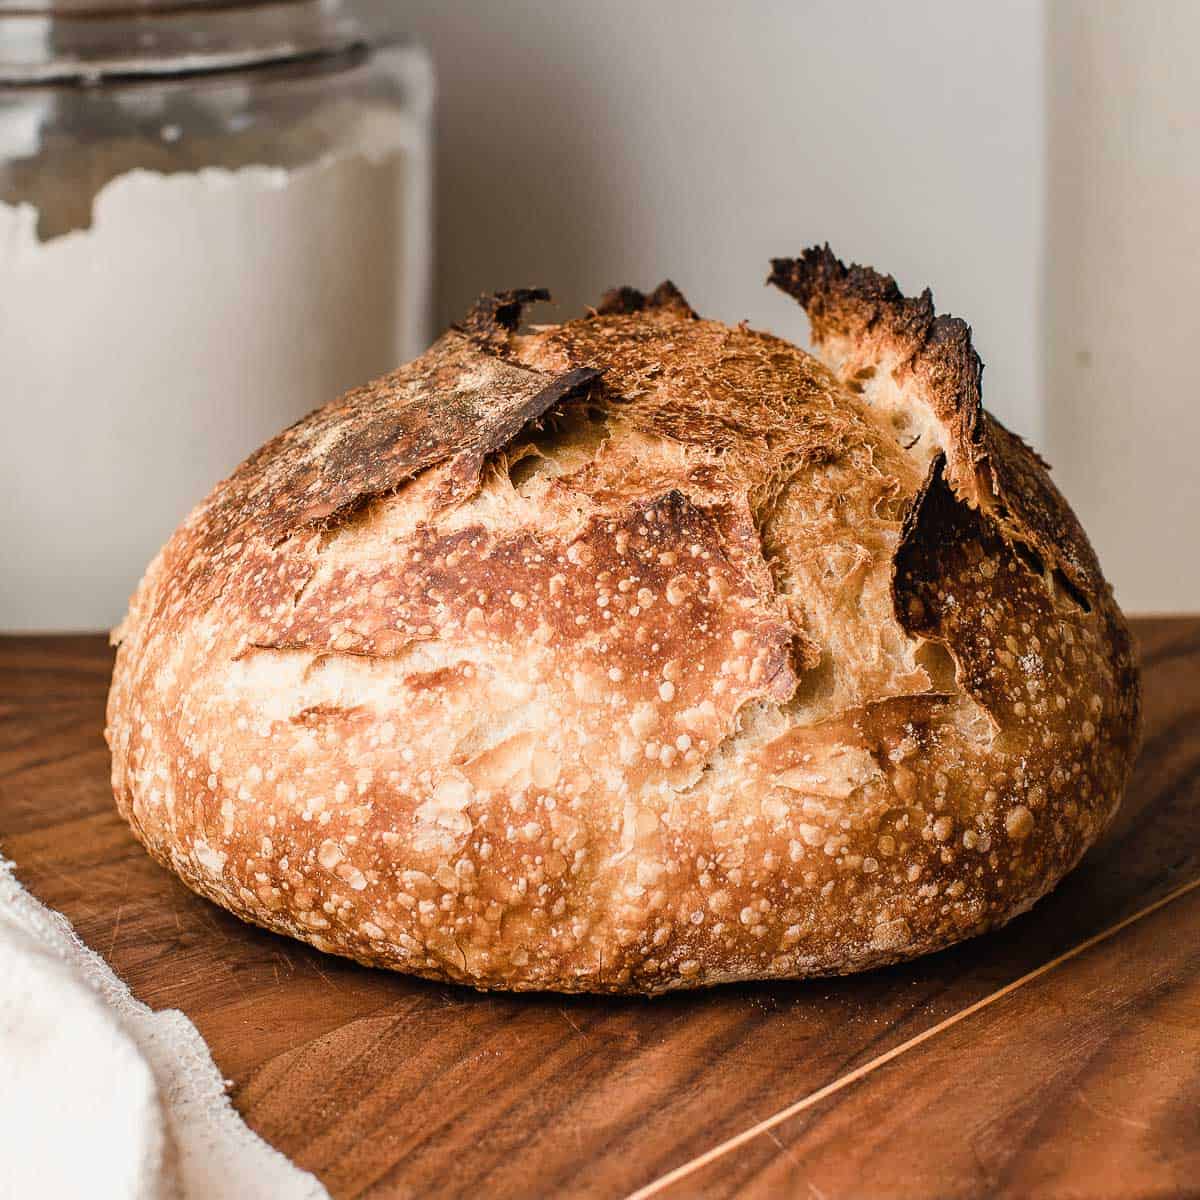
In no time you'll be baking your family the most delicious homemade sourdough bread, sourdough pizza, sourdough bagels and so much more!
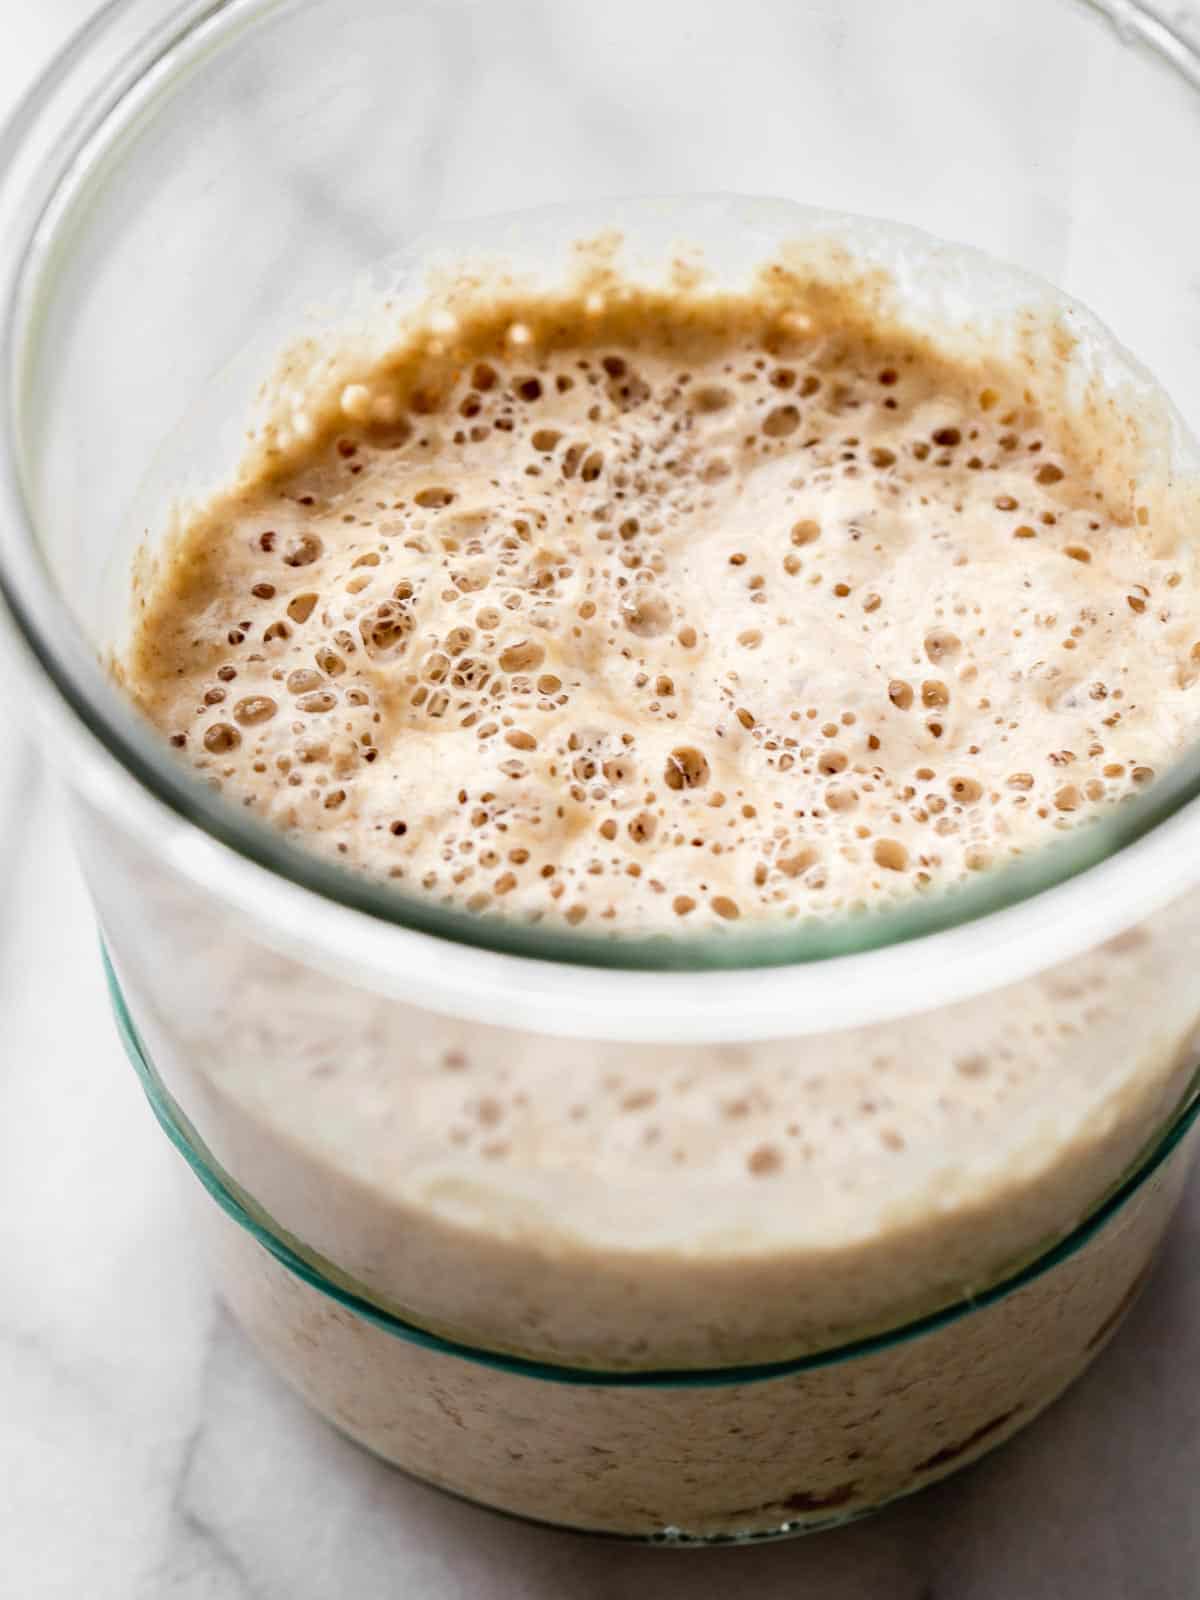
I've been baking sourdough bread with my sourdough starter that I made with this exact recipe for several years now.
I'll never forget the feeling of accomplishment and pride I had the minute I pulled my very first loaf out of the oven!
I soon realized that not only could I bake healthy, delicious bread for my family, but I could also recreate all of our favorite yeast bread recipes into sourdough!
I've since made everything from pancakes, pasta, crackers, and tortillas, to cinnamon rolls and chocolate chip cookies.
Follow this easy tutorial and you'll be on your way to baking a variety of sourdough recipes that your family will love!
Jump to:
What is a sourdough starter?
A sourdough starter is a living culture of wild yeast and lactic acid bacteria that is used to make bread rise. It is created by combining flour and water and allowing it to ferment.
Over time, the natural yeasts and bacteria present in the environment and on the flour begin to feed on the mixture. A portion of active sourdough starter is added to dough in order to make it rise during the baking process.
Sourdough bread has a distinct and complex flavor profile that cannot be beaten. The natural fermentation process in sourdough gives the bread a tangy, slightly sour taste.
The fermentation process in sourdough also helps to make the bread easier to digest for some people that might be sensitive to gluten. (It does not remove gluten from bread.)
How long will it take?
Creating a healthy and vibrant sourdough starter can take anywhere from 7 to 14 days depending on several factors. The temperature of your kitchen is the most important factor to consider.
Starters thrive in a warm environment, ideally around 75°F (24°C). But, you can still create a sourdough starter in a cooler environment.
NOTE: I created my starter in a kitchen that was 68°F (20°C) with no issues. It only required a little more patience as it took about 10 days before I could bake with it.
Trust me, this process is totally worth it. Once you've got it going, a healthy and vibrant sourdough starter will reward you with delicious bread for years to come!
What you’ll need
flour and water
The first step in creating a sourdough starter is to prepare the flour mixture which will be used to feed the starter.
Mix 6 cups of all-purpose flour with 3 cups of whole wheat flour and store it in a container with a tight-fighting lid.
NOTE: A sourdough starter can be created with all-purpose flour alone but the addition of whole wheat flour will give the starter a boost in the fermentation process.
Bottled water, filtered, and most tap water can be used in your starter. To remove the chlorine from tap water by evaporation, fill a bottle with tap water and let it sit uncovered for 24 hours before using.
Tools needed
To make a sourdough starter, you'll need a few essential tools. (affiliate links)
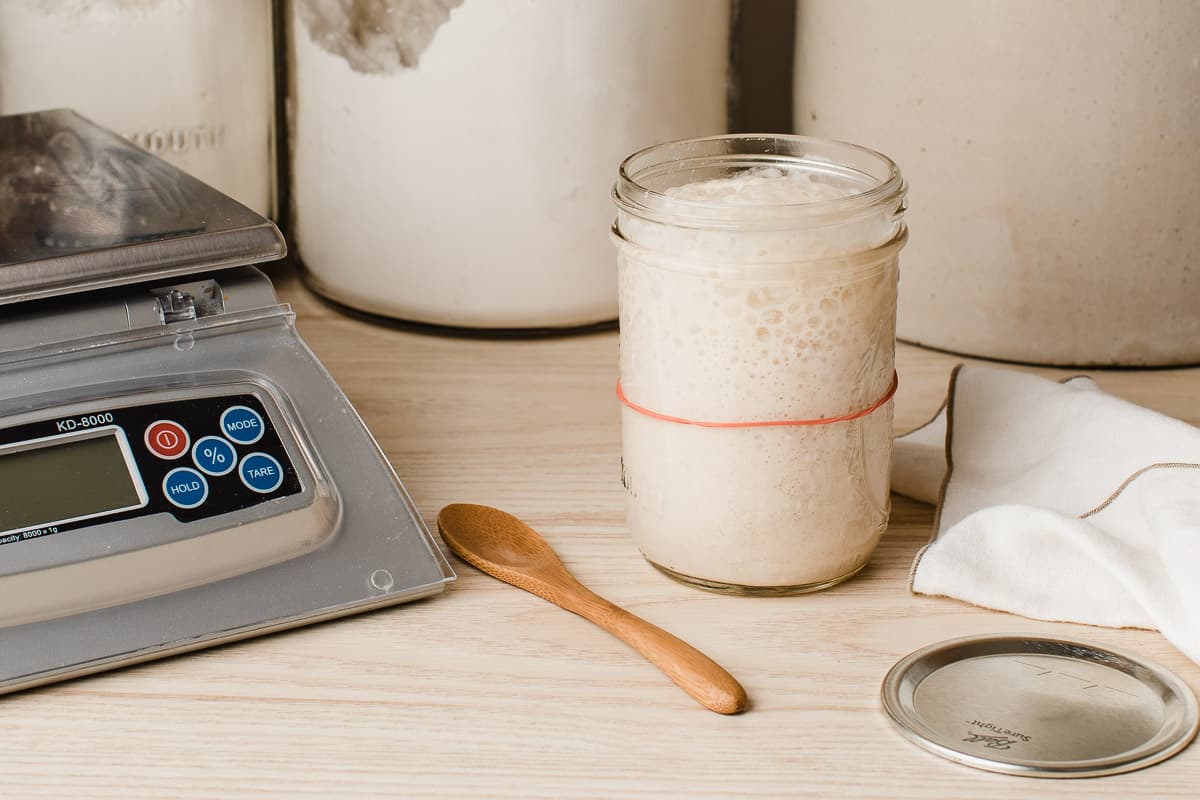
- First and foremost, you'll need a container to hold and cultivate the starter. We recommend either a pint-sized mason jar, a weck jar, or a food-grade plastic container.
- Covering the container with a lid or a breathable cloth, like a cheesecloth or a kitchen towel, allows air circulation while preventing contaminants from entering.
- It's also beneficial to have a rubber band to mark the starting point of the starter at feedings. This will allow you to see how much the starter has risen.
- A kitchen scale is invaluable for accurately measuring the weight of flour and water in precise ratios.
- A spoon or an offset spatula will come in handy for stirring and mixing the ingredients thoroughly.
- A digital thermometer can be helpful to monitor the ambient temperature of the room where you keep your starter.
Step-by-step instructions
You'll feed your starter once a day around the same time. Pick either morning or night depending on what is convenient for your schedule in order to stay consistent.
Day 1: Mix flour and water
Start by mixing 1 cup of the flour mixture with ½ cup of water. (120g flour + 120g water)
Stir the mixture thoroughly until all the flour is fully hydrated and no dry clumps remain.
Loosely cover the container with a lid or a thick breathable cloth, secured with a rubber band. (This allows airflow while keeping out contaminants.)
Place the container in a warm location.
Day 2: Stir
Wait 24 hours, then check on the mixture. Give it a stir to help incorporate a little air.
You should notice some initial bubbling or signs of activity.
Day 3-7: Discard and feed daily until active
Starting on day 3 you will discard most of the starter in the jar and feed it with flour and water.
Once a day around the same time, discard all but 2 tablespoons of the starter from the jar and feed it with ½ cup flour and ¼ cup water. (60g flour + 60g water) Mix thoroughly until well combined.
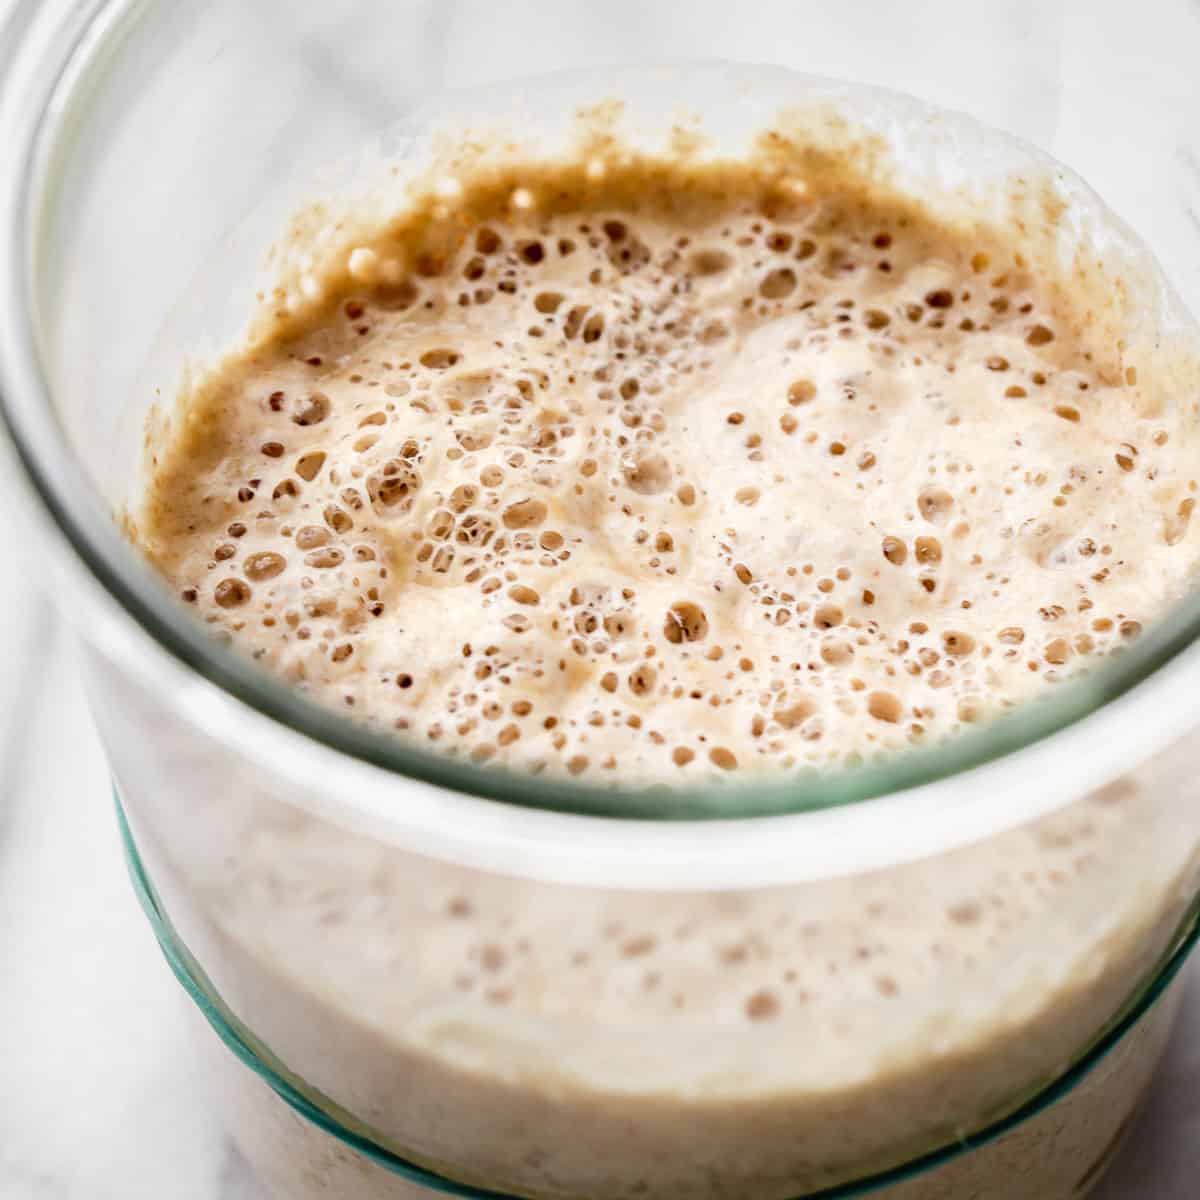
Repeat this daily, discarding and feeding, until your starter becomes active, bubbly, and doubles in size after each feeding. At this point, your sourdough starter is ready to use in recipes.
TIP: If your starter seems sluggish after the 4th day, start adding 2 tablespoons of flour along with 2 teaspoons of water into the jar, 12 hours after you fed it in order to help give it a boost.
How do I know when the sourdough starter is ready?
Knowing when your sourdough starter is ready to use in baking depends on a few factors. Here are some things to look for:
- A strong indication that your starter is ready to bake with is when it consistently rises and doubles after a few consecutive feedings.
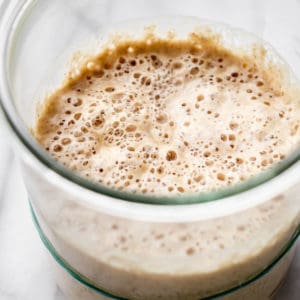
- An active starter will produce small bubbles visible on the surface and on the sides of the container.
- It will have a pleasant, slightly tangy, and mildly fermented aroma.
- The texture and consistency should generally be airy and fluffy.
- The starter passes the "float test". See below.
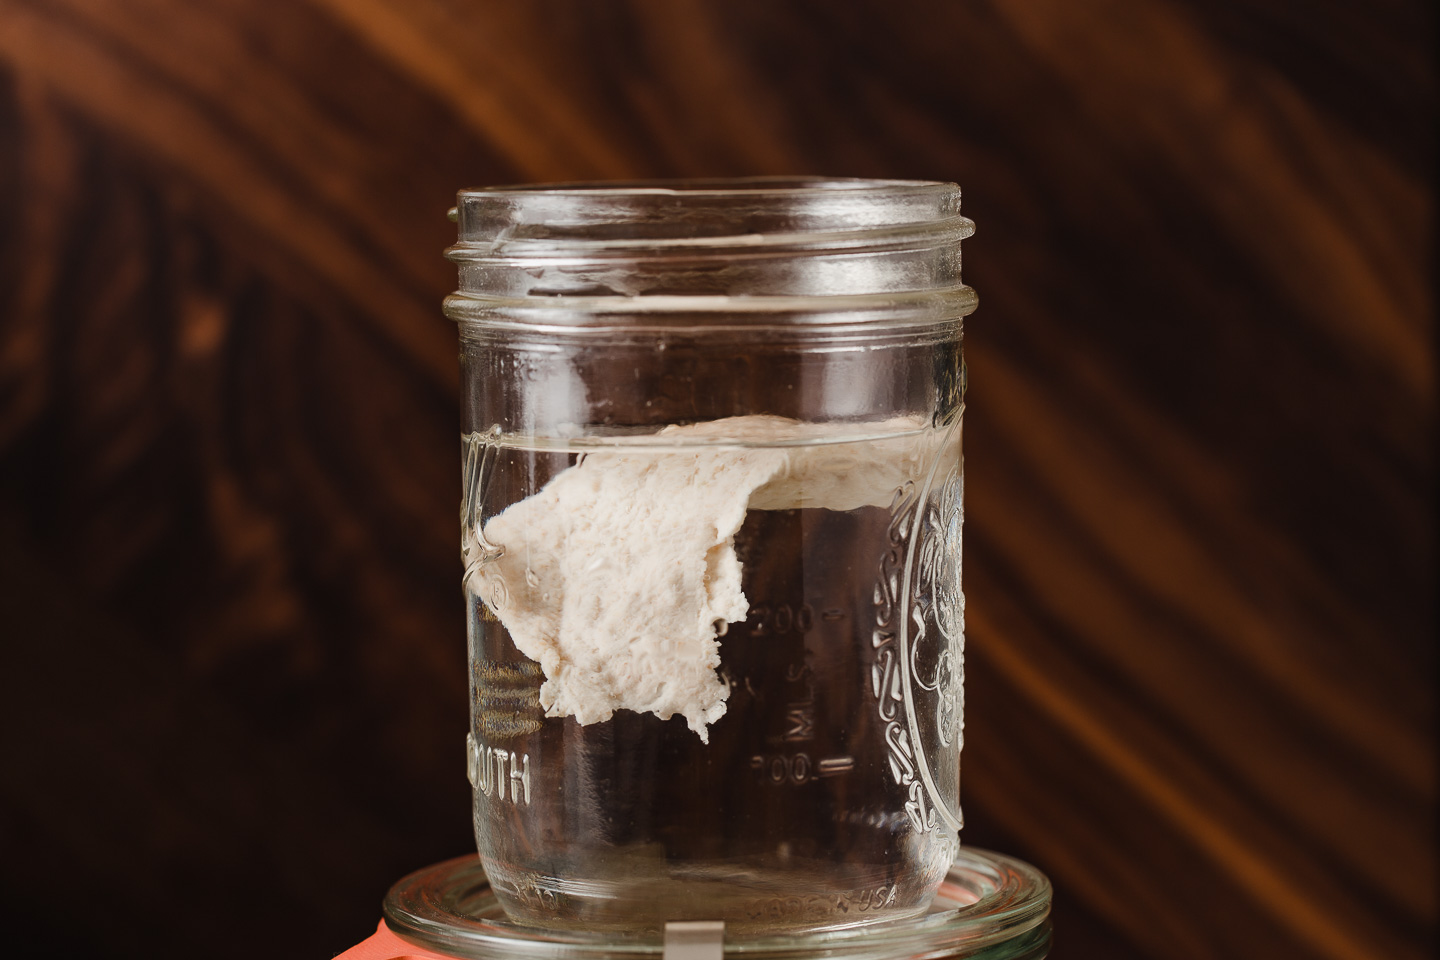
How to perform a float test
Performing a float test is a simple way to check the readiness of your sourdough starter before baking.
To do this, take a small amount of your active starter and drop it into a bowl or glass of water. If the starter floats on the surface, it indicates that there is sufficient gas production from the fermentation, suggesting that it is active and ready to leaven bread.
If it sinks or only partially floats, feed it a few more days and test again.
How to maintain a sourdough starter
I recommend continuing to feed your starter daily for the first two weeks after you've gotten it established. Daily feedings will keep building up the yeast and bacteria and you'll end up with a very robust sourdough starter.
I have written an article that provides guidelines and tips on maintaining a sourdough starter, covering things such as feeding schedules, temperature control and troubleshooting.
You'll find valuable insights and practical advice to help you keep your sourdough starter healthy and vibrant for successful baking every time.
Frequently asked questions
How can I create a warm spot in my kitchen for my sourdough starter?
Creating a warm spot in your kitchen for your sourdough starter can help facilitate fermentation. Here are a few methods you can try:
- Near the oven: Place your sourdough starter near the oven while it's preheating or while you're baking. The residual heat can create a warm environment for the starter.
- Use a proofing box: If you have a proofing box or a proofing setting in your oven, you can use it to create a controlled warm environment. Set the temperature to around 75°F (24°C).
- Use a heating pad: Place a heating pad set to the lowest temperature under the container holding your sourdough starter with a towel in between the two. Make sure to monitor the temperature to prevent it from getting too hot.
- Find a warm spot in your kitchen: Identify the warmest spot in your kitchen, such as near a sunny window, or on top of the refrigerator. These areas often provide a slightly elevated temperature.
What if my kitchen is too warm?
If your kitchen is consistently too warm for your sourdough starter, you can use a few strategies to create a cooler environment for fermentation:
- Find a cooler area in your home, such as a basement or a pantry, where the temperature is more suitable for your sourdough starter.
- When feeding your sourdough starter use cool water from the fridge.
- Consider refrigerating your sourdough starter between feedings. Place it in the refrigerator after feeding, and take it out a few hours before the next feeding to allow it to come back to room temperature. This slows down the fermentation process and helps maintain the vitality of your starter.
- Consider using a proofing box or a temperature-controlled appliance designed specifically for fermentation. These tools allow you to set and maintain the desired temperature for your sourdough starter.
Why do I have to discard or remove the starter when feeding?
While discarding a portion of the starter may seem counterintuitive, it is a necessary step for maintaining a healthy and well-balanced sourdough starter.
Discarding a portion of the starter helps keep the overall quantity manageable. It would require larger amounts of flour and water for feeding, and make maintenance way more challenging.
By discarding a portion of the starter and feeding it fresh flour and water, you help keep the bacteria and yeast balanced.
It also helps maintain a milder flavor profile and prevents the starter from becoming overly sour.
TIP: Collect the discard in a separate container in your fridge when you feed your starter. Once you have enough you can use it to make sourdough pancakes or waffles.
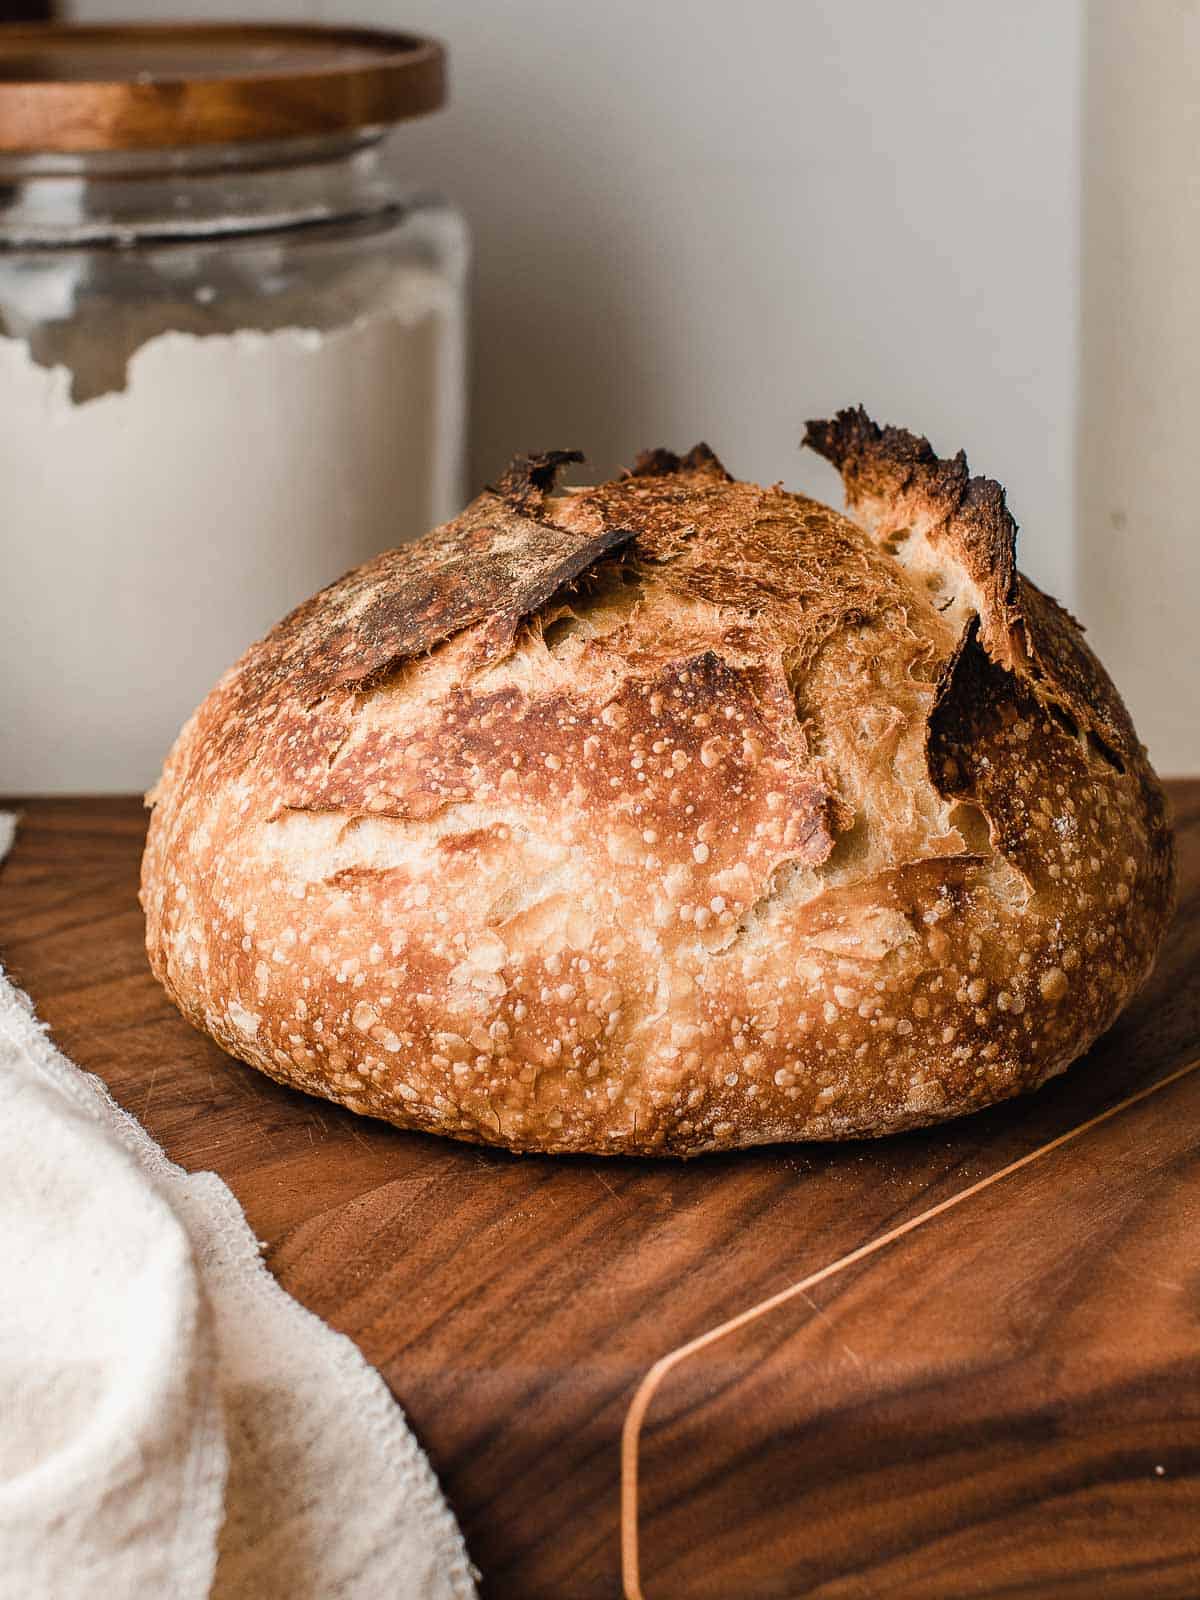
Making a sourdough starter and baking sourdough bread is a rewarding and fulfilling process.
The hands-on process of sourdough baking can be a relaxing and enjoyable experience!
Sourdough baking resources
- How to maintain a sourdough starter
- Signs that your sourdough starter is ready to bake with
- Essential tools for sourdough bread baking
- Sourdough glossary
- Baking conversion chart
Do you like this recipe? Make sure to subscribe to our newsletter and we'll send you fresh recipes, valuable troubleshooting advice, useful tips, and other information we believe will be helpful to you!
Beginner Sourdough Starter Recipe
EQUIPMENT
- Glass jar
- Offset Spatula
- Baker's Scale
INGREDIENTS
- 6 cups (720 g) organic all-purpose flour
- 3 cups (360 g) organic whole wheat flour
- water
INSTRUCTIONS
- Mix 6 cups of all-purpose flour with 3 cups of whole wheat flour and store it in an air-tight container. This is what you will feed your starter with.
- DAY 1: Add 1 cup of flour and ½ cup of water to a clean jar. (120g flour + 120g water) Stir the mixture thoroughly and cover the jar with a lid or breathable cloth, secured with a rubber band. Place the container in a warm location, around between 75°F (24°C) for 24 hours.
- DAY 2: Give the starter a stir to help incorporate a little air. Cover the jar and let it rest for another 24 hours in a warm spot.
- DAYS 3-7: Every 24 hours, discard all but 2 tablespoons of the starter and feed it with ½ cup fresh flour and ¼ cup water. (60g flour + 60g water) Mix thoroughly until well combined. Repeat this daily feeding routine, discarding and feeding, for about 7 to 10 days or until your starter becomes active, bubbly, and doubles in size within 4-12 hours of feeding.
Tip for a sluggish starter
- If your starter seems sluggish after the 4th day, begin stirring in 2 tablespoons of flour along with 2 teaspoons of water into the starter, 12 hours after you fed it. This will help to give it a boost until the next feeding.
What's next?
- I recommend continuing to feed your starter daily for the first two weeks after you've gotten it established in order to keep building up the yeast and bacteria. This will provide you with a very robust and mature sourdough starter.
- I have written an article that provides comprehensive guidelines and tips on maintaining a sourdough starter, covering aspects such as feeding schedules, temperature control, troubleshooting, and flavor development. It offers valuable insights and practical advice to help you keep your sourdough starter healthy and vibrant for successful baking adventures.
Abbey says
The best I have yet made ! Thanks for the recipe, it's amazing and I use it in all my baking.
Abbey
Traci says
Can I just use bread flower?
Amy says
Yes you can use any flour that you prefer.
Terri Flynn says
Hi Amy - I am on day 4 1/2 and this morning it had a layer of water sitting on top. So I added 2 tablespoons flour and 2 teaspoons water and it is still very runny. Is this normal?
Amy says
Yes, it means that the starter is hungry because it's gone through the available food. Just add the extra feeding and you should be good to go!