Cherry Jam
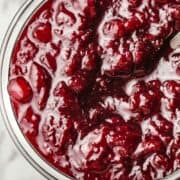
Making a delicious batch of homemade cherry jam is easy! This is a low sugar jam recipe that is also made without packaged pectin. Enjoy it over sourdough toast, in our chocolate cherry jam cookies or stir it into homemade chocolate cherry swirl ice cream for a special treat!
This jam recipe makes 4 half-pint jars and can be stored in the fridge or preserved for jars of cherry jam to enjoy all year long!

Making jam is the first thing that comes to my mind when it's cherry season! There's so many recipes that you can make with fresh cherries, such as cherry pie or cobbler, but at some point, you'll want to preserve them for later.
We've been in the kitchen preserving other fruits such as mango ginger chutney (it's a real Trader Joe's copycat recipe), strawberry jam and now that sweet cherries are overflowing, it's time for a small batch cherry jam session!
Jump to:
Ingredients
You don't need many ingredients when it comes to making this easy cherry jam!
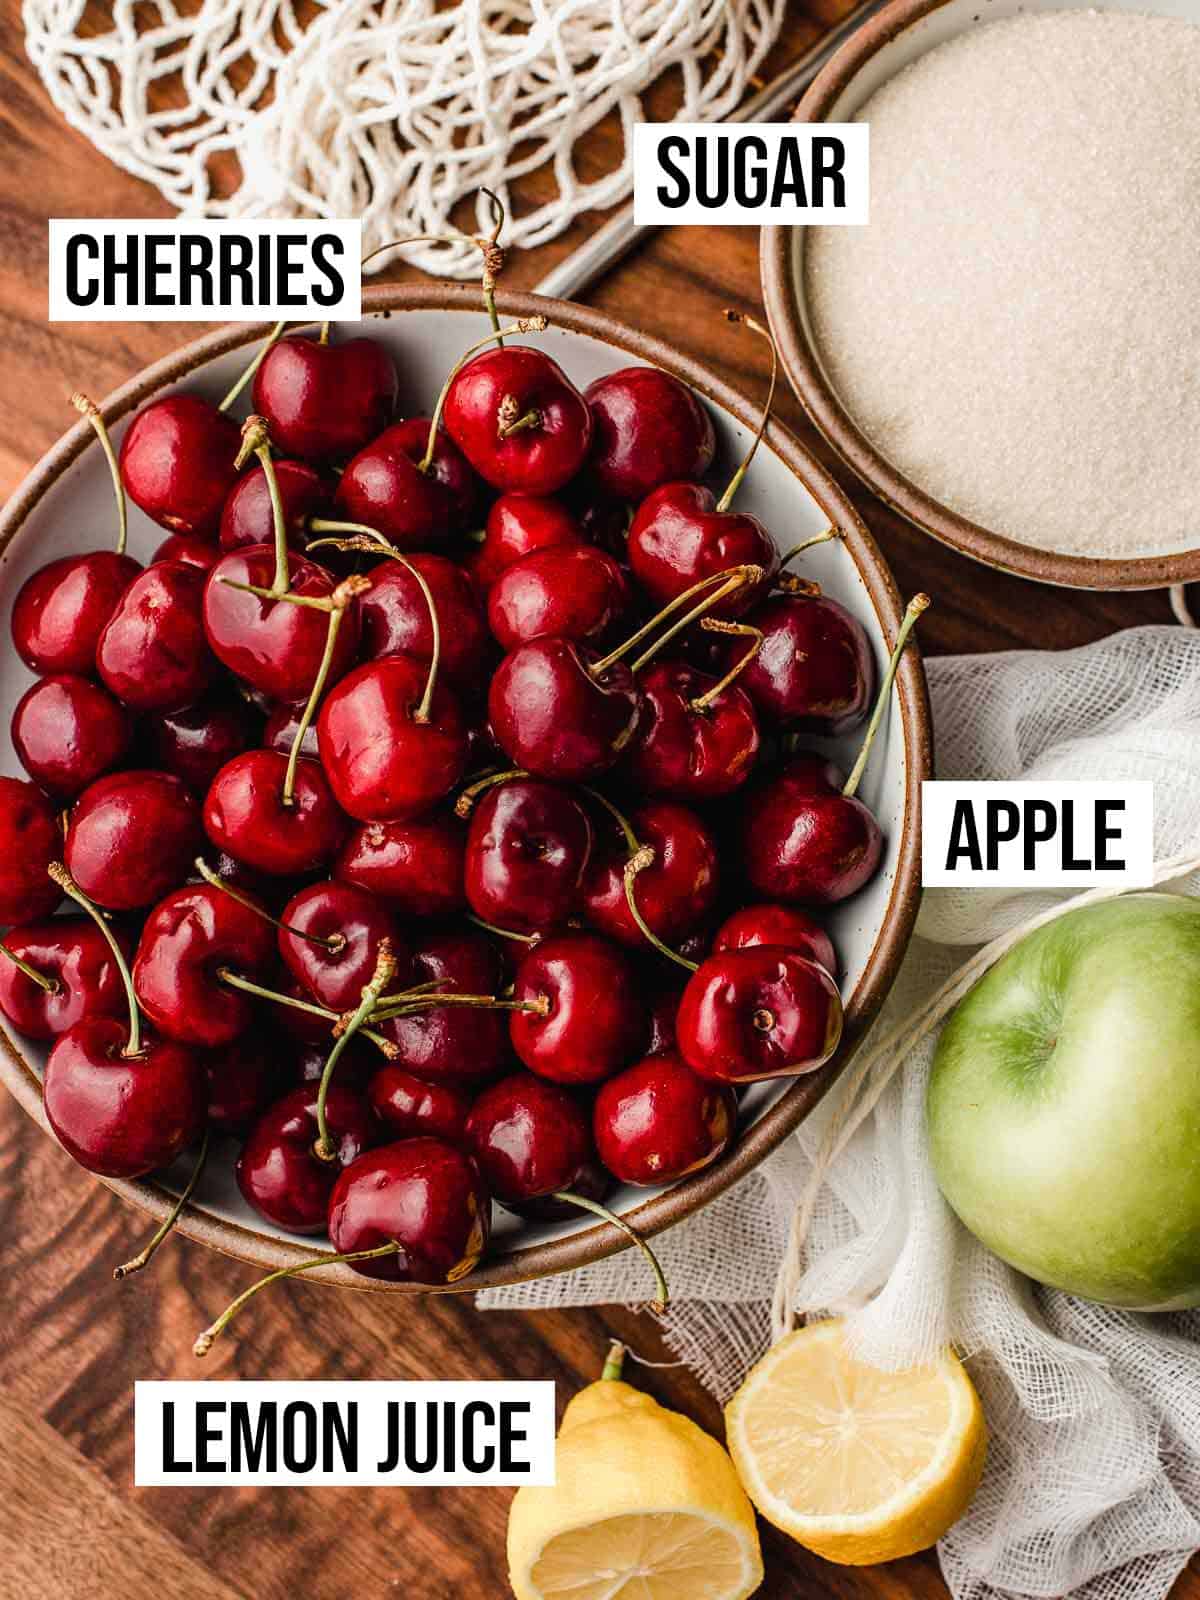
- Cherries: We used sweet cherries in this recipe but feel free to use sour cherries or even a mix of both.
- Sugar: Organic cane sugar is what we recommend. Avoiding GMO foods is very important to us!
- Apple: The skins and core of a granny smith apple will provide the natural pectin needed to help set the jam. (If you have a sensitivity to corn not that most packaged pectins contain dextrose which is derived from corn.)
- Lemon Juice: When preserving jams and jellies, it's best practice to use bottled lemon juice. This is because it will ensure the correct acidity level for safe canning. If you are not canning and plan to store the jam in your fridge, any lemon juice will work.
See recipe card for quantities.
Instructions
Before you begin, place a small glass plate into the freezer. You will use this to check the jam for doneness in step 6.
1. Wash the cherries and remove the stems and pits. 2. Chop the cherries to your desired consistency. An immersion blender can be used right in the pot. 3. Place the skins and core of an apple onto a piece of cheesecloth and tie it into a bundle. 4. Add the bundle, sugar and lemon juice into the pot of chopped cherries and give it a stir.

5. Boil the jam over medium-high to high heat until it thickens, about 20-25 minutes. Make sure to stir constantly to prevent sticking. 6. Place a spoonful of jam onto the plate from the freezer and stick the plate back into the freezer for 2 minutes. Run your finger through the jam. If the line stays separated, the jam is done. If it runs back together, continue boiling the jam for a few more minutes and check again.

How to pit cherries
I find the easiest way to remove the pit from a cherry is by using a stiff drinking straw as seen in the step 1 photo above. To do this, hold the cherry in one hand and push the straw through the top of the cherry (where the stem was removed) to the bottom of the cherry. You may need to twist the straw as you push it through. The pit should come right out.
If you don't have a straw, you can use a small knife to make a cut in the top of the cherry and squeeze out the pit. Please take note that cherries are VERY juicy and using this method can get messy. Place a towel down on your work area to help catch any splashes.
Equipment
Equipment can have a big impact on how a recipe turns out. A jam pan (affiliate link), otherwise known as a Maslin pan, is perfect for making cherry jam and other preserves.
This pan made of non-reactive stainless steel and the handle remains cool to the touch. There are measurements on the inside of the pan for convenience and it is multi-functional as it can be used to make stews and other recipes as well.
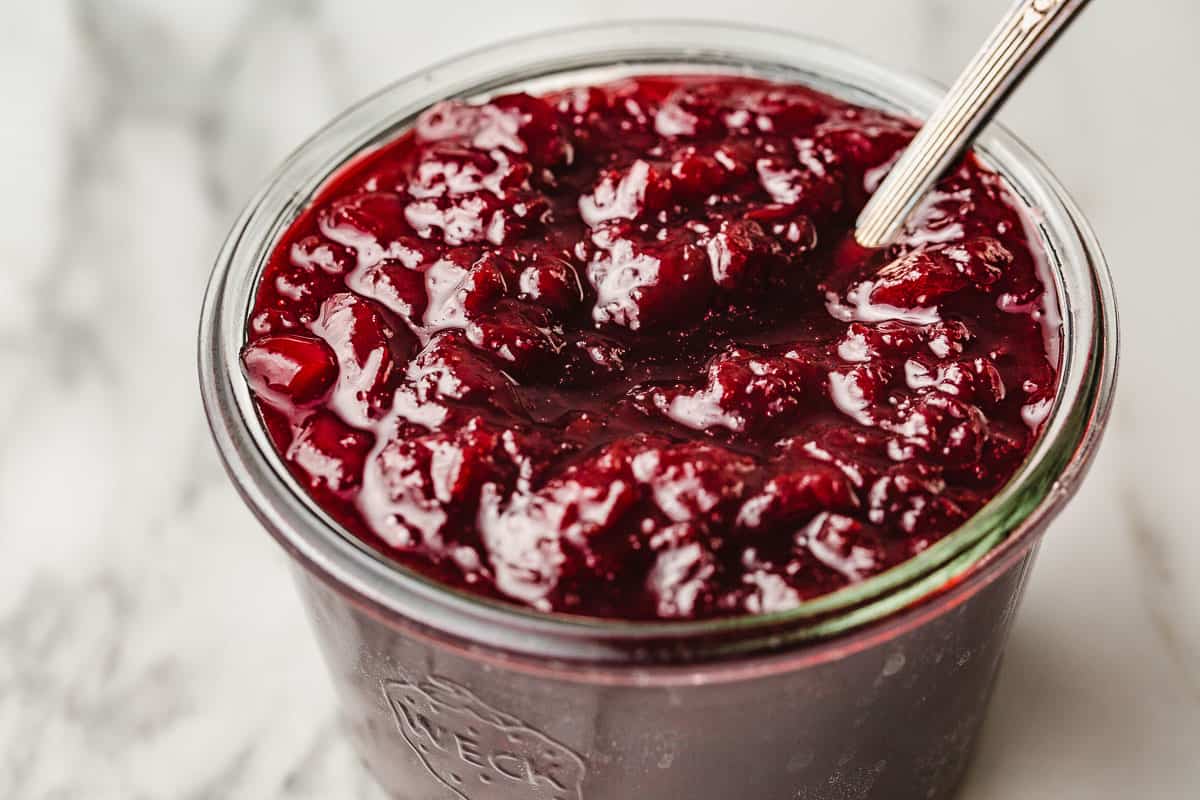
Storage
If you do not plan to preserve the jam, simply ladle it into a container with a lid and keep it in the fridge for up to 4 weeks.
To preserve the jam for up to 18 months, follow these waterbath canning instructions.
- Clean the jars and lids with hot soapy water. Fill a large stockpot with enough water to cover your jars by 1-2 inches. Place a rack on the bottom of the pot. Place on stovetop and turn the burner on medium heat. Place your jars in the pot to keep them hot while you are preparing the jam.
- Pour the hot jam into hot jars, leaving ¼-inch headspace. Wipe rims of jars with a dampened clean paper towel to remove residue, place a lid on the jar and screw a ring on until finger-tight. Process in a boiling water canner according to the following altitudes. 0 - 1,000 ft above sea level = 5 min1,001 - 6,000 ft above sea level = 10 min6,001 - 10,000 ft above sea level = 15 min
- Remove the rings and check the seals. If sealed properly, label the jar and store it in the pantry. If a jar doesn't seal, simply place it in the fridge and use within 4 weeks.

Cherry Jam Recipe
EQUIPMENT
- Jam Pan
- Cheesecloth
INGREDIENTS
- 4 lbs. cherries (8 cups chopped)
- 3 cups granulated sugar
- 2 tablespoons bottled lemon juice
- 1 Granny Smith apple (skins and core)
INSTRUCTIONS
- Prepare Cherries: Remove the stems from the cherries and give them a good rinse. Use a stiff straw to push through each cherry to remove the pit. Chop cherries into large pieces or place them in a blender and blend until desired consistency. Measure out 8 cups of fruit.
- Prepare Apple: Place the skins and core of an apple onto a piece of cheesecloth and tie it into a bundle.
- Cook: Place the cherries, apple bundle, sugar and lemon juice into a heavy saucepan. Boil the mixture, stirring constantly, until thickened. About 20-25 minutes.
- Check for Doneness: While the jam is cooking, place a small glass plate in the freezer. When you are ready to check the jam for doneness, spoon a small amount onto the plate and put it back into the freezer for 2 minutes. Run your finger through the jam. If it stays separated it's ready. If it runs back together, it needs more cooking time.
- How to store: Pour the jam into a container and store in the fridge for up to 4 weeks or follow the canning instructions to store in your pantry for up to 18 months.
Water Bath Canning Instructions
- Prepare Canner and Jars: Clean the jars and lids with hot soapy water. Fill a large stockpot with enough water to cover your jars by 1-2 inches. Place a rack on the bottom of the pot. Place on stovetop and turn the burner on medium heat. Place your jars in the pot to keep them hot while you are preparing the jam.
- Process jam: Pour the hot jam into hot jars, leaving ¼-inch headspace. Wipe rims of jars with a dampened clean paper towel to remove residue, place a lid on the jar and screw a ring on until finger-tight. Process in a boiling water canner according to the following altitudes.0 - 1,000 ft above sea level = 5 min1,001 - 6,000 ft above sea level = 10 min6,001 - 10,000 ft above sea level = 15 min
- Store: Remove the rings and check the seals. If sealed properly, label the jar and store it in the pantry. If a jar doesn't seal, simply place it in the fridge and use within 4 weeks.
Nutrition
Canning food safely
Before preserving food in a water bath canner, please make sure to check out the National Center for Home Food Preservation for best practices. It's important to follow all safety guidelines for canning, especially when you are first starting out!
I also recommend storing canned goods without the rings. Leaving the rings tightened on the jars can potentially create a "false seal" which means you think the jar is still sealed properly even though it may not be. I always pick the jar up by the lid to make sure the seal is still good before I open the jar.
Can you use frozen cherries in this recipe?
Yes you can use frozen cherries. Allow them to thaw before you cook the jam.
Hi there!
So glad I found this site, I’m new to canning 😊
We don’t eat sugar, so I was wondering if any of these jams or jellies can be made with maple syrup? 🤔
Thank you!
Hi Melinda! Here is an excerpt from the National Center for Home Food Preservation "Light corn syrup or light, mild honey can be used to replace part, but not all, of the sugar. or best results, use tested recipes that specify honey or syrup." You can find more information if you go to this link https://nchfp.uga.edu/how/can_07/jellied_product_ingredients.html.
Thank you!
I also do a lot of jarring this time of year. The tip on the ‘false seal’ is appreciated. While I do not use the bands when storing, I never really understood the rationale. I thought it was more for rust prevention on the threads of the jar. But the false seal makes more sense. Also, I have a collection of jars-Weck, le Parfait, Bormioli. For long term storage or pressure canning, I keep coming back to Mason or Kerr. I like to hear that reassuring ‘click’ from the vacuum seal. They are not as aesthetically pleasing as the all glass jars, for sure, but I sleep better when I hear that click. Thanks for this website, publishing the recipes and adding practical subject matter expertise. Always appreciated.
You are so welcome! 🙂
Amy: I’ve been using xanthan gum to thicken my preserves. In a pot of cherries, I’d add maybe 1/4 t to a 1/2 t. A little goes a long way. I also do not add sugar. For me, the cherries are sweet enough. But, back to the xanthan gum. Have you ever used it? Pros? Cons? I will try the apple peel method, as you have described, for as batch. Thank you.
Hi there! I've never used xanthan gum in preserves. I feel like the pectin from the apple skins works so well and they are usually pretty abundant here.