Oreo Cheesecake

This Oreo cheesecake recipe is the BEST and easiest to make from scratch! It's so delicious and decadent because we've loaded it with extra cookies and cream in every single bite!
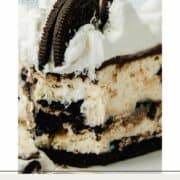
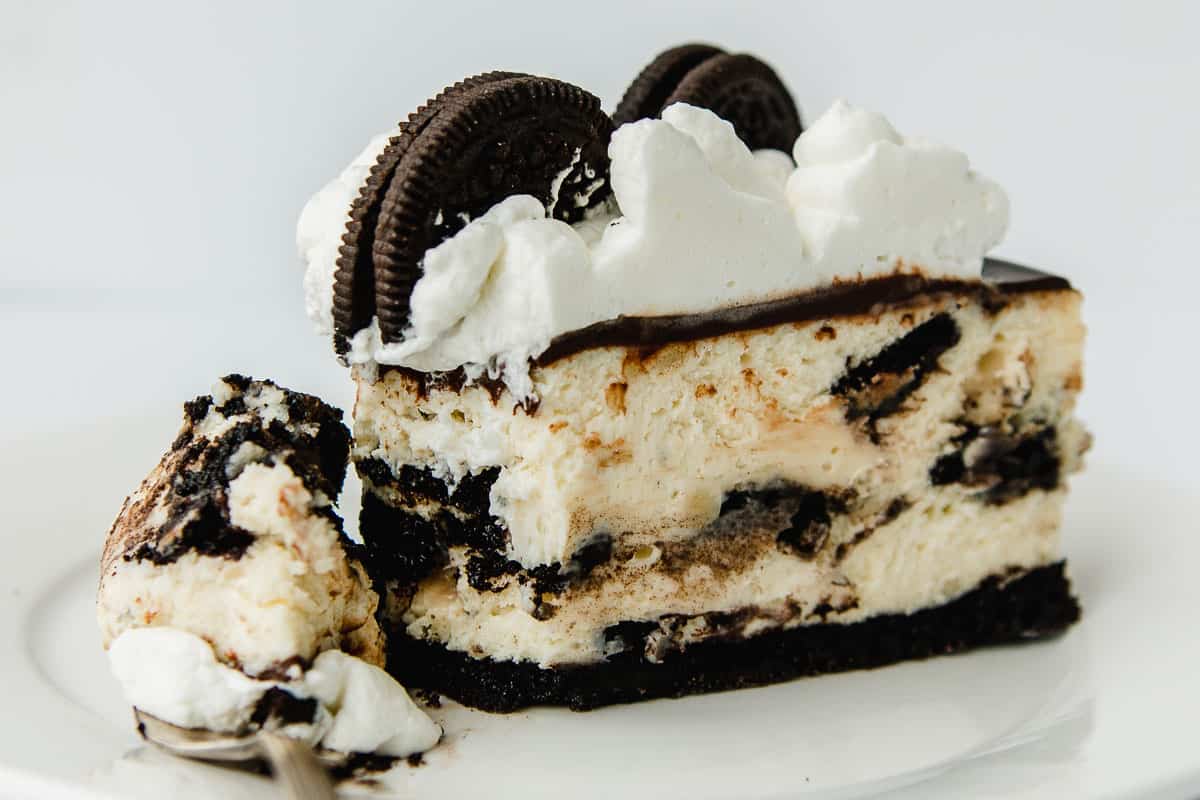
You'll love the layer of chocolate ganache, homemade whipped cream and extra cookies on top for the ultimate Oreo cheesecake experience!
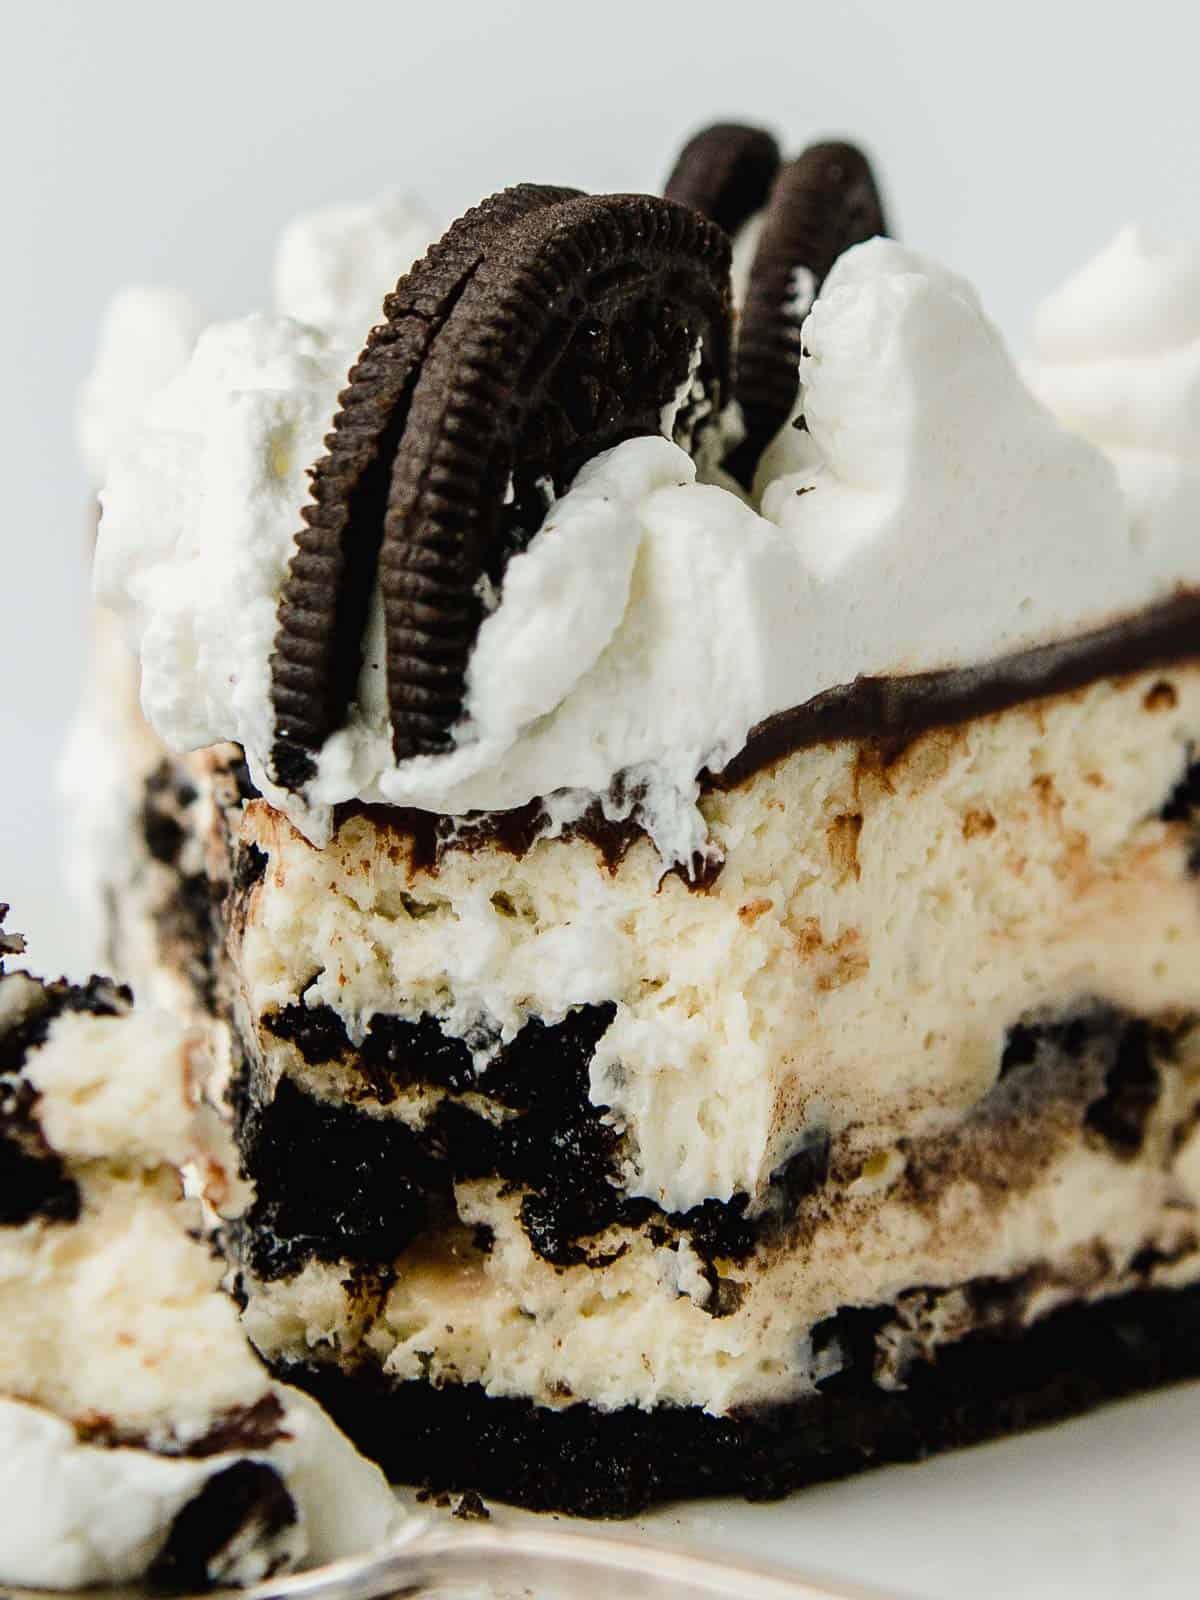
This recipe for Oreo Cheesecake makes the most rich and creamy cheesecake, loaded with cookies, cream and chocolate.
It's the perfect recipe for the holidays because everyone loves Oreos!
Because this cheesecake needs a minimum of 6 hours in the fridge to set up properly, plan to make the cheesecake a day ahead of time.
You'll decorate the top with whipped cream and cookies right before serving.
What you need
We've included extra cookies in the crust, the filling and on top of the cheesecake to guarantee a cookie in every bite!
- 2 packages of Oreo cookies
- butter
- cream cheese
- sour cream
- heavy cream
- sugar
- eggs
- vanilla extract
- dark chocolate baking squares
Equipment needed
(Amazon affiliate links) - Check out my favorite kitchen essentials.
- stand mixer or electric mixer
- food processor
- measuring cups and spoons
- parchment paper
- 9" spring-form pan
- 10" cake pan (for water bath)
- roasting pan (for water bath)
- spatula
- off-set spatula
How to make it
Here's a breakdown of the steps needed to make the best Oreo cheesecake from scratch!
Step 1: Make the crust
Mix the crust ingredients and press firmly into the bottom of a spring-form pan. Bake at 350°F for 10 minutes.
Step 2: Prepare the water bath
Turn the oven down to 320°F. Place a large roasting pan in the oven on the middle rack. Pour hot water into the pan, making sure it is about 1" in depth. Close the oven door.
Step3: Make the filling:
Making sure cold ingredients are at room temperature, mix them together until smooth. Gently fold the crushed Oreos into the batter.
Step 4: Bake
Pour the filling into the spring-form pan and smooth the top with an off-set spatula. Insert the spring-form pan into a 10" cake pan and place the cake pan into the water bath. Bake for 1 hour. (Water level should cover half the depth of the cake pan. Add water if needed.)
NOTE: If not using a water bath, bake the cheesecake for 45 minutes at 320°F. Crack the oven door and allow it to cool for 30 minutes inside. Cool the cheesecake completely on the counter before chilling.
Step 5: Cool
Turn the oven off, crack the door, and allow the cheesecake to cool inside of the oven for 1 hour. Remove the cheesecake, run a sharp knife around the edge of the pan to help release the sides of the cheesecake, and allow it to cool completely on the counter.
Step 6: Chill
Chill the uncovered cheesecake in the refrigerator overnight. Don't remove the sides of the spring-form pan.
Step 7: Decorate
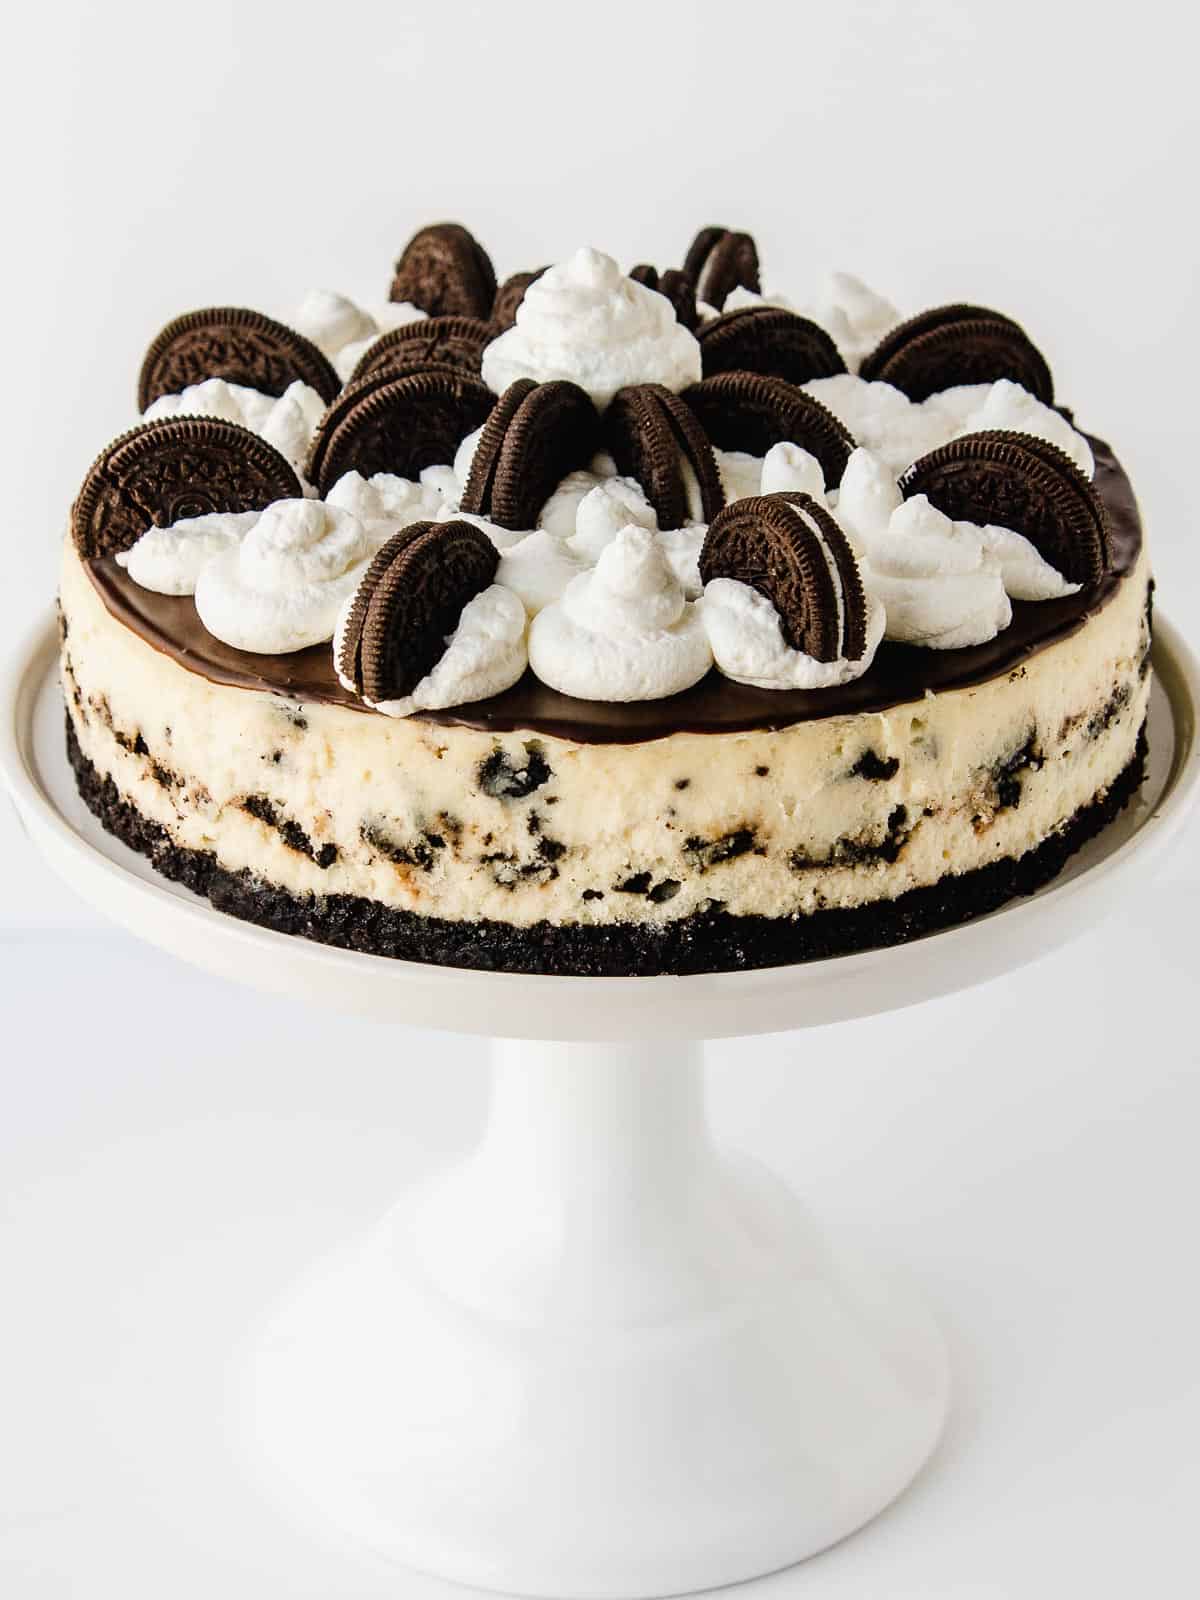
Make the ganache and smooth it on top of the cheesecake with an off-set spatula. Place the cheesecake back into the fridge for 30 minutes. When ready to serve, remove the side of the spring-form pan and transfer the cheesecake to a serving platter. Pipe dollops of whipped cream and half slices of Oreos on top.
How to store it
Keep any leftover Oreo cheesecake covered in the fridge for up to 5 days.
If you'd like to freeze this cheesecake, place it in the freezer without toppings until frozen solid. Remove the cheesecake and wrap it with plastic wrap and a layer of foil. Keep frozen for up to 3 months.
When ready to serve, allow the cheesecake to thaw in the fridge overnight and then decorate.
More easy dessert recipes
- oreo balls
- instant pot cheesecake
- chocolate chip cookies
- old fashioned peanut butter pie
- lemon cheesecake
Do you like this recipe? Make sure to subscribe to our newsletter and we'll send you the latest and greatest!

Oreo Cheesecake
INGREDIENTS
Oreo crust
- 20 Oreo cookies (do not remove cream filling)
- 4 tablespoons unsalted butter
Cheesecake Filling
- 4 blocks cream cheese (32 oz.) (room temperature)
- 4 tablespoons unsalted butter (room temperature)
- 1 cup granulated sugar
- 3 large eggs (room temperature)
- 1 cup sour cream (room temperature)
- 2 teaspoons vanilla extract
- pinch of salt
- 20 Oreo cookies (broken into small pieces)
Chocolate Ganache
- 4 oz. dark chocolate baking squares
- 4 oz. heavy cream
Toppings
- whipped cream
- 12 Oreo cookies (broken in half)
INSTRUCTIONS
- Preheat oven to 350°F and line the bottom of a 9" spring-form pan with parchment paper.
- Make the crust: Place 20 Oreo cookies, with the cream filling, into a food processor and pulse until finely crushed. (If you don't have a food processor, place the cookies in a ziploc bag and use a rolling pin to crush them.) Add the melted butter and pulse until fully combined. Press the mixture firmly into the bottom of the spring-form pan. Bake for 10 minutes, remove and set aside while making the filling.
- Prepare the water bath: Turn the oven down to 320°F. Place a large roasting pan in the oven on the middle rack. Pour hot water into the pan, making sure it is about 1" in depth. Close the oven door. (See notes if not using a water bath.)
- Make the filling: Beat the cream cheese, butter and granulated sugar on low speed with an electric mixer until it is smooth and creamy. Scrape down the sides of the bowl. Add the eggs, one at a time, fully incorporating before adding the next egg. Scrape down the sides of the bowl and then add the sour cream, vanilla extract and pinch of salt, mixing until smooth. Gently fold the crushed Oreos into the batter with a spatula.
- Bake: Pour the filling into the spring-form pan and smooth the top with an off-set spatula. Insert the spring-form pan into a 10" cake pan and place the cake pan into the water bath. Bake for 1 hour. (Water level should cover half the depth of the cake pan. Add water if needed.)
- Cool: Turn the oven off, crack the door and allow the cheesecake to cool inside of the oven for 1 hour. Remove the cheesecake, run a sharp knife around the edge of the pan to help release the sides of the cheesecake and allow to cool completely on the counter.
- Chill: Place the uncovered cheesecake in the refrigerator overnight or a minimum of 6 hours to firm up. (Do not remove the spring-form pan.)
- Make the ganache: Place the chocolate and heavy cream in a microwave safe bowl and microwave on high for 1 minute. Remove the bowl from microwave and let sit for 3-5 minutes to allow the chocolate to melt in the cream. Stir the mixture until it is smooth and allow to come to room temperature. Smooth the ganache on top of the cheesecake and place back it into the refrigerator for a minimum of 30 minutes to set.
- Serve: When ready to serve, take the cheesecake out of the refrigerator and remove the side of spring-form pan. Transfer the cheesecake to a serving platter or cake stand. Pipe dollops of whipped cream over the top of the cheesecake and decorate with half slices of Oreos.
NOTES
- No water bath: If not using a water bath, bake the cheesecake for 45 minutes at 320°F. Crack the oven door and allow it to cool for 30 minutes inside. Cool the cheesecake completely on the counter before chilling.
- To Store: Keep leftovers covered in the fridge for up to 5 days.
- To Freeze: Place the cheesecake in the freezer, without toppings, until frozen solid. Wrap with plastic wrap and a layer of foil. Keep frozen for up to 3 months. When ready to serve, allow to thaw in the fridge overnight and top with ganache and whipped cream.
I don’t have a 10in cake pan but want to use the water bath. Can I use a couple layers of heavy duty foil instead?
You can but make sure it's wrapped so that water can't get in.
yes. but it cracked on top. hoping it still works.
My family loved this recipe. IIr was rich, creamy and delicious . I will definitely make it again!!
I had to bake the cheesecake for 45 more minutes before it was done, total time 1 hr 30 min.
This recipe is so very awesome & rich! Has anyone split into 2 - 5” pans & made? Cook time? Cool time in oven? Thank you in advance!
Love this recipe, the only thing I personally added was a layer of my homemade white buttercream icing on top of the cheesecake, under the ganache. I also used the icing on top instead of whipped cream. I needed to fully prepare ahead of time and the icing added a richness that we enjoyed and holds up better. Gave a Cheesecake Factory level of product!
I want to make this recipe but only have the 9in pan. What is the purpose of placing it into the 10in pan? Will it bake okay if I don’t do this step?
Oop never mind, after further reading I see it’s for the water bath so if I do the modified version of that step I won’t necessarily need it?
This is a dessert to impress a crowd! A couple personal thoughts...this is a rich dessert, it's amazing and not too sweet but it's rich, in the future I may experiment with making it just a tad lighter somehow. Also the ganache was a little overpowering. I think making a very thin layer would be perfect but using the amounts here it was a little much for everyone's preference. Those are minor tweaks and do not change the fact that this is an incredible dessert! Thank you for sharing, I'm glad to have this in my arsenal now.
I made this before as is and it came out perfect! Very delicious. One question, If I were to take out the Oreos and just do a regular cheesecake would I need to make any additional adjustments to any of the other ingredients ? Does the Oreos make a big difference in the volume of the filling ?
You can leave the oreos out with no problem. The cheesecake will be a little shorter in height!
THIS RECIPE IS GOLD!!! I've made a cheesecake maybe once before in my life so I have zero instincts for it. I didn't have a big enough pan to do the water bath so I trusted the directions completely and followed them for a non-water bath cheesecake and it came out PERFECTLY! I got so many compliments on it. It was so creamy and well balanced. I'll definitely make it again and pass along the recipe! Thank you!