Strawberry Jam


This strawberry jam is the easiest to make with minimal sugar and no packaged pectin. It has a soft, velvety texture, bursting with fresh strawberry flavor, and spreads beautifully!
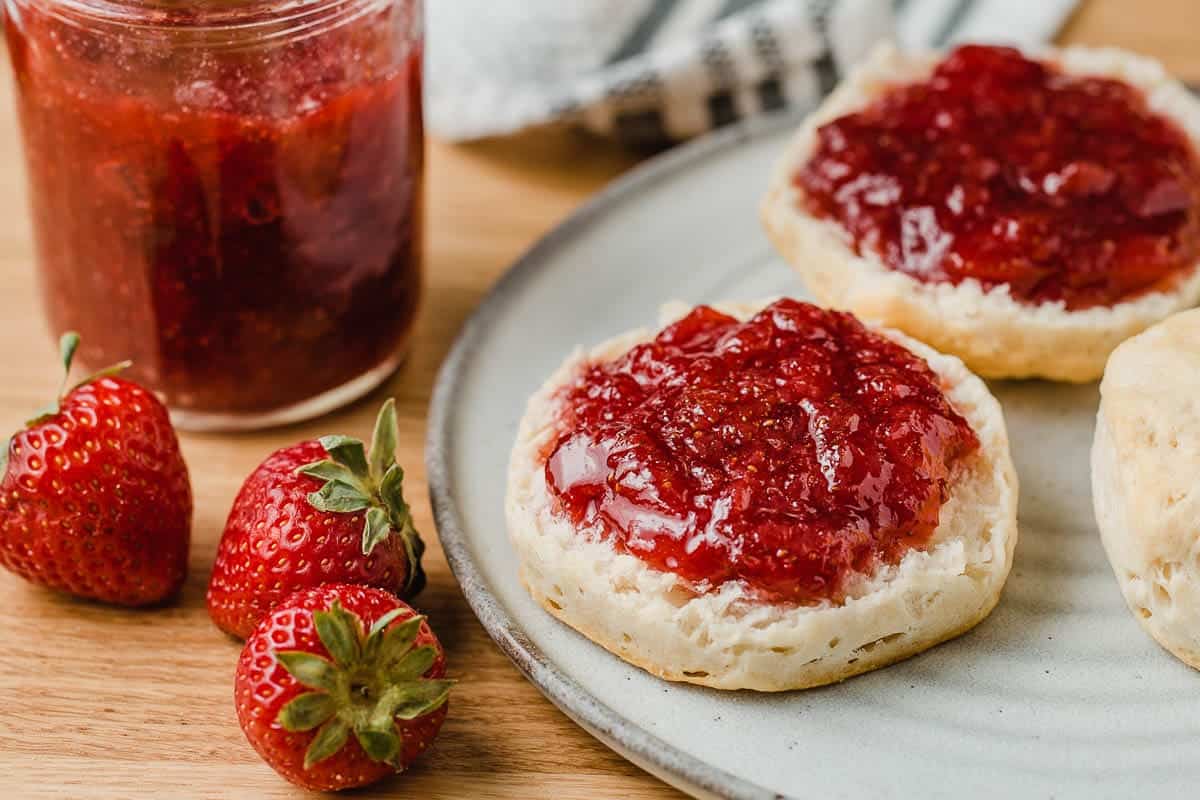
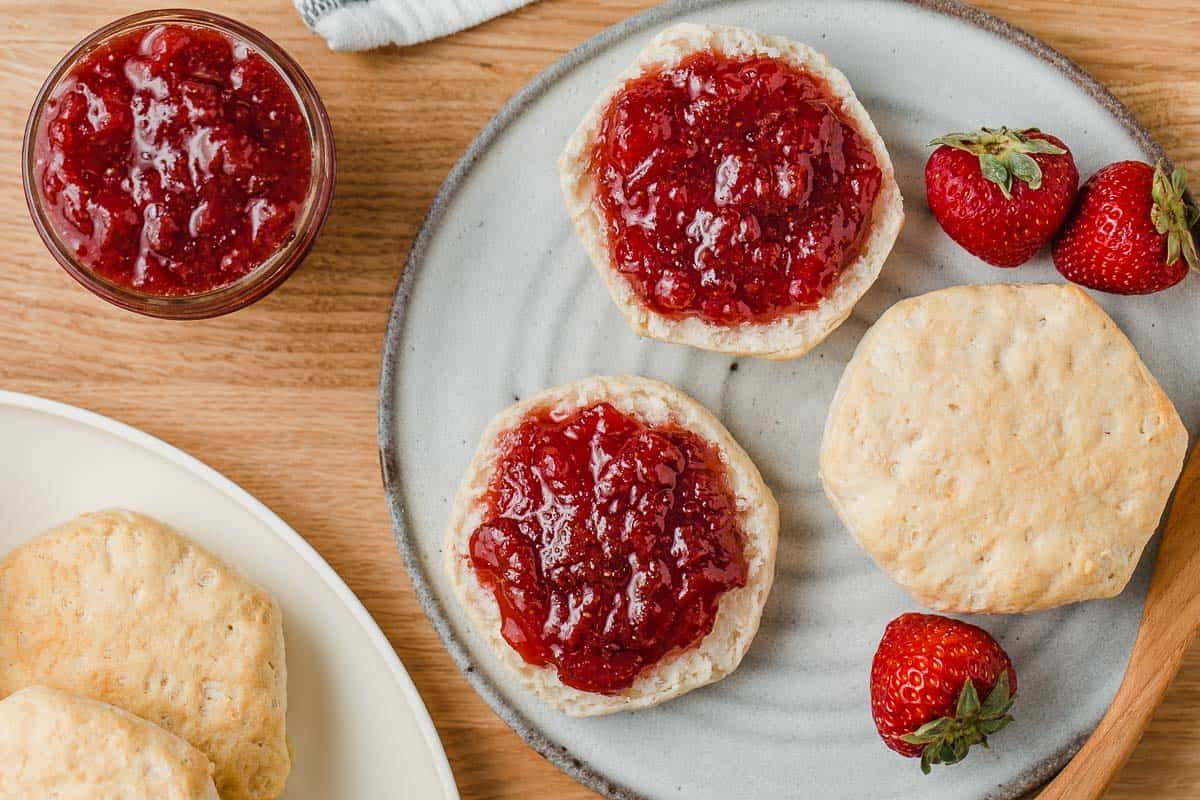
This homemade strawberry jam recipe is perfect when strawberries are in season! It's excellent on sourdough biscuits or toasted sourdough English muffins.
We love to use this strawberry jam as a filling in sourdough pop tarts or hand pies too.
Juicy, ripe strawberries are mixed with sugar and left to sit for an hour or more to release their natural juices. This step, called macerating the fruit, softens the berries, dissolves the sugar, and reduces cooking time, preserving that fresh strawberry flavor.
This low-sugar jam recipe has just the right amount of sweetness, letting the strawberry taste shine. The jam naturally thickens with apple pectin and can be kept in the fridge for up to 2 months. With bottled lemon juice, it’s also safe for water bath canning.
Ingredients needed
This recipe makes about 5 half-pint jars of homemade jam.
- fresh strawberries
- sugar: Granulated sugar
- Lemon juice: Use bottled lemon juice if you canning the jam or fresh juice if you plan to store it in the fridge.
- Granny Smith apple: These apples have high levels of pectin.
Equipment needed
- large mixing bowl
- measuring cups and spoons
- box grater
- large stockpot (at least 5.5 quarts)
- large heat-safe spoon for stirring hot jam
- half-pint glass jars or quart glass jars with lids and rings
- small glass plate (to test jam for doneness)
- jar funnel
- ladle
- digital thermometer or candy thermometer
- optional: water-bath canner and canning equipment
How to make strawberry jam
Place a small glass plate in the freezer. You'll use it later to test the jam for doneness.
Step 1: Prepare the strawberries
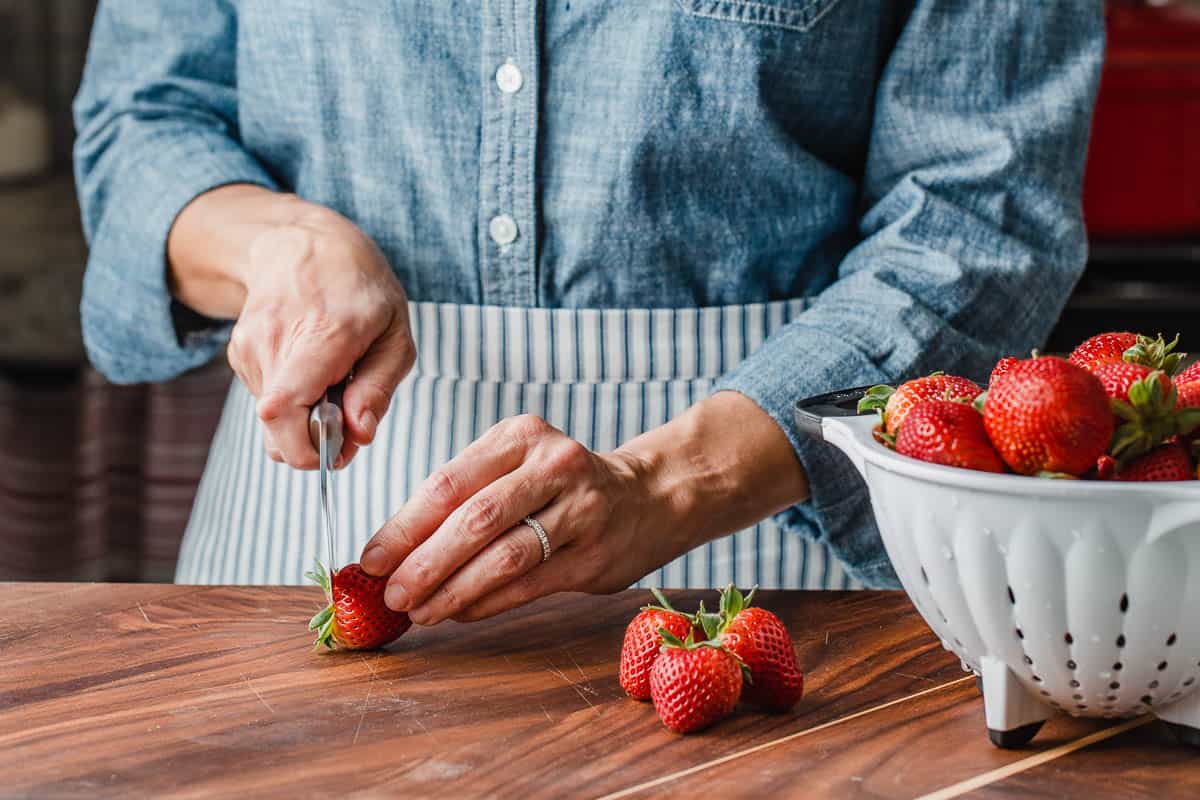
Wash 3 lbs. of fresh strawberries, remove the stems, and chop them into small pieces. Crush the fruit with your hands or a potato masher, then measure out 6 cups of crushed strawberries into a large bowl. Stir in 3 cups of granulated sugar and let the mixture sit for 1 hour on the counter.
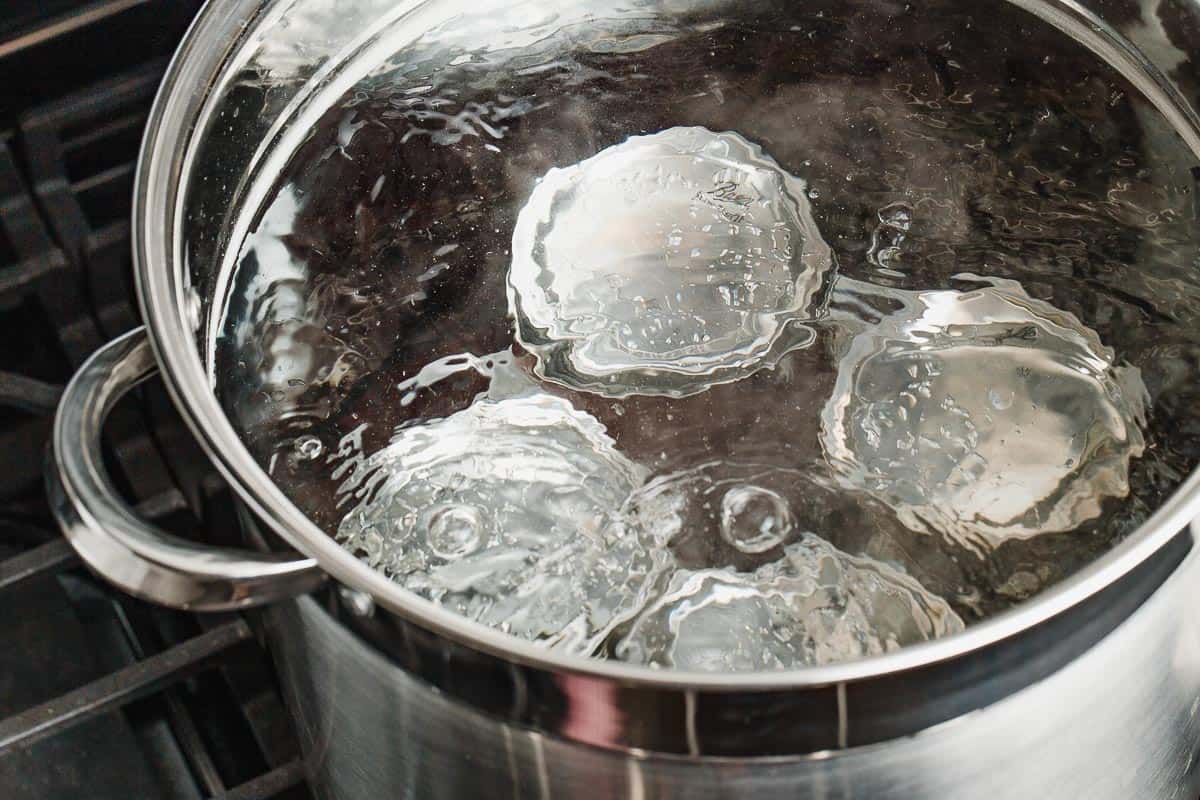
Step 2: Prepare the jars
According to the National Center for Home Food Preservation, jars processed in a water-bath canner for 10 minutes or more don't need to be pre-sterilized, but they still need to be hot when filled with jam to avoid temperature shock.
Wash the jars, lids, and rings with hot, soapy water, making sure to rinse them well. Place the clean jars in your water bath canner and cover them with water. Let the water simmer while you cook the jam to keep the jars hot.
Sterilize jars without a canner
- Preheat your oven to 175°F (79°C). Arrange the washed and rinsed jars on a baking sheet and place them in the oven for 25 minutes. Turn off the oven, leaving the jars inside to stay hot while you make the jam.
- Use the sanitize setting on your dishwasher.
Step 3: Grate the apple
After the strawberries and sugar are macerated for one hour, peel, core, and grate 1 medium apple and add it to the strawberries with 2 tablespoons of bottled lemon juice.
It's important to use bottled lemon juice to ensure the jam's acidity or pH level is safe for canning. (If you are not canning the jam, you can substitute fresh lemon juice.)
Step 4: Cook the jam
Transfer the mixture to a large stockpot, 5.5 quarts or larger, and bring it to a boil over medium-high heat.
Once it reaches a rolling boil that can't be stirred down, set a timer for 20 minutes. Stir constantly to prevent the jam from boiling over. Test the temperature of the jam with a digital thermometer; it should register between 212-216°F (100-102°C) at a rolling boil.
As the mixture thickens toward the end of the cooking process, the foam will start to subside.
Once the timer goes off, turn off the heat and test for doneness.
Step 5: Test the jam for doneness
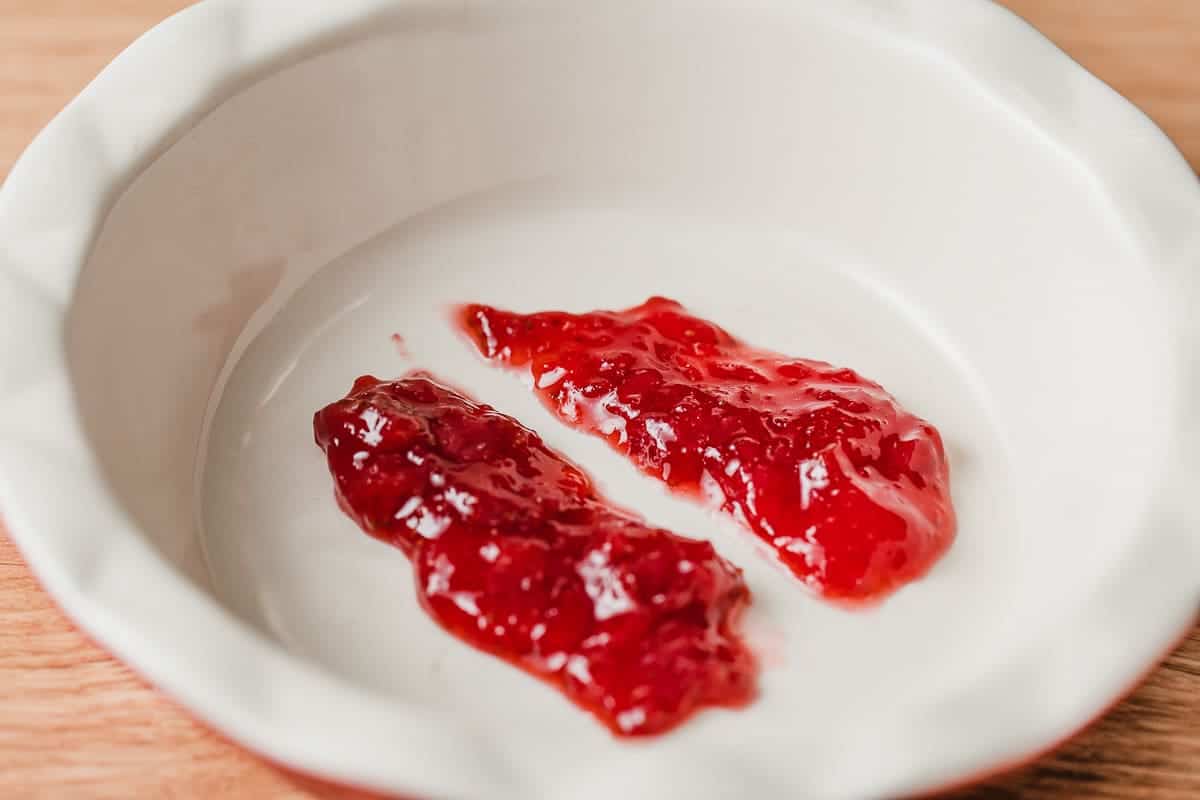
Remove the glass plate from your freezer when you're ready to test your jam. Drop a spoonful of the hot jam onto the cold plate. Return the plate to the freezer for 2 minutes. Remove the plate and run your finger through the jam. If the jam stays separated, it's ready! If the jam oozes back together, cook for 5 more minutes and retest.
Step 5: Transfer the jam to containers
Before filling the jars, skim any foam from the top of the jam using a large spoon. Use a jar funnel and a ladle to fill the hot jars, leaving a ¼" headspace—screw on the lids and rings.
If you plan to store your jam in the fridge, you can use larger jars, such as pint or quart size.
How to Store in the fridge
After filling the jars, let the jam cool completely, and then refrigerate it until set, about 2 hours, before eating.
This strawberry jam can be refrigerated for up to 2 months unopened. Once you've opened the jar, eat the jam within 1 month and store it in the fridge.
Canning Instructions
Properly preserved jam can be stored unopened on your pantry shelf for 18 months or longer. It's very easy and doesn't take much time at all!

Step 1
Ladle the hot strawberry jam into half-pint jars.

Step 2
Use the headspace tool to remove bubbles from the jam.

Step 3
Use a headspace tool to ensure that the jam is ¼" from the top of the jar.

Step 4
Wipe the rim of the jar with a towel dipped in hot water or vinegar to remove any residue on the rim to ensure a proper seal.

Step 5
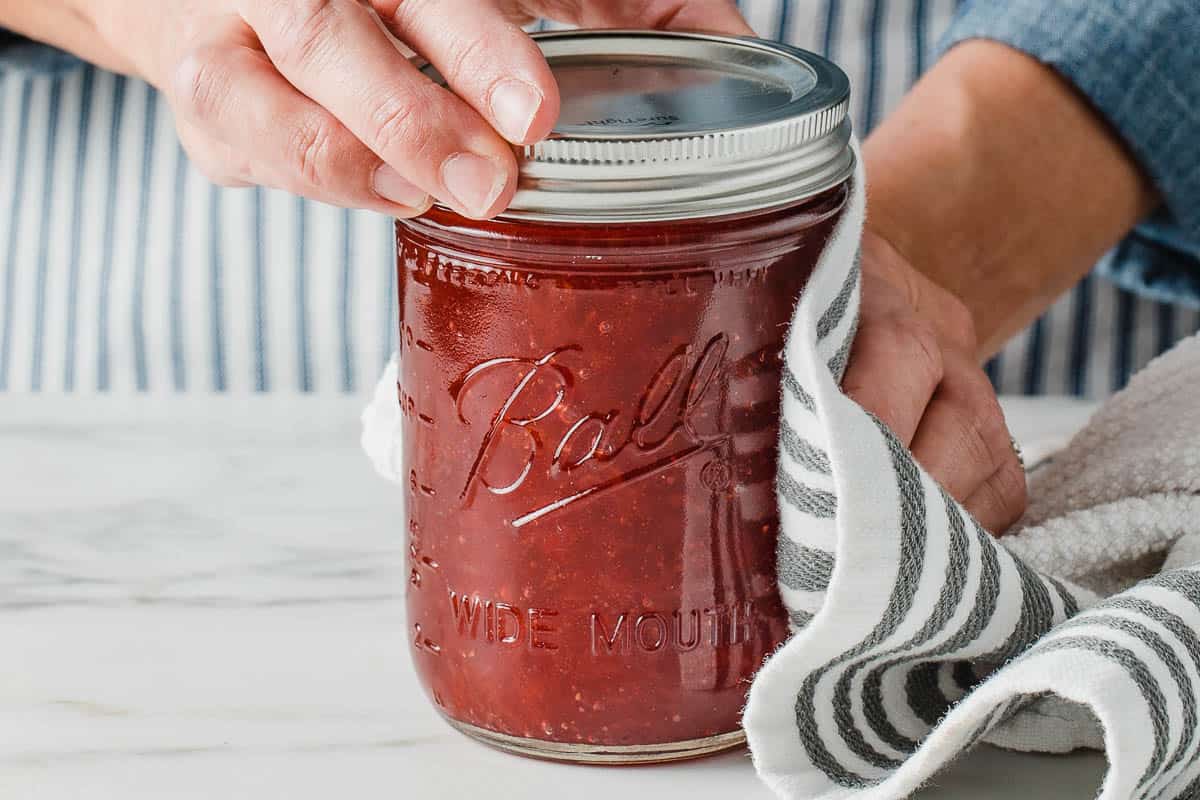
Center a canning lid on the jar and screw bands down evenly and firmly just until a point of resistance is met. This is referred to as "fingertip-tight".
Over-tightening bands can prevent air from escaping out of the jars, resulting in buckled lids or seal failure.

Step 6
Use the jar lifter to place the jar into the canner and repeat with the remaining jars.
If there is not enough jam to fill the 5th half-pint jar within a ¼" of headspace, simply store it in the fridge. Do not process it in the canner, as it will not seal properly, and consume it within 1 month.
Step 7
Ensure the jars are covered by at least 1 inch of water, cover the pot, and bring to a boil.
Once it’s at a rolling boil, start your processing time. For altitudes 1,000 ft above sea level or lower, process half-pint jars for 10 minutes. See our guide to water-bath canning for an altitude adjustment chart. Adjust your processing times accordingly.
After processing the jars, turn off the heat and remove the lid. Let the jars sit for 5 minutes before removing them from the canner.
Use a jar lifter to remove the jars and place them on a heat-safe surface, covered with a kitchen towel, undisturbed for 12-24 hours.
Step 8
Remove the rings and check the seals. The lid should be indented, and you should not be able to take it off. If a jar does not properly seal, store it in the fridge for up to 2 months.
Wash and label the jars with the contents and date.
Canned foods should be kept in a pantry between 50-70°F (10-21°C) for best long-term storage results.


Subscribe to our newsletter and we'll send you more fresh recipes, valuable troubleshooting advice, useful tips, and other information we believe will be helpful to you!

Strawberry Jam Recipe
INGREDIENTS
- 3 lbs. strawberries (6 cups crushed)
- 3 cups granulated sugar (see notes)
- 2 tablespoons bottled lemon juice (see notes)
- 1 medium Granny Smith apple (peeled, cored and grated)
INSTRUCTIONS
- Wash the jars, lids, and rings with hot, soapy water, making sure to rinse well. To sterilize and keep them hot, place them on a baking sheet in a preheated 175°F (79°C) oven OR in your water bath canner while cooking the jam. Place a small glass plate in the freezer.
- In a large bowl, crush the strawberries and stir in the sugar. Let sit for 1 hour to allow the berries to release their juices. (Or up to 24 hours in the fridge.)
- Add the lemon juice and grated apple. Transfer the mixture to a large stockpot and bring to a boil over medium-high heat. Once it reaches a boil that can't be stirred down, set a timer for 20 minutes. Turn off the heat.
- Test for doneness - Remove the glass plate from the freezer and drop a spoonful of the hot jam on it. Put the plate back into the freezer for 2 minutes. Remove the plate and run your finger through the jam. If the line stays separated, your jam is ready to be jarred. If the line closes, boil the jam for 5 more minutes and repeat the test.
- Ladle the hot strawberry jam into clean, sterilized jars, leaving a ¼ inch headspace at the top. Remove air bubbles and wipe the rim of the jar to remove any residue. Center the canning lid on the jar and adjust the band to fingertip-tight.
- If not canning, let the jars cool completely, tighten bands, and store in the refrigerator for up to 2 months.
Canning Instructions
- Prepare the water-bath canner by filling it with water and letting it simmer while you are making the jam. Place jars in the canner to keep them hot.
- Once you've filled all of your jars with jam, place them on the rack and lower them into the boiling water. Make sure there is 1 inch of water covering the tops of the jars. Bring water to a rolling boil and cover the pot.
- Process for 10 minutes for pint-size jars or smaller. (If you are over 1000 feet above sea level in elevation, see the Altitude Adjustment Chart) Turn off the heat and let the jars rest in the canner for 5 minutes.
- Using a jar remover, remove the jars from the canner. Place them on a kitchen cloth, on a heat-safe surface to cool for 12-24 hours.
- Remove the rings, check the seals, and wash the jars in hot soapy water. Label the jars with the contents and date. Refrigerate any jars that did not seal properly and use them within 2 months.
NOTES
- Use ½ cup granulated sugar for every 1 cup of crushed strawberries.
- If you are not canning, fresh lemon juice can be substituted.
- The mixture will foam and rise while it boils. Stir it constantly so that it doesn't burn on the bottom of the pot or boil over.
- Store jam in the fridge for up to 2 months unopened. Once opened, keep refrigerated and consume within 1 month.
Hi, I was wondering if it’s safe to use any type of apple in the canning recipe? 🙂 thanks
yes
This is by far my favorite jam I’ve made/tasted from anyone.