Water Bath Canning for Beginners


Water bath canning is a fun way to preserve seasonal fruits and enjoy them throughout the year. Our easy guide walks you through safely canning your favorites along with essential equipment and helpful tips to make your food preservation a success!
I love the memories of helping to can jams, jellies, pickles, and fruits during the summer harvest. My favorites are still strawberry jam and cherry jam. They are so delicious spread over warm sourdough biscuits with butter.
Water bath canning is suitable for preserving high-acid foods, such as certain fruits and recipes containing added vinegar. However, for low-acid foods like vegetables, meats, and soups, it's essential to use the pressure canning method to ensure safe preservation. This method utilizes higher temperatures and pressure to eliminate harmful bacteria effectively.
Water bath canning is a method used to preserve food for long-term storage. By processing food at 212°F using the boiling water canning method, all bacteria are eliminated, and the sealed jars prevent any risk of contamination.
Equipment for Water Bath Canning
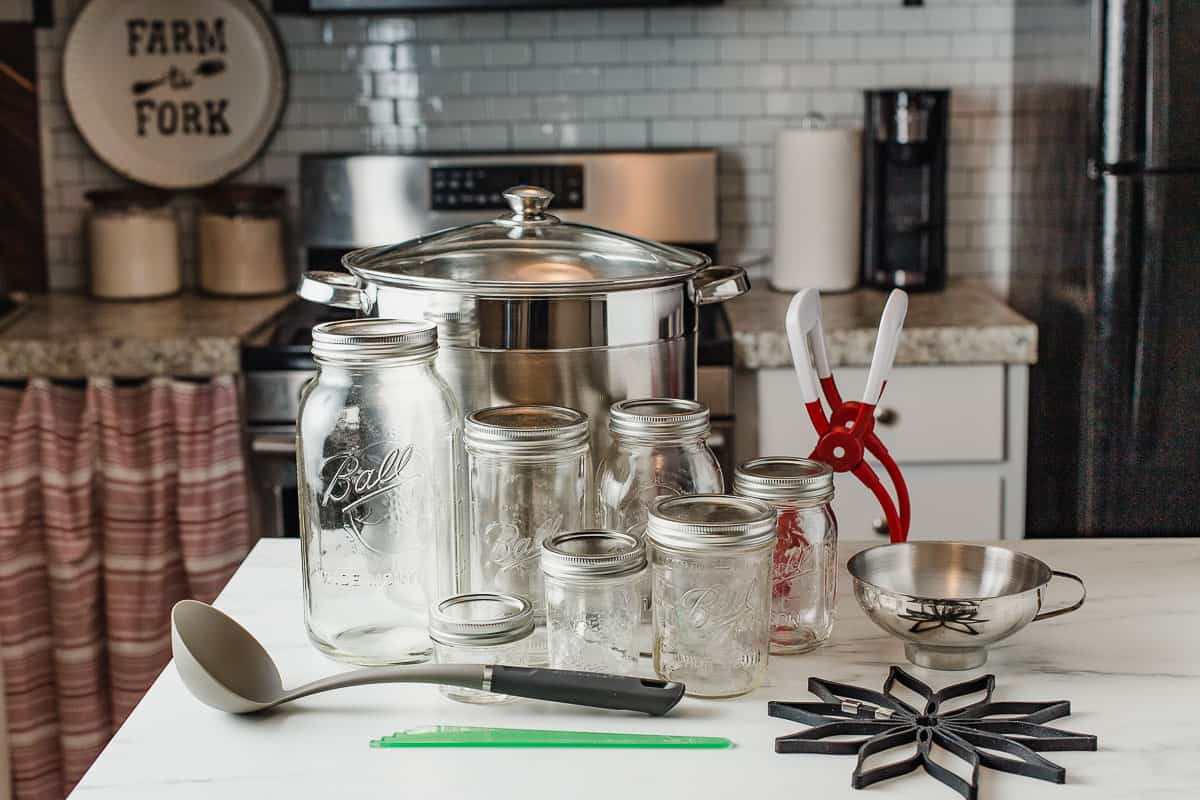
Canner
A water bath canner typically consists of three parts: a lid, a pot, and a canning rack.
- The lid traps heat and steam to keep the water boiling while the jars are processing.
- The pot must be deep enough so that the water level is 1 to 2 inches above the top of the jars when they are submerged in the water bath. A canner with a flat bottom can be used on gas or electric burners. A canner with a ridged bottom works better on a gas burner.
- The canning rack keeps the jars from touching the bottom of the canner and allows hot water to circulate around them evenly.
The most common size water bath canner is 21-quarts, which can hold up to 7 quart-sized jars. An 11.5-quart canner holds up to 7 pint-sized jars, while a 33-quart canner can accommodate up to 9 quart-sized jars.
Money Saving Tip
Before purchasing a water bath canner, you can test if your large stockpot with a lid can be used for canning.
Place empty canning jars inside the pot to ensure that at least one inch of water will cover the tops of the jars. If it is large enough you will need to purchase a trivet.
Canning Jars, Lids and Rings
Glass canning jars are available in various sizes, depending on what you plan to preserve. They are offered in regular-mouth and wide-mouth versions to suit different canning needs.
- 4 OZ. - Jams, jellies, and preserves.
- HALF PINT - Jams, jellies, preserves, chutneys and relishes.
- PINT SIZE - Jams, jellies, preserves, chutneys, relishes and pickles.
- PINT AND A HALF - Pickles, tomatoes, whole and sliced fruit.
- QUART - Tomatoes, fruit juices, whole and sliced fruit.
Jars and rings can be reused multiple times, but lids are meant for one-time use only. Canning lids cannot be reused for new canning sessions, but they can be reused for storing items in jars.
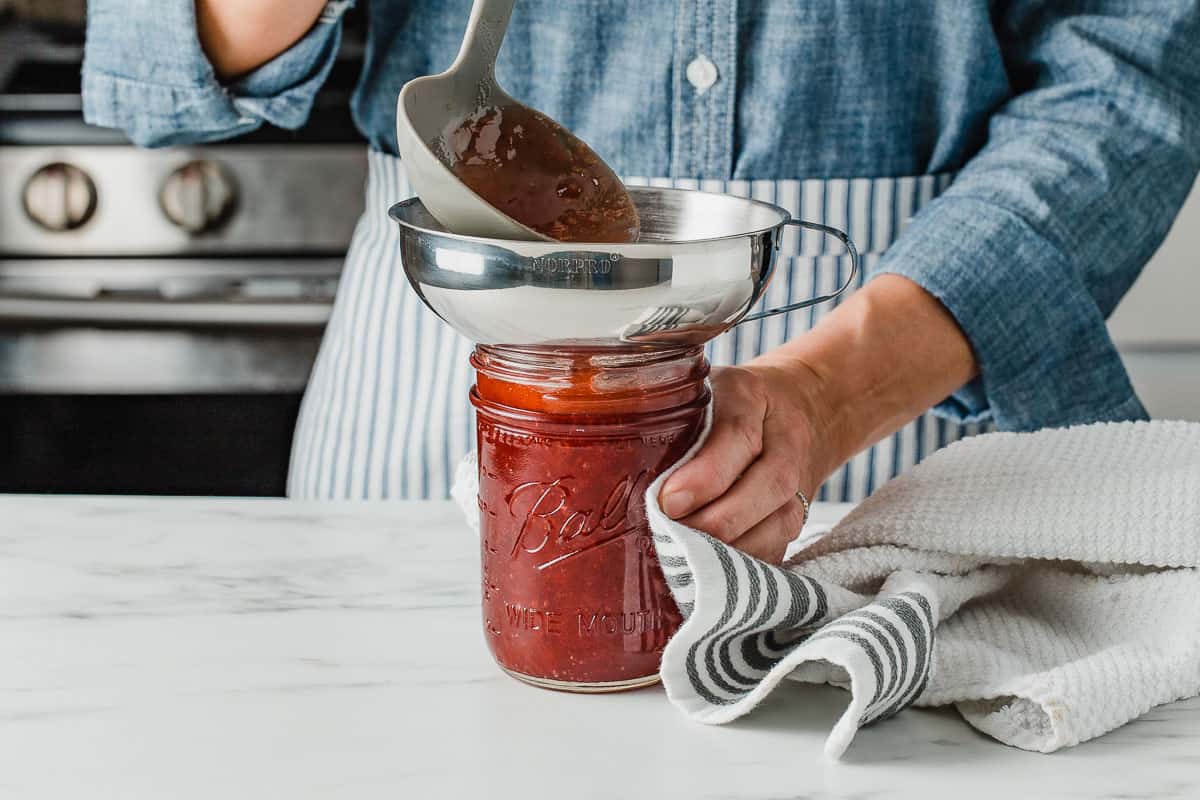
Jar Funnel and Ladle
A ladle and canning funnel make transferring food into jars easy, clean, and efficient.
Ensure that the ladle and funnel you use are made of nonreactive materials. Silicone, plastic, and stainless steel are all nonreactive. Avoid using aluminum, cast iron, and unlined copper, as they are considered reactive cookware.
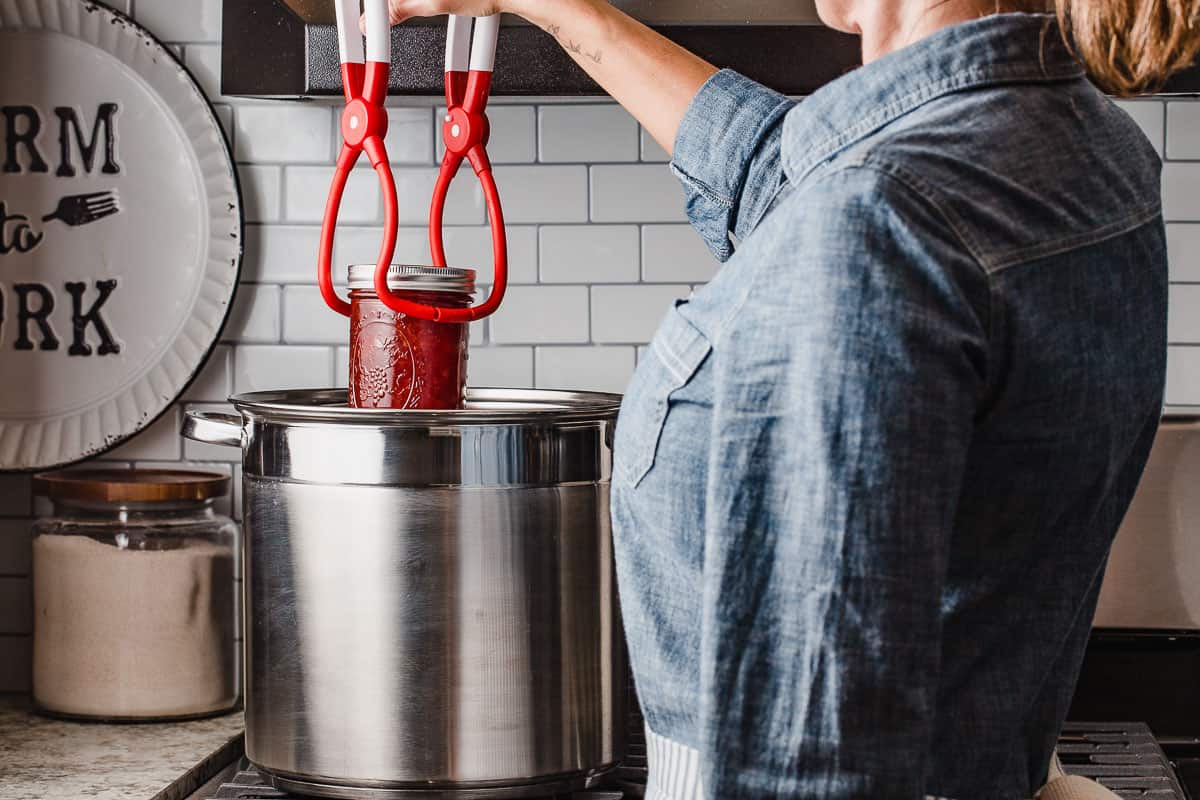
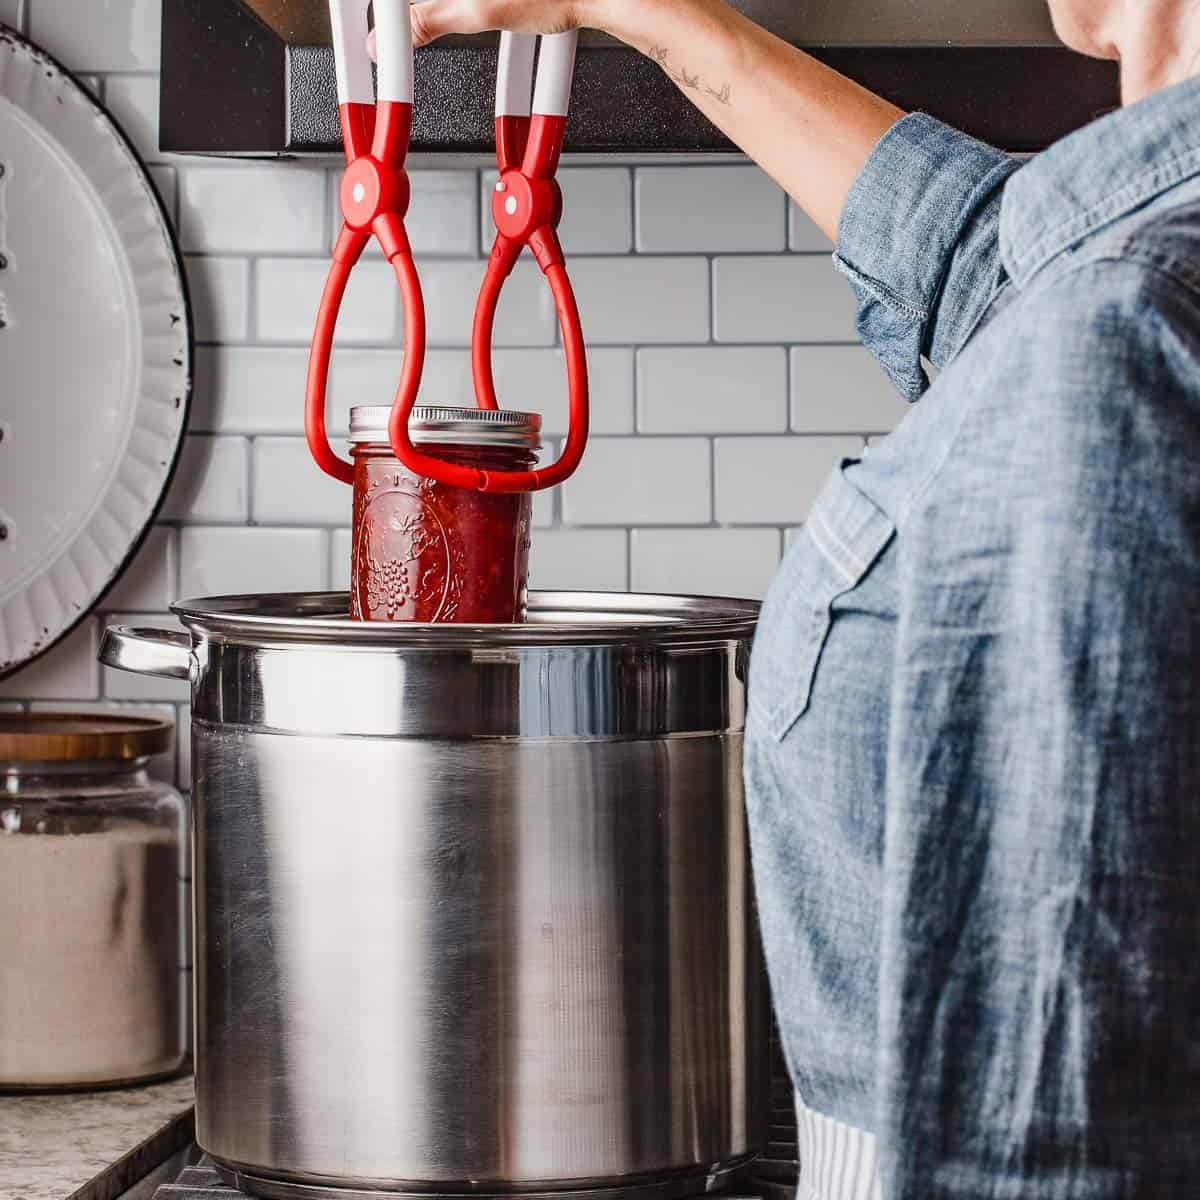
Jar Lifter
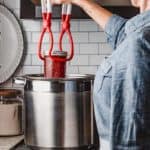
A jar lifter is used to transfer hot jars to and from the canner. Ensure the jar lifter is securely positioned under the rim to prevent slipping. It also helps keep the jars upright and prevents them from tilting when taking jars out of the canner.
Headspace Tool
The headspace tool serves a dual purpose. One end is used to remove air bubbles from the food before screwing on the lid, while the other end has notches for measuring the headspace inside the jar.
The funnel, headspace tool, and jar lifter are sold individually or as a set.
How long to water bath can?
Your recipe will tell you how long to process the jars. If it doesn't, check a similar recipe on the National Center for Home Food Preservation's website for the recommended processing time based on jar size (half-pint, pint, or quart). This ensures your food is safely canned.
Step-by-step instructions
- Prepare Jars, Rings, and Lids:
Wash jars, rings, and lids in warm soapy water. Check each jar for chips or cracks. - Keep jars warm until you're ready to fill them. Both the jars and the food must be at a similar temperature to prevent the glass from being shocked and potentially cracking. This helps ensure a smooth and safe canning process.
- Prepare the Canner:
Fill the canner halfway with water and place a silicone canning trivet or suspend the canning rack over the water. Have a second pot of water boiling in case more hot water is needed. Keep clean jars warm by placing them in the extra pot of hot water until ready to fill. - Preheat and Prepare Food:
Preheat the water while preparing your food. Maintain a temperature of 140°F for raw-packing or 180°F for hot-packing. - Fill and Seal Jars:
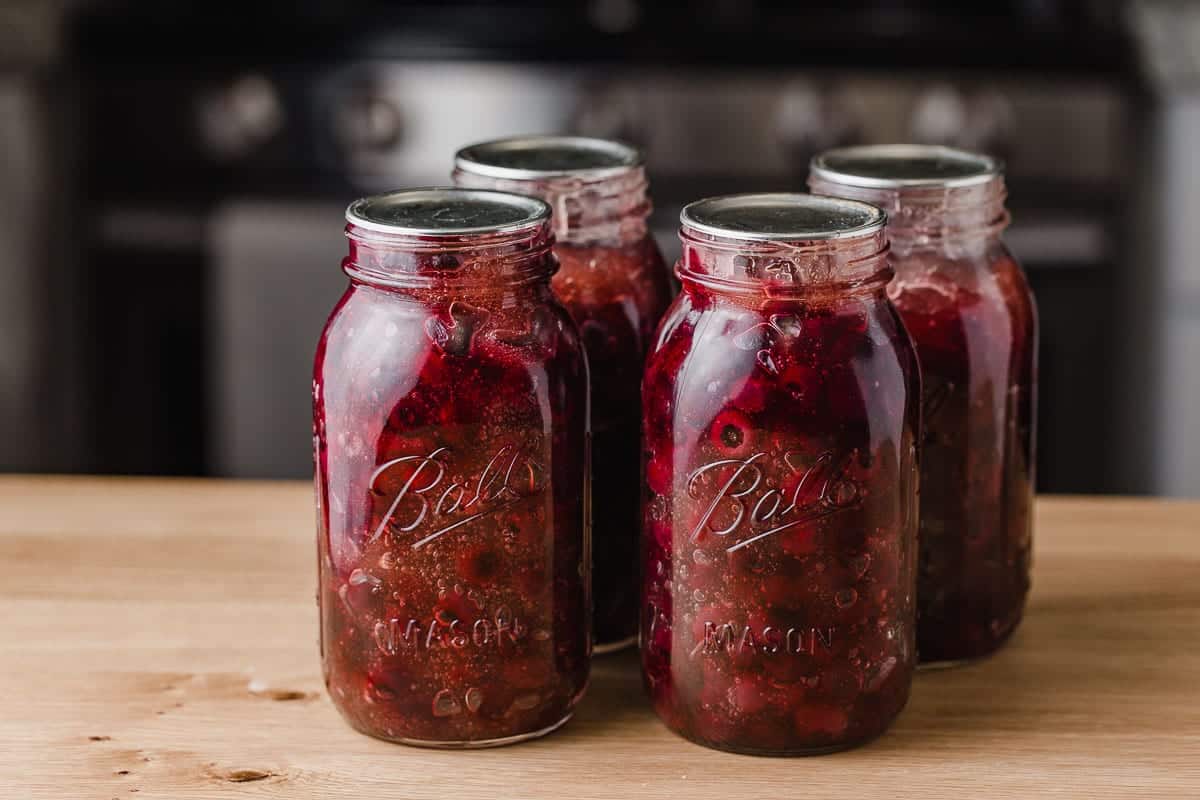
Work with one jar at a time. Remove a warm jar from the canner, fill with food, leaving the specified headspace. Remove air bubbles, wipe the jar rim with a wet napkin, and place the lid on top. Screw the ring on until "finger tight". Use a jar lifter to load the filled jar into the canner, keeping it upright to prevent leakage. Repeat with remaining jars. - Process Jars:
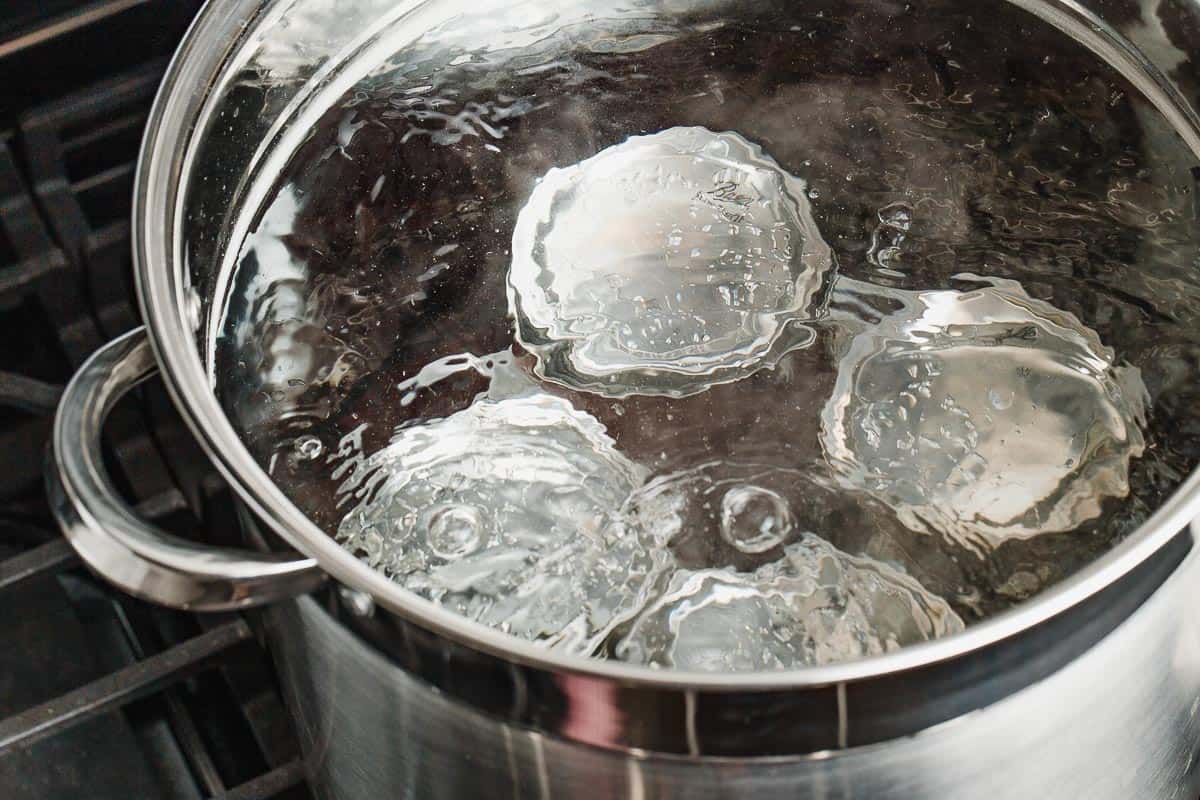
Ensure the water in the canner covers the jars by 1 inch (or 2 inches if processing time is 30 minutes or longer). Cover the canner with a lid and bring to a vigorous boil (212°F). Start the timer for the processing time as specified in your recipe, adjusting for altitude if needed. Maintain a full boil throughout the entire processing time. If the water stops boiling, bring it back to a boil and restart the timer. Add more boiling water if necessary to keep jars covered. - Finish Processing:
After processing, turn off the heat. Remove the lid and let the jars sit in the canner for 5 minutes to prevent syphoning. Use a jar lifter to remove jars and place them on a kitchen towel or heat-safe surface. Leave 1 inch of space between jars to cool for 12-24 hours. - Final Steps:
Once cooled, remove the rings and check seals. Wash jars in soapy water, label, and date. Store jars without rings to prevent a false seal.
A proper seal
After removing the jars from the canner, it's crucial to let them rest undisturbed for 12 to 24 hours. This allows the lids to seal properly on their own. You'll know the lid is sealed when it's indented and you can lift the jar by the lid.
Avoid checking the seals before 12 hours to prevent creating a false seal by pressing down on the lid prematurely.
How to adjust water bath times at different altitudes
Processing times for water bath canning are typically based on altitudes at or below 1,000 feet above sea level. When water bath canning at altitudes higher than 1,000 feet above sea level, adjust processing time according to this chart.
| Altitude in feet | Increase Processing Time |
| 1,001 to 3,000 | 5 minutes |
| 3,001 to 6,000 | 10 minutes |
| 6,001 to 8,000 | 15 minutes |
| 8,001 to 10,000 | 20 minutes |
Processing time will depend on the size of the jar, the recipe, and whether it is hot or raw packed.
FAQs
According to the USDA, canned food stored in a cool, dry place stays good for at least 1 year. But if it's kept in a warm spot near heat sources or sunlight, it might lose quality within a few weeks or months.
To sterilize jars, submerge in boiling water for a minimum of 10 minutes, at 0-1,000 feet above sea level. In other words, when recipe processing times are 10 minutes or more at this elevation, pre-sterilization of jars in unnecessary.
If the processing time is less than 10 minutes for your recipe, at 0-1,000 feet above sea level, you have two choices.
Increase the processing time to 10 minutes, which is safe for most recipes.
Pre-sterilize jars in boiling water for 10 minutes before filling jars.
Headspace is the distance between the top of the food and the top of the jar's rim, as specified by each recipe. Recipes vary in headspace requirements because some foods expand when canned.
For jams and jellies, use a ¼-inch headspace, while many pickle recipes recommend a ½-inch headspace. Following these guidelines ensures your canned food is properly preserved.
A "false seal" occurs when a jar appears to be properly sealed, but the seal is not actually airtight or secure. This can happen if the lid is pressed down prematurely before the jar has cooled and sealed naturally.
Leaving rings on jars during storage can also lead to false seals. That's why it's recommended to store your jars without the rings. If a lid is loose or comes off when you pick up the jar, do not consume the contents as they could be unsafe.
If you encounter spoiled home-canned food, it's important to dispose of it properly. You can refer to the guidelines provided by the National Center for Home Food Preservation for safe disposal procedures.
Tomatoes for many years were considered a high-acid food. However, some varieties may have a pH level greater than 4.6. To ensure a safe pH level for boiling water canning of whole, crushed, or juiced tomatoes, use the following measurements.
1 quart of tomatoes - add 2 tablespoons of bottled lemon juice or ½ teaspoon of citric acid.
1 pint of tomatoes- add 1 tablespoon of bottled lemon juice or ¼ teaspoon of citric acid.
Acid can be added directly to the jars before filling the jars with product.
Foods with a pH level of 4.6 or lower are considered high-acid food and may be preserved using the boiling water canning method.
A few examples of high-acid foods are lemons, pickles, berries, apricots, plums, apples, peaches, pears, tomatoes*, and relish*.
*Recipes include an acid in the form of 5% acidity vinegar, bottled lemon juice, citric acid, and some citrus fruit to ensure the correct rect pH level is maintained.
Easy canning recipes
I hope you found this guide to water bath canning helpful and complete. If you have any questions feel free to ask them in the comment section below!
How to Use a Water Bath Canner
Instructions
- Prepare jars, rings and lids by washing in warm sudsy water. Inspect each jar for chips and cracks.
- Place a second pot of water on to boil in case more hot water is needed during processing. Keep clean jars warm by placing them in the extra pot of hot water until ready to fill.
- Preheat the water while you are preparing your food. If raw-packing (140°F) or hot-packing (180°F).
- Working with one jar at a time, remove a warm jar from the canner and fill it with food, leaving the appropriate headspace according to your recipe. De-bubble, wipe off rim of jar with a wet napkin and place lid on top. Screw ring on jar until "finger tight".
- Load the filled jar into the canner using a jar lifter. Make sure to keep the jar upright at all times to prevent leakage between the lid and rim. Repeat with remaining jars. If using suspended rack, lower it into the water.
- Add more water to the canner if necessary to cover the jars by 1 inch of water. If processing time is 30 minutes or longer, make sure the jars are covered by 2 inches of water.
- Cover the canner with a lid and cook over high heat until the water reaches a vigorous boil (212°F).
- Set timer for processing time called for in the recipe, adjusting for altitude if necessary. Keep the water at a boil for the entire processing time. If the water stops boiling while processing, bring it back up to a full boil and restart the time. Continue to check and add more boiling water if necessary.
- Once the processing time is up, turn off the heat. Remove the lid and let the jars rest in the canner for 5 minutes to prevent syphoning.
- Use a jar lifter to remove the jars and place them on a kitchen towel, on a heat-safe surface. Make sure there is 1 inch of space in between jars to allow air to circulate. Allow the jars to cool for 12-24 hours before handling.
- Remove the rings and check seals. The lid should be indented and you should be able to lift the jar with the lid without in coming off. Wash jars in soapy water, label and date. Store jars without rings to prevent a "false seal".
Disclaimer - Amy Duska and Little Spoon Farm, follow the recommended guidelines provided by sources such as the National Center for Home Food Preservation and Ball Fresh Preserving. When preserving food it is of upmost importance to follow federally approved guidelines for food safety. For your own safety, always do your research before following canning recipes that are posted online. Read information on food safety and botulism before water bath canning or pressure canning.
Amy, Thanks so much for the really easy to follow explanation and tips about/on water bath canning. Probably the best advice I have come across 🙏
Some of my jam jars started sealing (ping) before I could get them into the water bath…is this ok?
Yes it's ok, but still go ahead and process them!
Hi Sally. I love the marble in your kitchen. Can you tell me what kind it is, and have you had any problems with it? Your blog is wonderful, and it was a help to me today as I was making pickles and needed a little refresher. Thanks so much!
Hi Christina! It's actually not marble, it's laminate countertops!
Thanks Sally!
Thank you so much for such an informative article. I was interested in canning but didn't know where to start! This is complete from A-Z. Can't wait to get started! Thank you.
Thanks Kelly! Feel free to ask questions once you get started! 🙂