There's no pizza like sourdough pizza! With a crispy, chewy crust that is perfectly charred on top and bottom and loaded with all the good stuff.
We've developed an easy overnight dough that will hold all your favorite pizza toppings and bake to perfection every time, without a pizza peel.
Get your stretchy pants ready because you won't be able to eat just one slice!

We love all things sourdough around here, and pizza crust is right at the top of the list. Especially when it's this easy to make!
This is the perfect recipe to use with your leftover sourdough starter discard. Just like our cinnamon rolls, pancakes, and sourdough biscuits, plan to make the dough the night before you want to bake.
Let the dough ferment on the counter while you sleep and then pop it in the fridge the next morning. Your pizza dough will be waiting for you to bake when you get home from work and you'll be ready to get dinner on the table!
Be sure to check out the recipes for homemade pizza sauce and homemade pesto. The perfect compliment to your pizza!
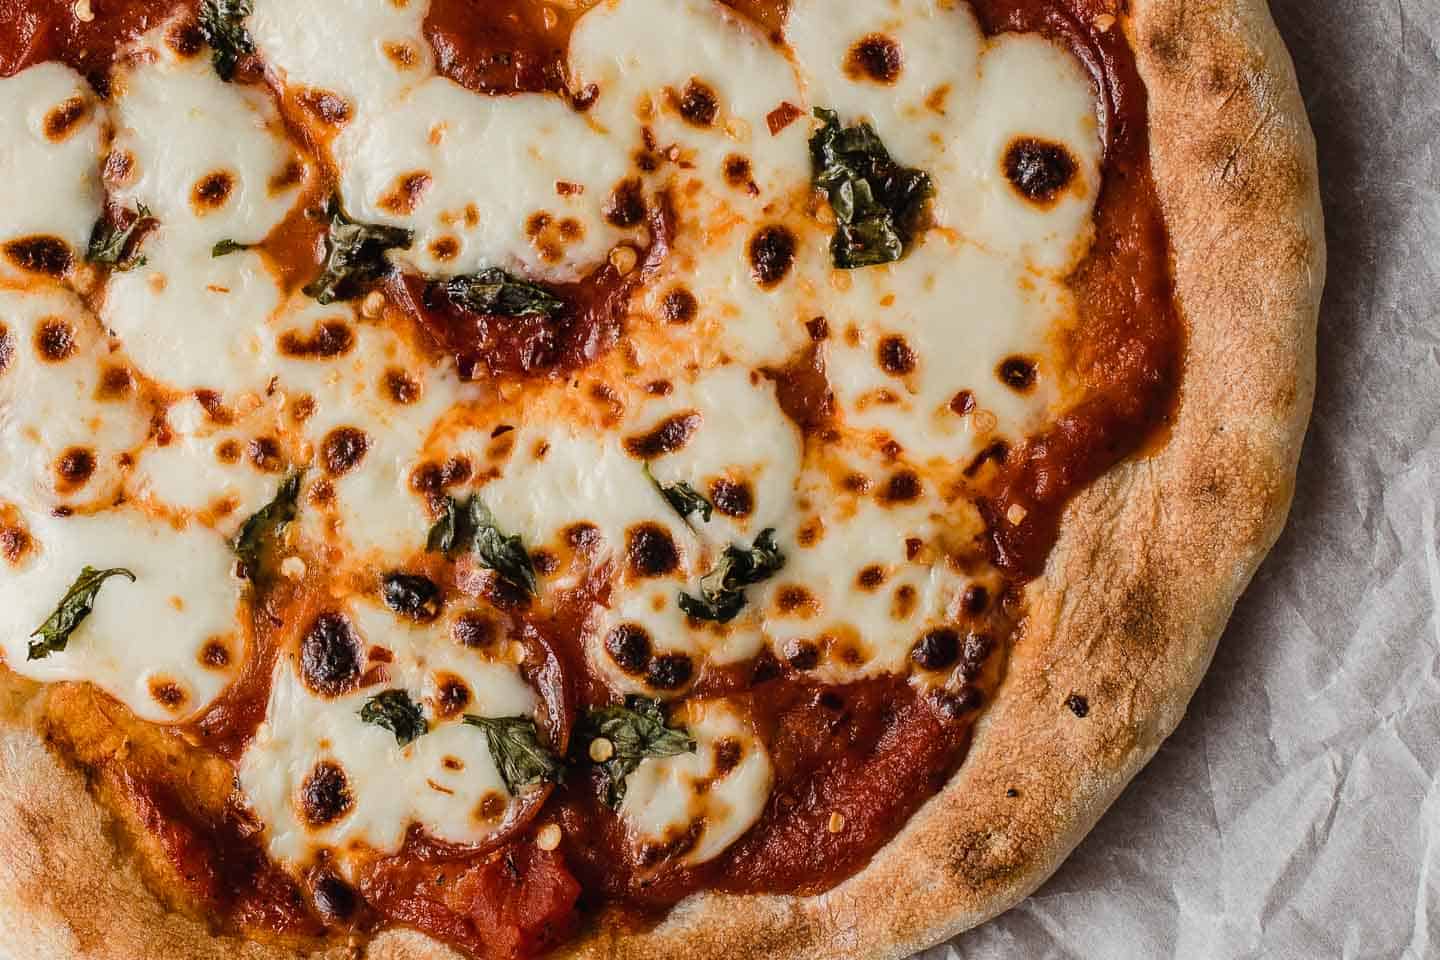
There are only a few steps standing between you and sourdough pizza crust bliss. Let's go over the basic steps, so you can get some in your belly, ASAP!
Jump to:
Sample baking schedule
Here's my baking schedule for family pizza night!
- 8 PM - The night before, mix the dough, cover the bowl, and let it sit at room temperature overnight.
- 8 AM - The next morning, perform one set of stretches and folds. Cover the bowl and place in the fridge until ready to cook.
- 5 PM - Remove the bowl of dough from the fridge.
- 5:30 PM - Cook pizzas.
Step-by-step instructions
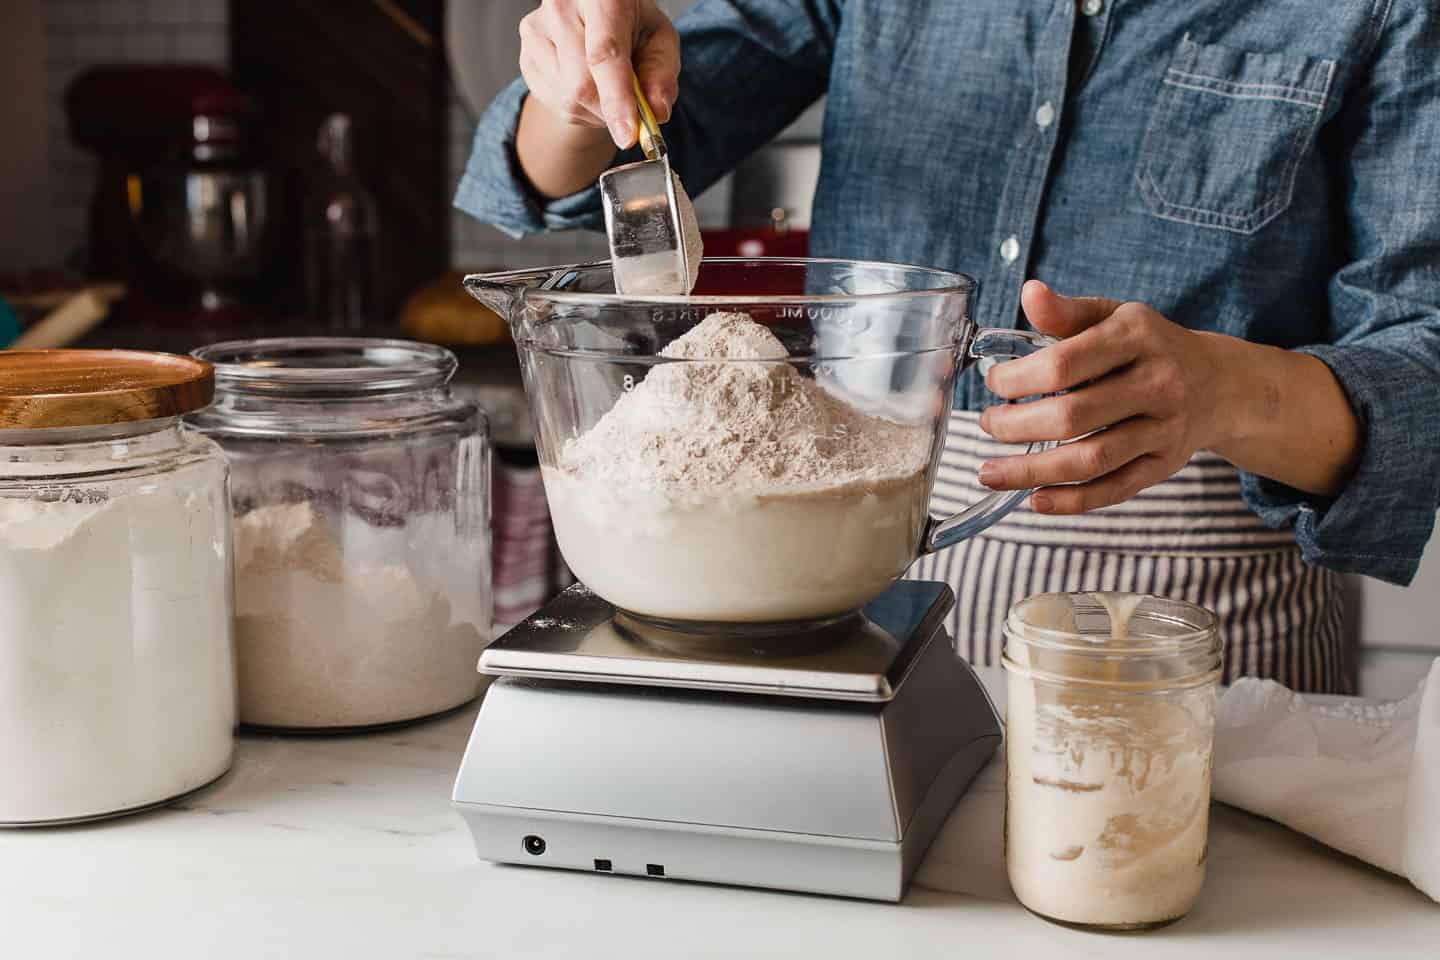
STEP 1. Mix the pizza crust ingredients in a large mixing bowl until they come together and form a shaggy mass. Cover the bowl and let it ferment on the counter at room temperature overnight.
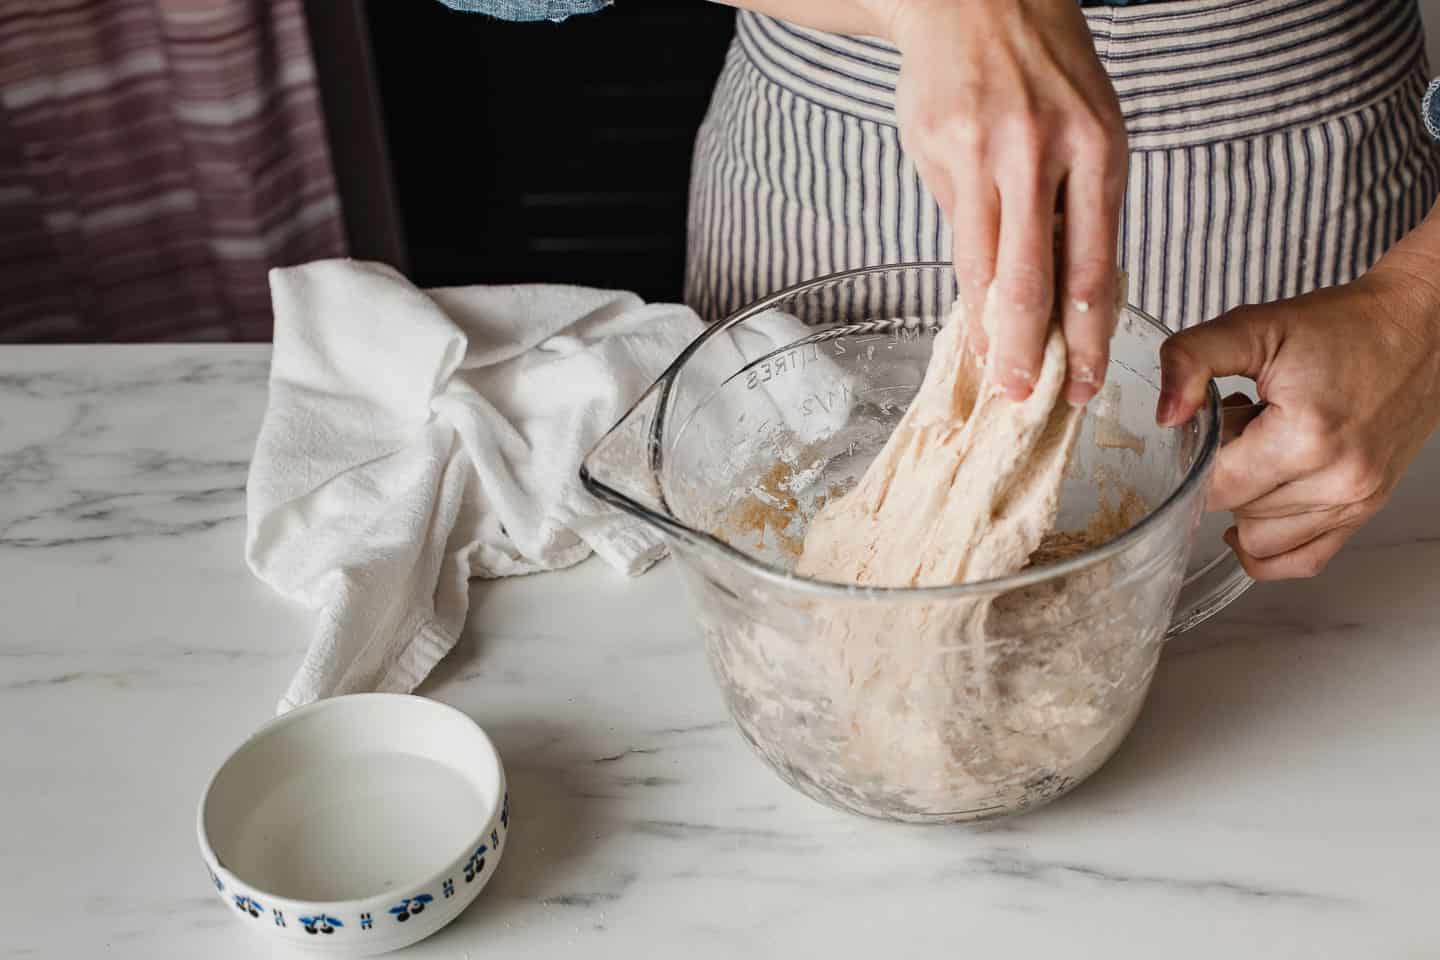
STEP 2. The next morning, perform one set of stretches and folds, cover the bowl, and place in the fridge until ready to bake. (The dough can be used to make the pizza crust at this point.)
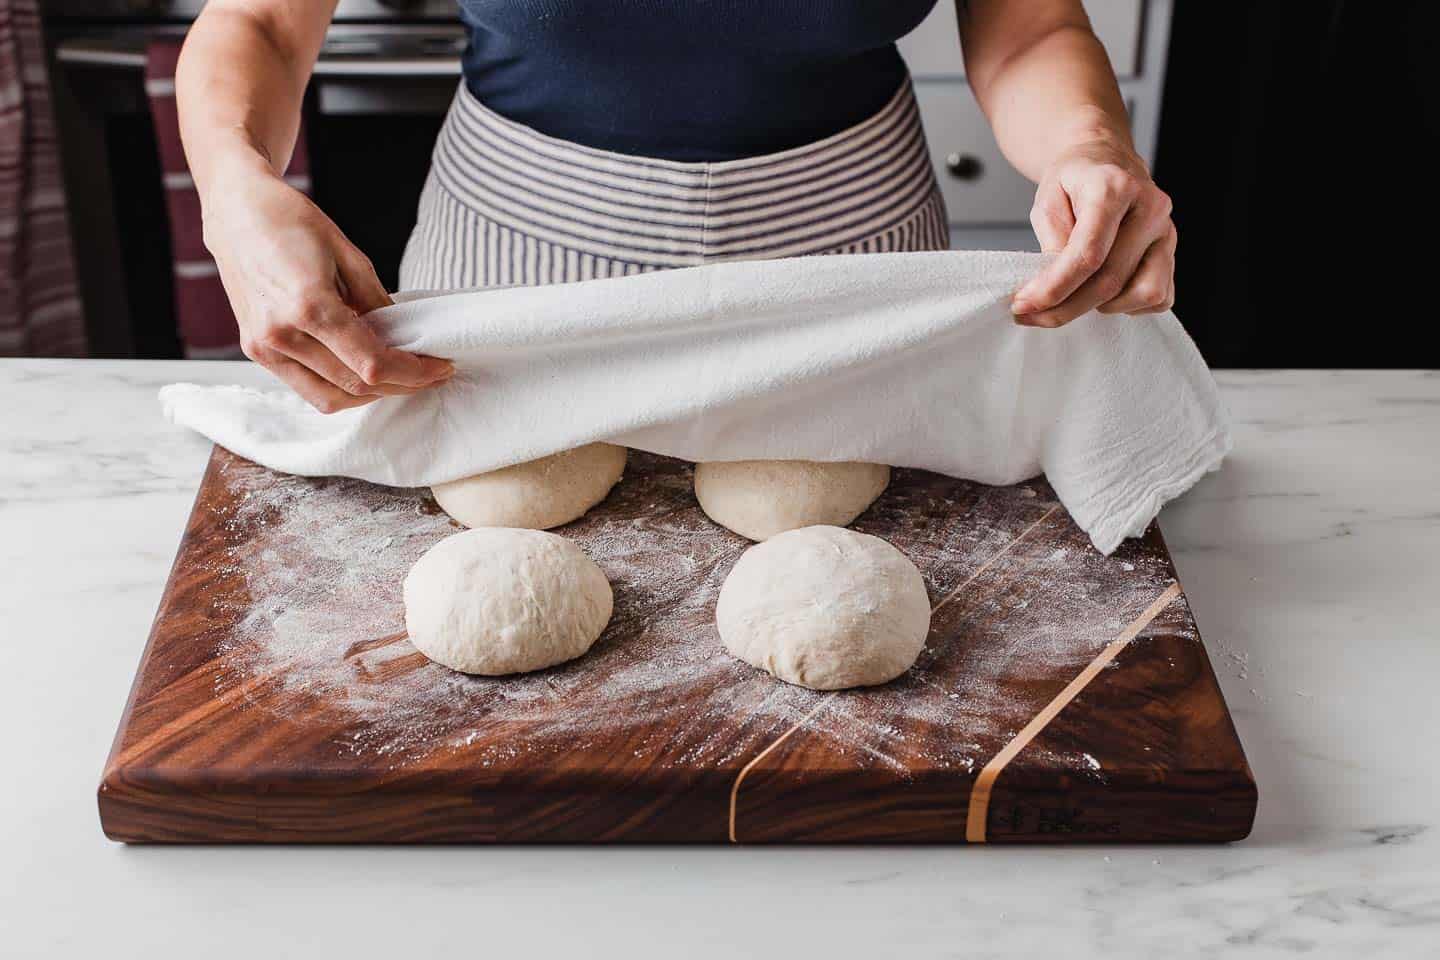
STEP 3. Remove the dough from the fridge and let sit at room temperature for 30 minutes. Divide the dough into 4 equal portions, flour your work surface, and shape each portion into a ball shape. Cover with a towel and let rest for 30 minutes.
STEP 4. Turn your oven's broiler on HI and preheat your cast iron skillet over medium-high heat on the stovetop.
Working one at a time on a floured surface, press a dough ball into an 8" wide circle. If the dough is sticky, generously flour the work surface and the top of the dough as needed to prevent sticking.
TIP - If the dough is stiff and hard to shape, let it rest for 15-20 minutes to allow the gluten to relax. This will make it easier to stretch into a nice round shape.
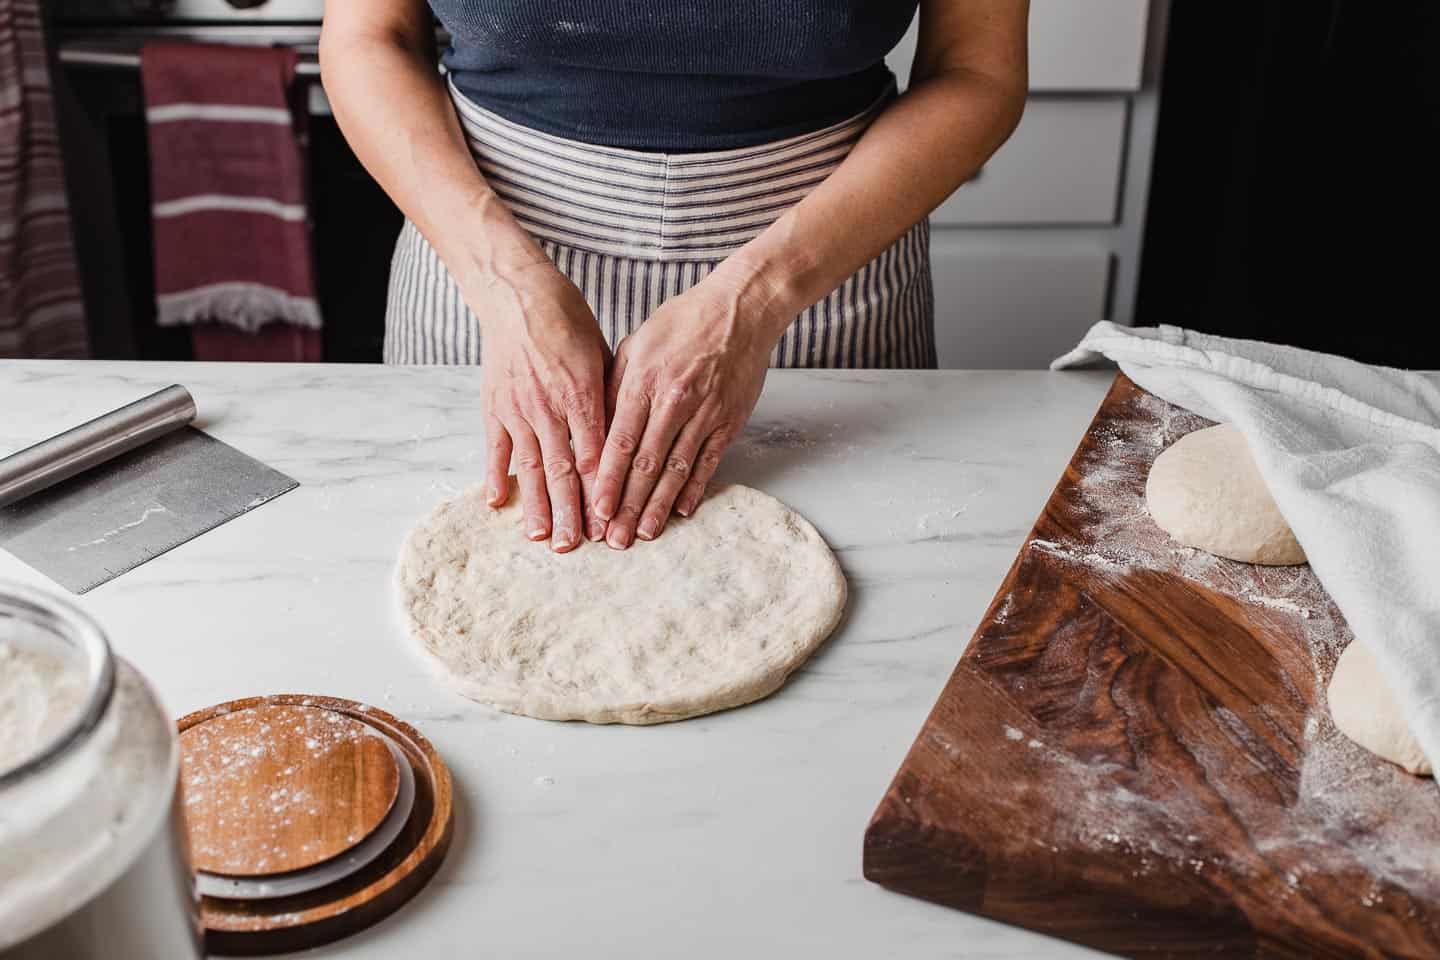
STEP 5. Carefully lay the crust into the hot skillet, making sure not to burn yourself.
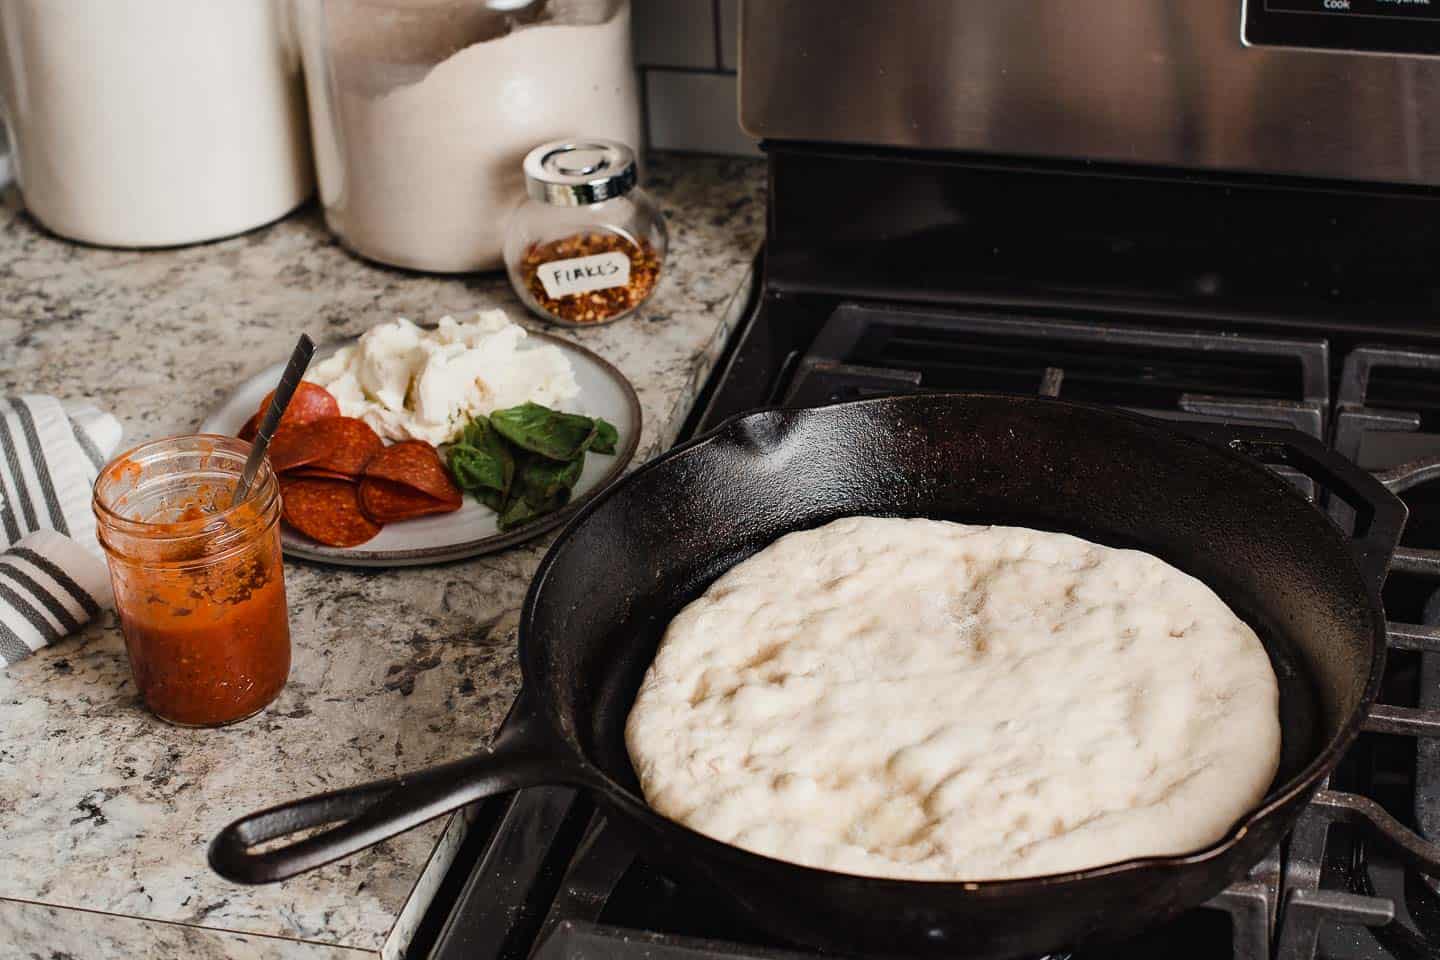
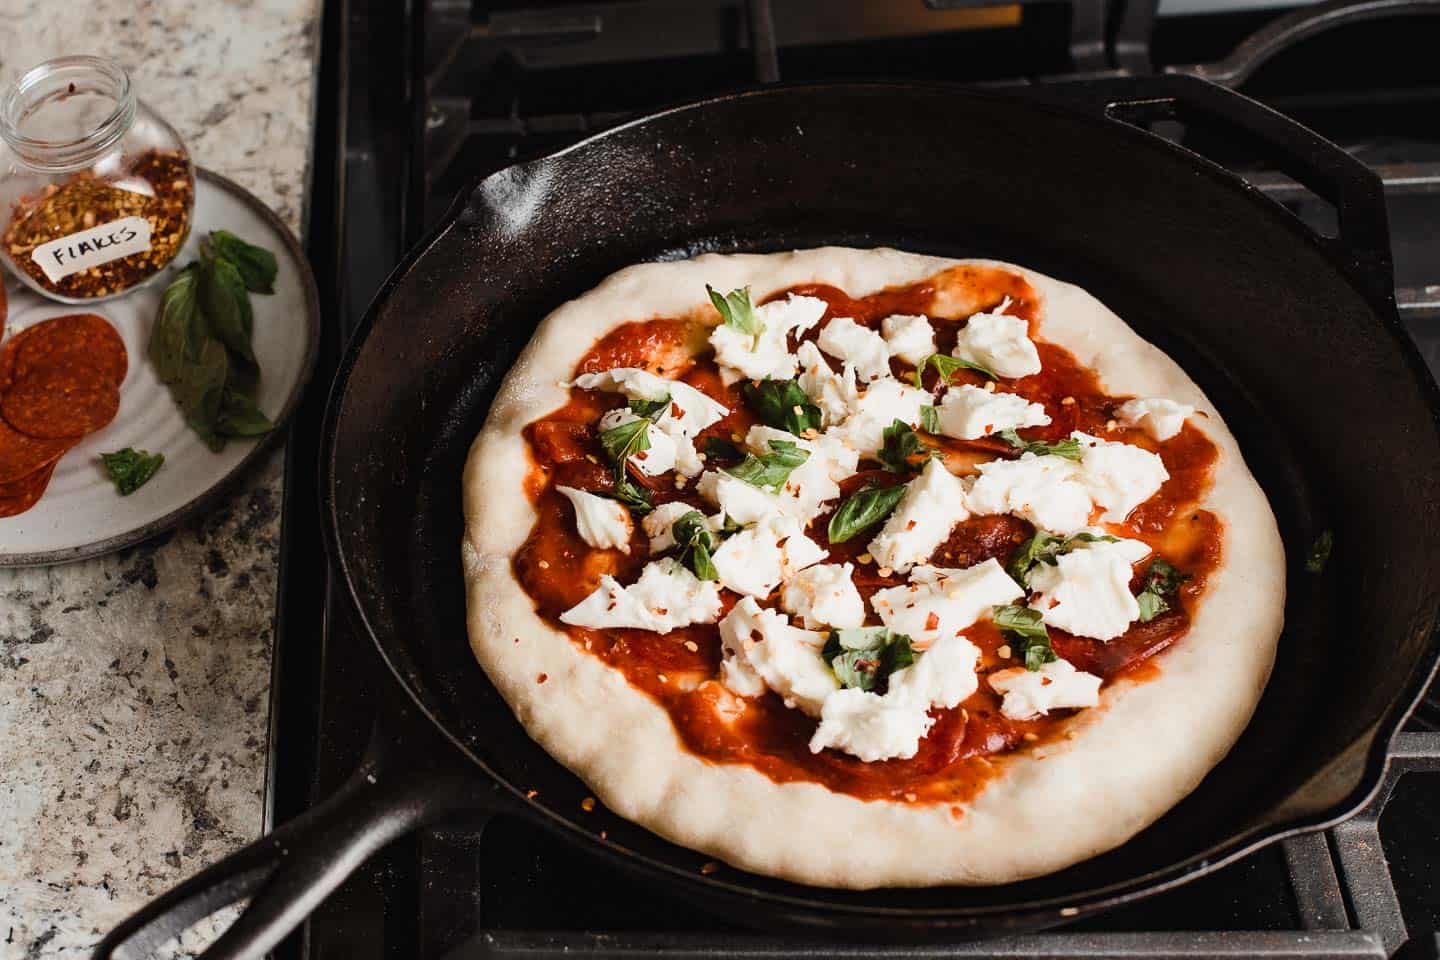
STEP 6. Immediately place your pizza toppings onto the crust. Cook on the stovetop for 5-6 minutes. Use a spatula to lift the crust in order to check the bottom for doneness. It should have a nice char.
Once the bottom is well cooked, transfer the skillet under the broiler for 2-4 minutes to cook the toppings. Check on the pizza frequently to avoid the crust and toppings from burning.
STEP 7. Remove the pizza from your oven and cut it into slices!
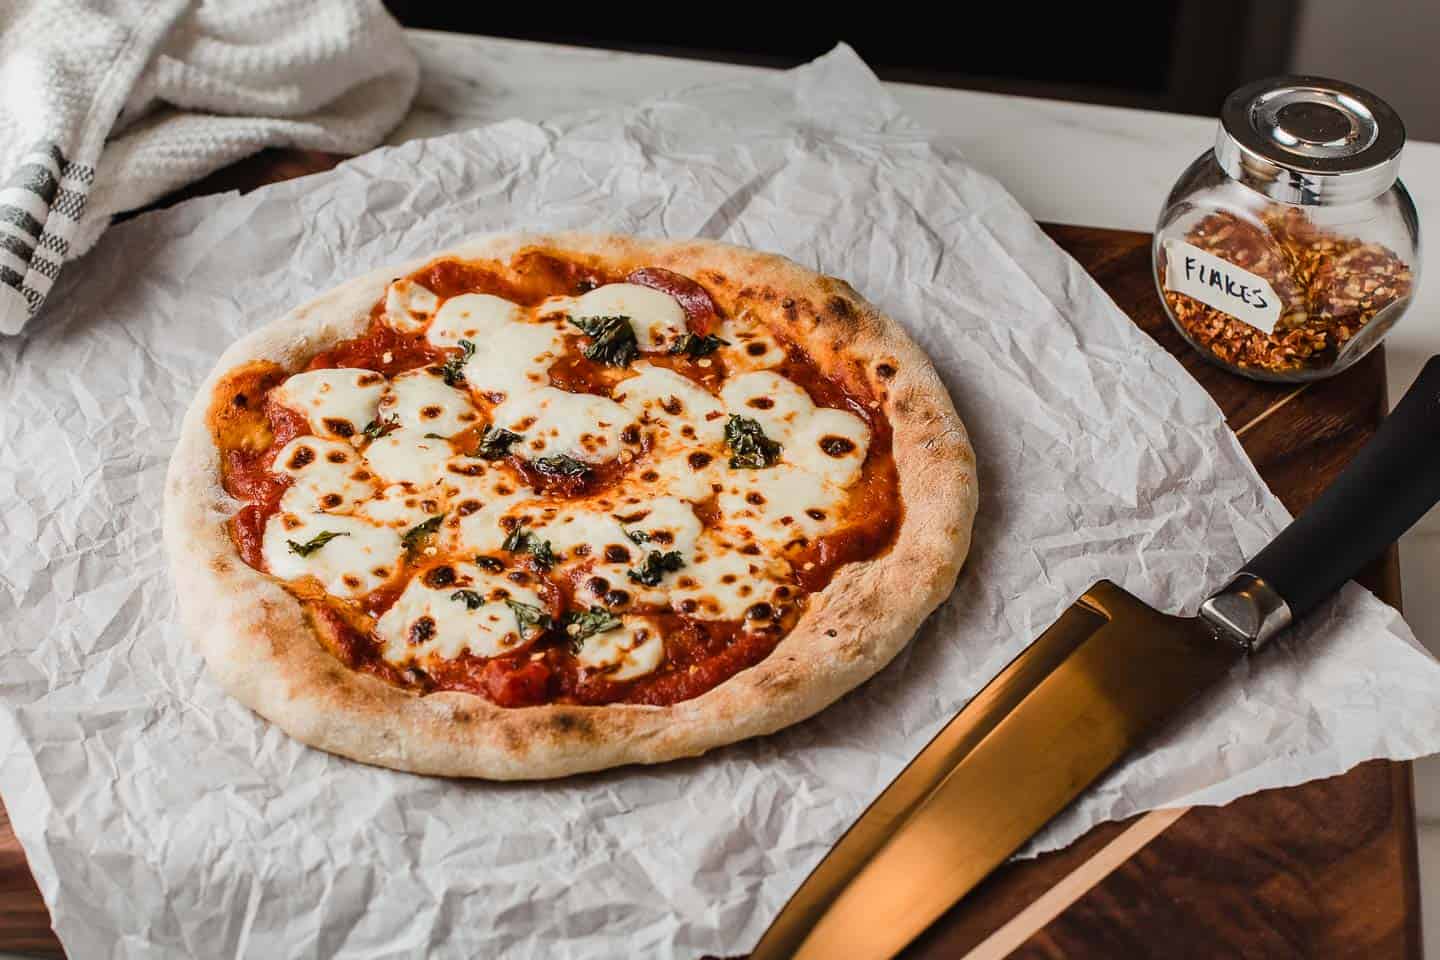
Cooking this sourdough pizza crust in a cast iron skillet makes all the difference! It's so easy to go from stove-top to broiler without messing up the pizza crust.
Tips for success
- If you do not have an oven-safe or cast iron skillet, start the pizza on the stovetop in a non-stick skillet. When the pizza is ready to go under the broiler, carefully slide the crust onto a baking sheet to finish it.
- Remember, don't be afraid to generously flour the work surface and the dough while shaping the pizza crust. Anytime your hands start to stick, add more flour.
- Have your pizza toppings ready to go before you shape the dough into the pizza crust. It only takes a few minutes on the stovetop before it's ready to pop into the oven to finish.
- This recipe makes (4) 8" pizza crusts. The dough can be divided in half to make (2) 16" pizzas.
Adjustments for high humidity and warmer weather
- In warmer months, reduce the amount of water by 25 grams in the initial mix. If the dough seems too stiff, slowly add the remaining water until you achieve the correct hydration level.
- You can adjust the flour measurements to 75g whole wheat flour and 425g all-purpose flour. Whole wheat needs more water than all-purpose, thus slightly reducing the hydration level of the dough.
How to freeze pizza dough
To freeze unbaked pizza dough, form the dough into 4 balls. Coat them with oil to prevent sticking and place each one into an individual freezer bag. Make sure to remove any air from the bag. Store in the freezer for up to 3 months.
When ready to use, thaw the dough in your refrigerator for 12 hours or overnight. Once you're ready to bake, remove the dough from the refrigerator and bring it to room temperature. Shape the pizza crust and bake according to the directions.
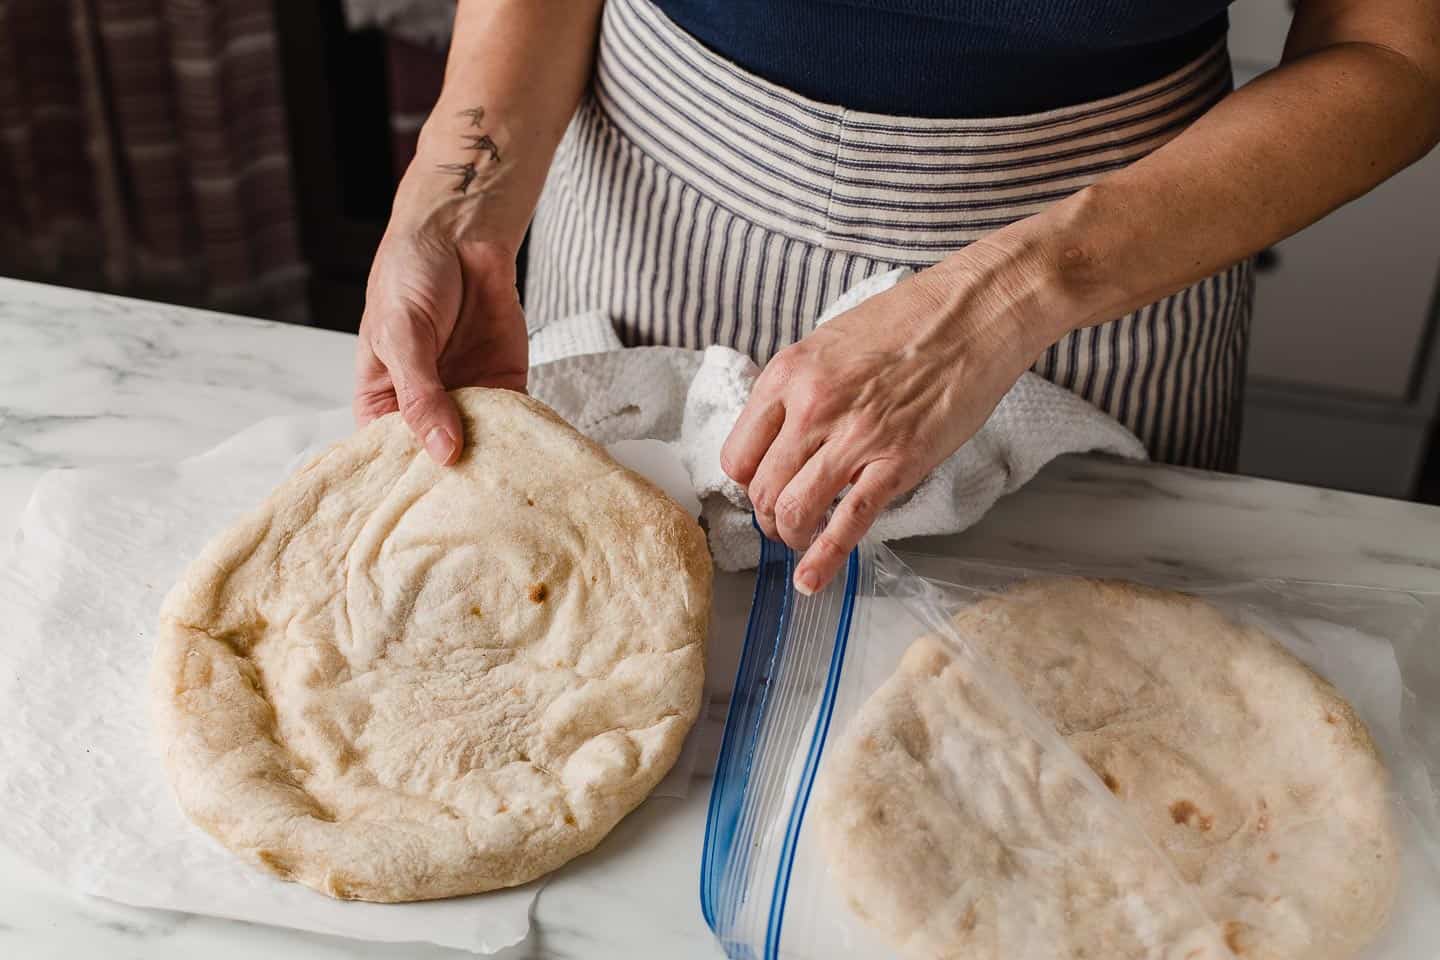
- Shape the crust and cook in the cast iron skillet over medium-high heat for 5-6 minutes. Finish under the broiler for 1-2 minutes.
- Let cool and freeze in a freezer-safe bag between sheets of parchment paper.
- When ready to bake, preheat your oven to 400°F (204°C). Remove the crust from the freezer and place on a baking sheet. (No need to thaw.) Add desired toppings. Bake for about 15-20 minutes or until the crust is golden and toppings are cooked through.

Recommended kitchen tools
- cast iron skillet (affiliate link)
Do you like this recipe? Make sure to subscribe to our newsletter and we'll send you fresh recipes, valuable troubleshooting advice, useful tips, and other information we believe will be helpful to you!
Other sourdough recipes you may like:
If you make this recipe let us know how it turned out! Leave a comment and a rating in the comment section below!

Sourdough Pizza Crust Recipe
EQUIPMENT
- Mixing Bowls
- Kitchen Scale
- 12" Cast Iron Skillet
INGREDIENTS
Sourdough pizza crust
- scant ½ cup (100 g) sourdough starter discard
- 2 teaspoons (10 g) fine sea salt
- 2 tablespoons (30 g) olive oil
- ⅓ cup + 1 tablespoon (50 g) whole wheat flour
- 3 ¾ cups (450 g) all-purpose flour
- 1 ⅓ cups + 2 tablespoons (350 g) water (see notes)
Pizza toppings
- pizza sauce
- homemade pesto
- your choice of toppings
INSTRUCTIONS
The night before
- Add the pizza crust ingredients to a large mixing bowl and use your hands to mix until they are fully incorporated. Cover the bowl and allow the dough to ferment at room temperature overnight.
The next morning
- Perform a set of stretch and folds. Wet your hand with water to prevent the dough from sticking. While the dough is still in the bowl, gently pull one side of the dough up and over itself. Turn the bowl and repeat this on all sides of the dough until you turned the bowl full circle.
- Cover the bowl and place in the fridge, up to 36 hours until ready to bake. (The dough can be used at this point to make your pizza, the cold ferment is optional.)
That night
- Remove the dough and let rest on the counter for 30 minutes to come to room temperature.
- Divide the dough into 4 equal pieces and on a generously floured work surface, shape each portion into ball shape. Cover the mounds with a tea towel let rest 30 minutes.
- Turn on your oven's broiler and heat a cast iron skillet over medium to medium-high heat. While the skillet is preheating, use your hands to press a ball of dough into an 8" circle on a floured surface. Use more flour as needed to prevent sticking. (If you find the dough difficult to shape into a pizza crust, let it to rest on the counter for 15 minutes in order for the gluten to relax.)
- When the skillet is hot, lay the circle of dough onto the skillet. Immediately place the sauce and toppings on the crust and cook for 5-6 minutes or until the bottom of the crust is starting to char.
- Once the bottom has turned brown and charred, transfer the cast iron skillet to the broiler to finish baking the top of the pizza 2-4 minutes. Remove, slice and serve hot.
NOTES
- This recipe has been EDITED on 12-15-20 from the original, with the following changes: water- reduced from 1 ½ cup (375g) to 1 ⅓ cup + 2 tablespoons (350g).
- If you do not have an oven-safe or cast iron skillet, start the pizza on the stove-top in a non-stick skillet. (If it is not a non-stick skillet, spray a little cooking oil to prevent the crust from sticking.) When the pizza is ready to go under the broiler, carefully slide the crust onto a baking sheet to finish it.


Isabel says
Fantastic, keeping this recipe. I used an Electric pizza oven.
Amy says
Thank you Isabel! 🙂
J Itani says
I love this recipe! So easy and delicious! The whole family loved it.
Amy says
Thank you Jaime! 🙂
Michael says
Forgot to mention a couple little tweaks I picked up on another site. After shaping into the individual dough balls and 2-3 hours before using I put them out at room temp on a floured surface. Then I put a little olive oil on the top of the dough ball and spread it out to coat and then keep covered with plastic wrap or a small bowl. Then when spreading the dough into a crust, I don't flip it on the working surface and keep the floured side down and olive oil up. Then when putting in the pan, I put the olive oil side down. This seems to help the crust get a little crispier. And, then you don't end up with any cooked/burnt raw flour which some people say can cause stomach upset. Long explanation for something fairly simple, but, in my explorations with this wonderful recipe, I thought it made a small, worthwhile improvement. The only downside is that the oil can make the uncooked crust a little sticky when putting it down in the hot skillet so a little more technique is required. Might not be worth the hassle for some people, but for the people who like to experiment, give it try. And, one more thing is that subbing 00 Italian flour for the all-purpose flour has made a nice difference in the gluten structure of the dough making it easier to shape without any tearing.
Amy says
Thanks for sharing your tips Michael! 🙂
Krista says
I love this pizza dough! I especially love the method, which creates a perfect crust every time. My whole family goes wild for it.
Question for Amy, have you ever frozen the dough after shaping it? I’m wanting to try that and wonder how it will work. Thanks in advance!
Amy says
Hi Krista! Here's a link to the freezing instructions! 🙂
Michael says
Had a pizza bake-off using this recipe and comparing to fresh pizza dough from TJ's and a multi-grain from Whole Foods. This one was the consensus winner based on responses from the group of eight people. The other great thing about this dough is that after I split into four smaller dough balls it seems to improve even more after three days in the frig. Thanks!
Amy says
Hi Michael, that is so awesome to hear! We absolutely love this recipe and make it every week! 🙂
Susan Freeman says
I’ve been making sourdough bread for decades and am constantly looking for good ways to use my starter discards. This recipe fit the bill in every way. It was delicious, easy, and had the added bonus of being able to freeze the extra dough balls or precooked pizza dough rounds. Thanks so much for the first discard recipe I’ve ever tried that was superb all on its own. I topped my pizzas with homemade pizza sauce made with San Marzano tomatoes, fresh mozzarella, cooked sausage, onions, and basil. I did sub out organic KA bread flour for the AP flour since I was on autopilot while I was measuring and didn’t realize the recipe called for AP flour. Thanks so much for this great recipe.
Amy says
Thank you Susan! 🙂
Meredith says
Hello! I would love to make this recipe but only have all purpose flour. Can I use all AP instead of the whole wheat? Thanks!
Amy says
Yes you can Meredith!
Marianne says
Am I understanding this correctly that this make four 8” pizzas? Thank you.
Marianne says
Also, I’m measuring out the water right now and 350 grams is just a hair under one and TWO THIRDS cups. Am I doing something wrong?
Amy says
Yes that is correct.
Hana says
Thanks a lot for this recipe. It is the best pizza I ever had...I did use spelt flour and rye flour starter...hmm sooo yummy. It did baked lovely in the oven too.
Linda says
First time to make this sourdough crust. I used my previously mix. I cut the recipe in half. I wasn’t sure how the crust was going to turn out.
I am not baker so I am pleasantly surprised. The dough did not rise for me as shown in the demonstration pictures. Next time I will make the full recipe and may not char the bottom in the same.
Items added sauce, green pepper, onion, tomato, goat cheese, mozzarella and uncured Turkey pepperoni.