There's no pizza like sourdough pizza! With a crispy, chewy crust that is perfectly charred on top and bottom and loaded with all the good stuff.
We've developed an easy overnight dough that will hold all your favorite pizza toppings and bake to perfection every time, without a pizza peel.
Get your stretchy pants ready because you won't be able to eat just one slice!

We love all things sourdough around here, and pizza crust is right at the top of the list. Especially when it's this easy to make!
This is the perfect recipe to use with your leftover sourdough starter discard. Just like our cinnamon rolls, pancakes, and sourdough biscuits, plan to make the dough the night before you want to bake.
Let the dough ferment on the counter while you sleep and then pop it in the fridge the next morning. Your pizza dough will be waiting for you to bake when you get home from work and you'll be ready to get dinner on the table!
Be sure to check out the recipes for homemade pizza sauce and homemade pesto. The perfect compliment to your pizza!

There are only a few steps standing between you and sourdough pizza crust bliss. Let's go over the basic steps, so you can get some in your belly, ASAP!
Jump to:
Sample baking schedule
Here's my baking schedule for family pizza night!
- 8 PM - The night before, mix the dough, cover the bowl, and let it sit at room temperature overnight.
- 8 AM - The next morning, perform one set of stretches and folds. Cover the bowl and place in the fridge until ready to cook.
- 5 PM - Remove the bowl of dough from the fridge.
- 5:30 PM - Cook pizzas.
Step-by-step instructions
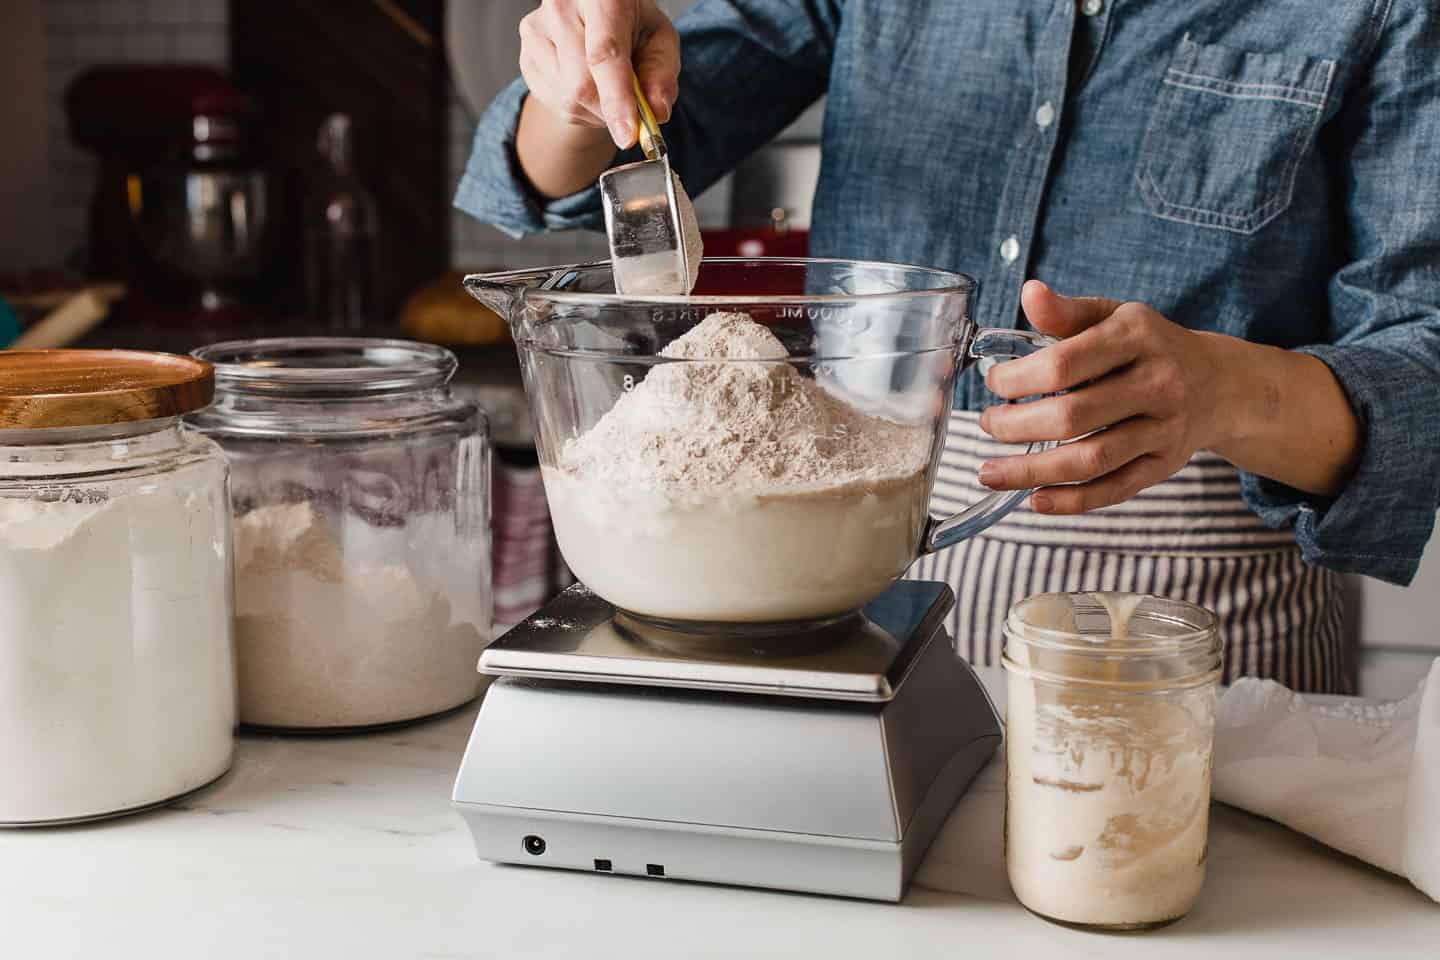
STEP 1. Mix the pizza crust ingredients in a large mixing bowl until they come together and form a shaggy mass. Cover the bowl and let it ferment on the counter at room temperature overnight.
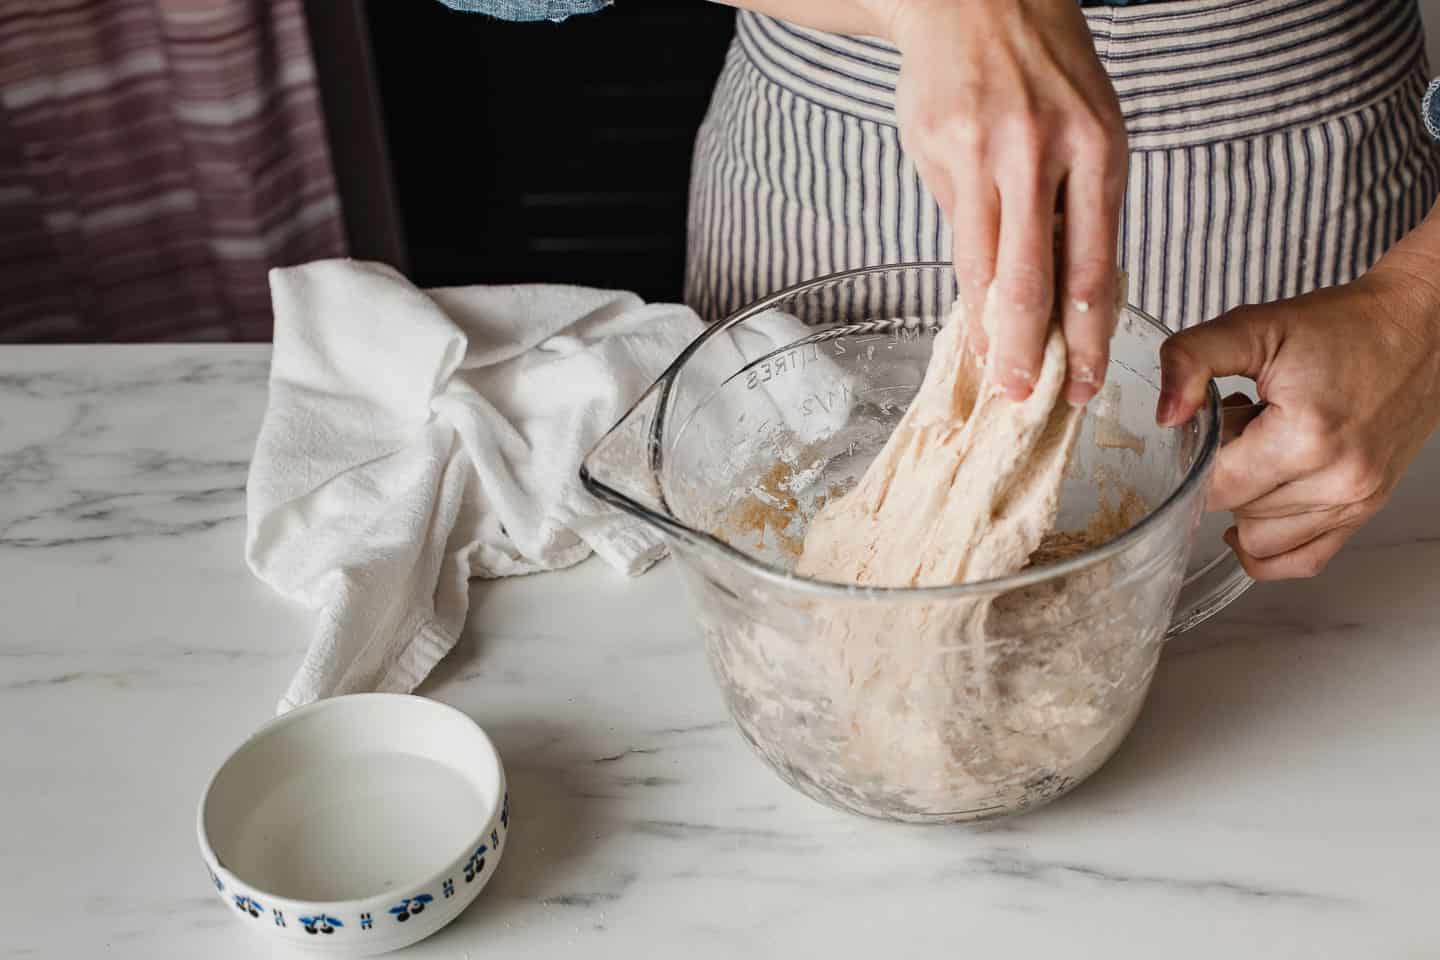
STEP 2. The next morning, perform one set of stretches and folds, cover the bowl, and place in the fridge until ready to bake. (The dough can be used to make the pizza crust at this point.)
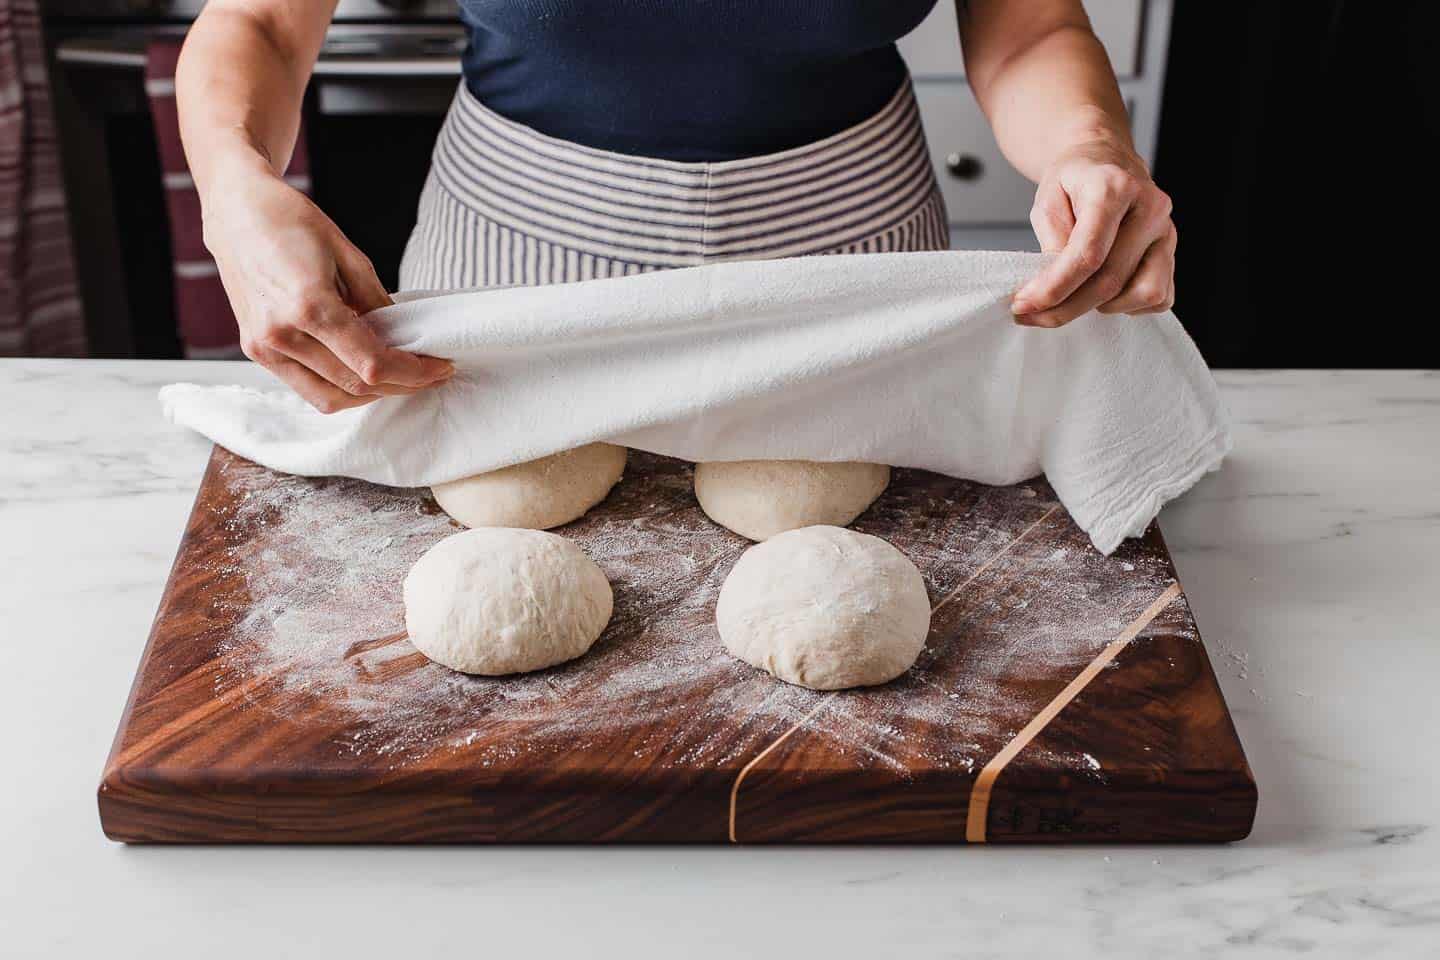
STEP 3. Remove the dough from the fridge and let sit at room temperature for 30 minutes. Divide the dough into 4 equal portions, flour your work surface, and shape each portion into a ball shape. Cover with a towel and let rest for 30 minutes.
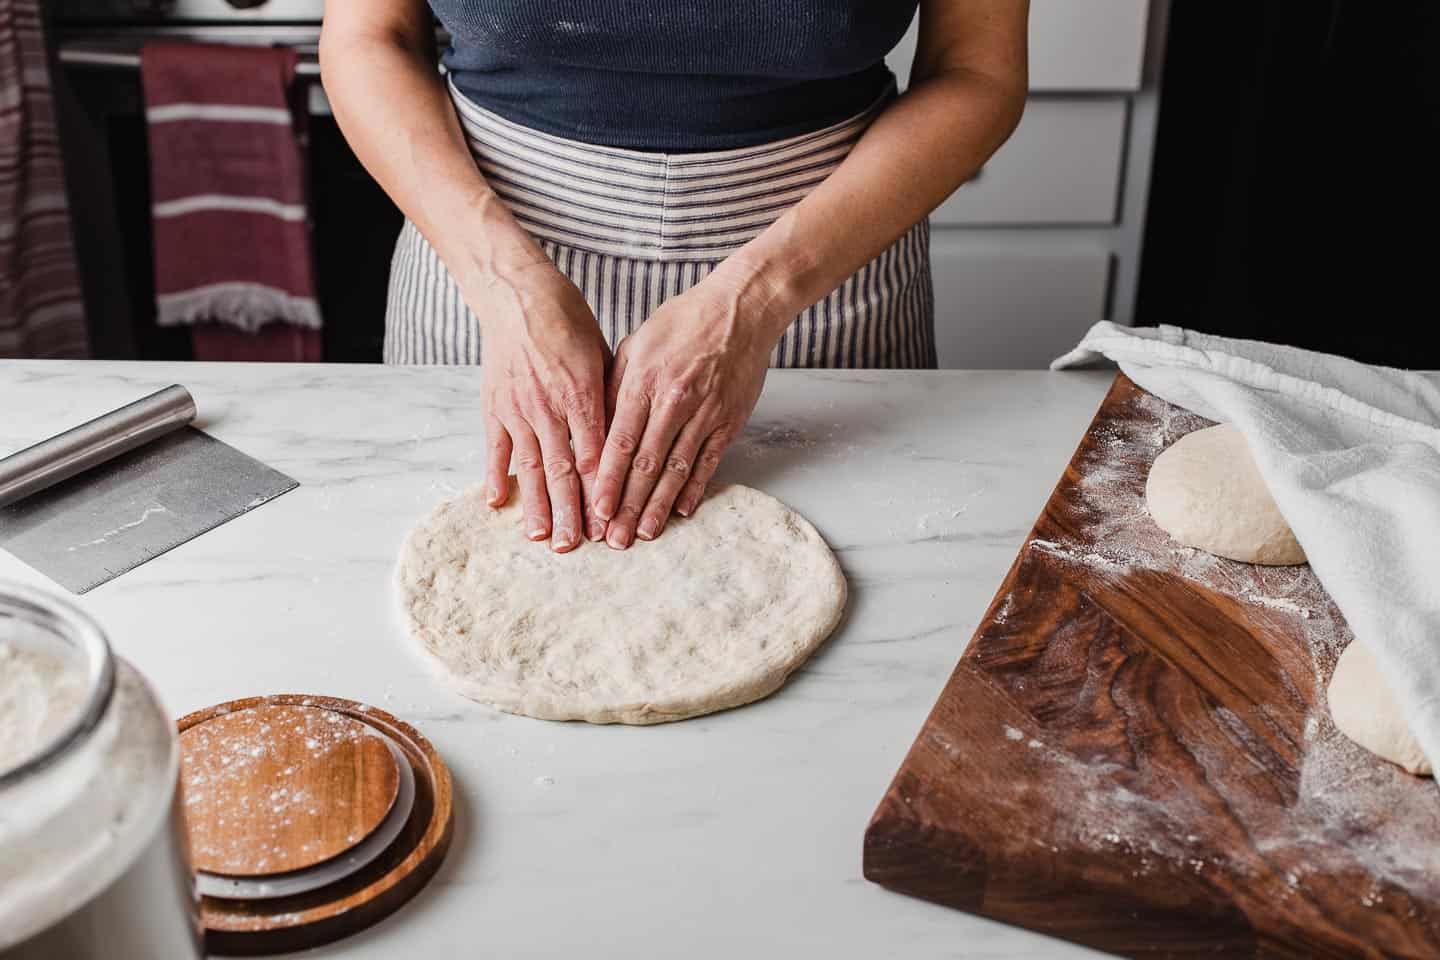
STEP 4. Turn your oven's broiler on HI and preheat your cast iron skillet over medium-high heat on the stovetop.
Working one at a time on a floured surface, press a dough ball into an 8" wide circle. If the dough is sticky, generously flour the work surface and the top of the dough as needed to prevent sticking.
TIP - If the dough is stiff and hard to shape, let it rest for 15-20 minutes to allow the gluten to relax. This will make it easier to stretch into a nice round shape.
STEP 5. Carefully lay the crust into the hot skillet, making sure not to burn yourself.
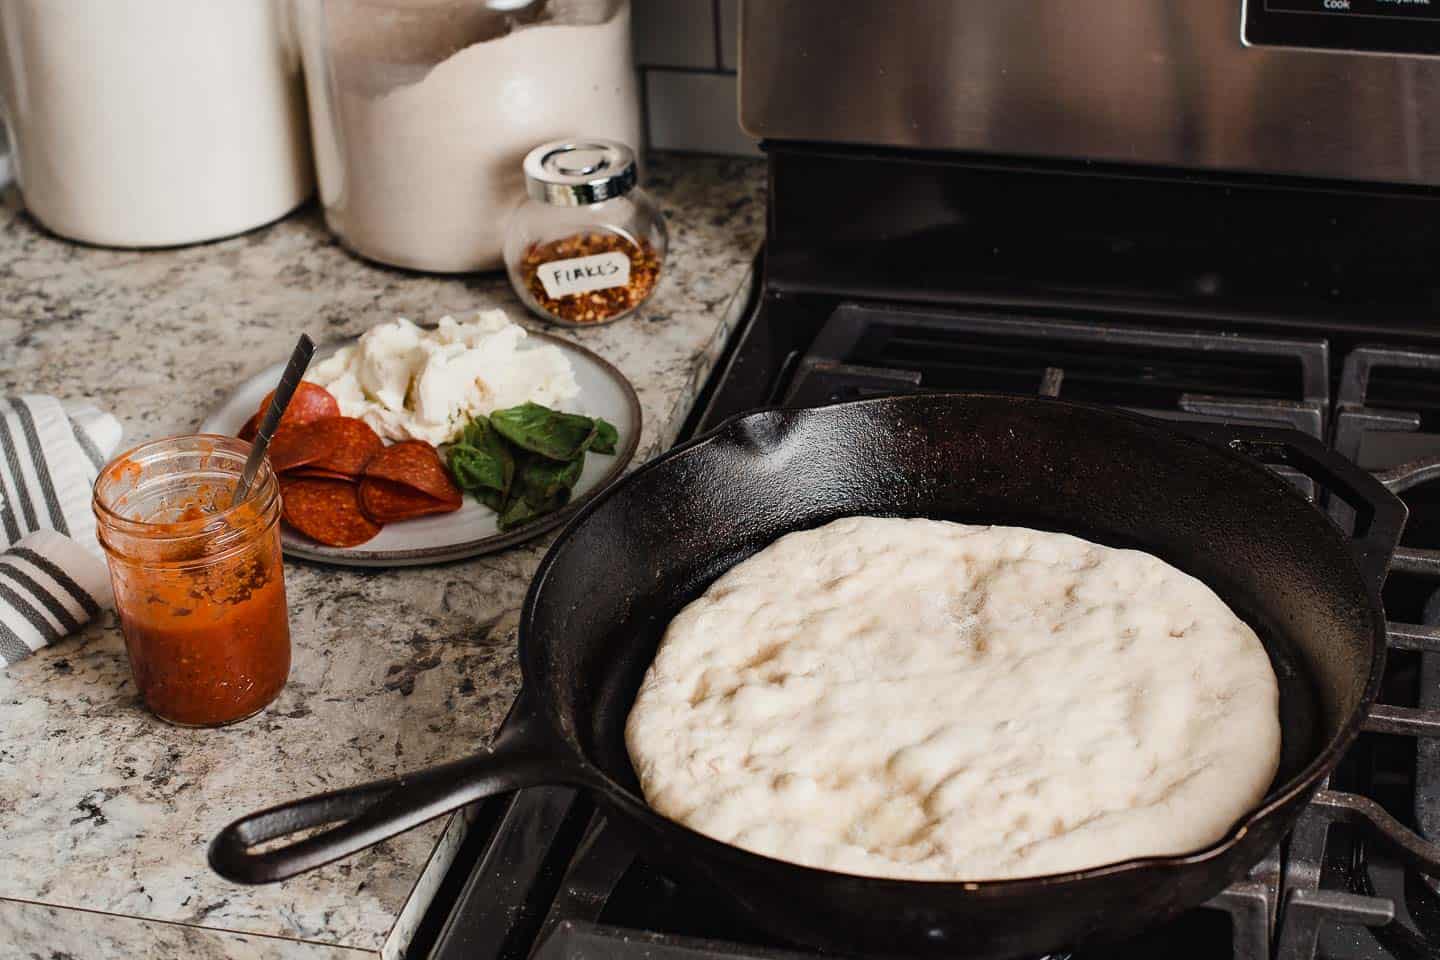
STEP 6. Immediately place your pizza toppings onto the crust. Cook on the stovetop for 5-6 minutes. Use a spatula to lift the crust in order to check the bottom for doneness. It should have a nice char.
Once the bottom is well cooked, transfer the skillet under the broiler for 2-4 minutes to cook the toppings. Check on the pizza frequently to avoid the crust and toppings from burning.

STEP 7. Remove the pizza from your oven and cut it into slices!

Cooking this sourdough pizza crust in a cast iron skillet makes all the difference! It's so easy to go from stove-top to broiler without messing up the pizza crust.
Tips for success
- If you do not have an oven-safe or cast iron skillet, start the pizza on the stovetop in a non-stick skillet. When the pizza is ready to go under the broiler, carefully slide the crust onto a baking sheet to finish it.
- Remember, don't be afraid to generously flour the work surface and the dough while shaping the pizza crust. Anytime your hands start to stick, add more flour.
- Have your pizza toppings ready to go before you shape the dough into the pizza crust. It only takes a few minutes on the stovetop before it's ready to pop into the oven to finish.
- This recipe makes (4) 8" pizza crusts. The dough can be divided in half to make (2) 16" pizzas.
Adjustments for high humidity and warmer weather
- In warmer months, reduce the amount of water by 25 grams in the initial mix. If the dough seems too stiff, slowly add the remaining water until you achieve the correct hydration level.
- You can adjust the flour measurements to 75g whole wheat flour and 425g all-purpose flour. Whole wheat needs more water than all-purpose, thus slightly reducing the hydration level of the dough.
How to freeze pizza dough
To freeze unbaked pizza dough, form the dough into 4 balls. Coat them with oil to prevent sticking and place each one into an individual freezer bag. Make sure to remove any air from the bag. Store in the freezer for up to 3 months.
When ready to use, thaw the dough in your refrigerator for 12 hours or overnight. Once you're ready to bake, remove the dough from the refrigerator and bring it to room temperature. Shape the pizza crust and bake according to the directions.
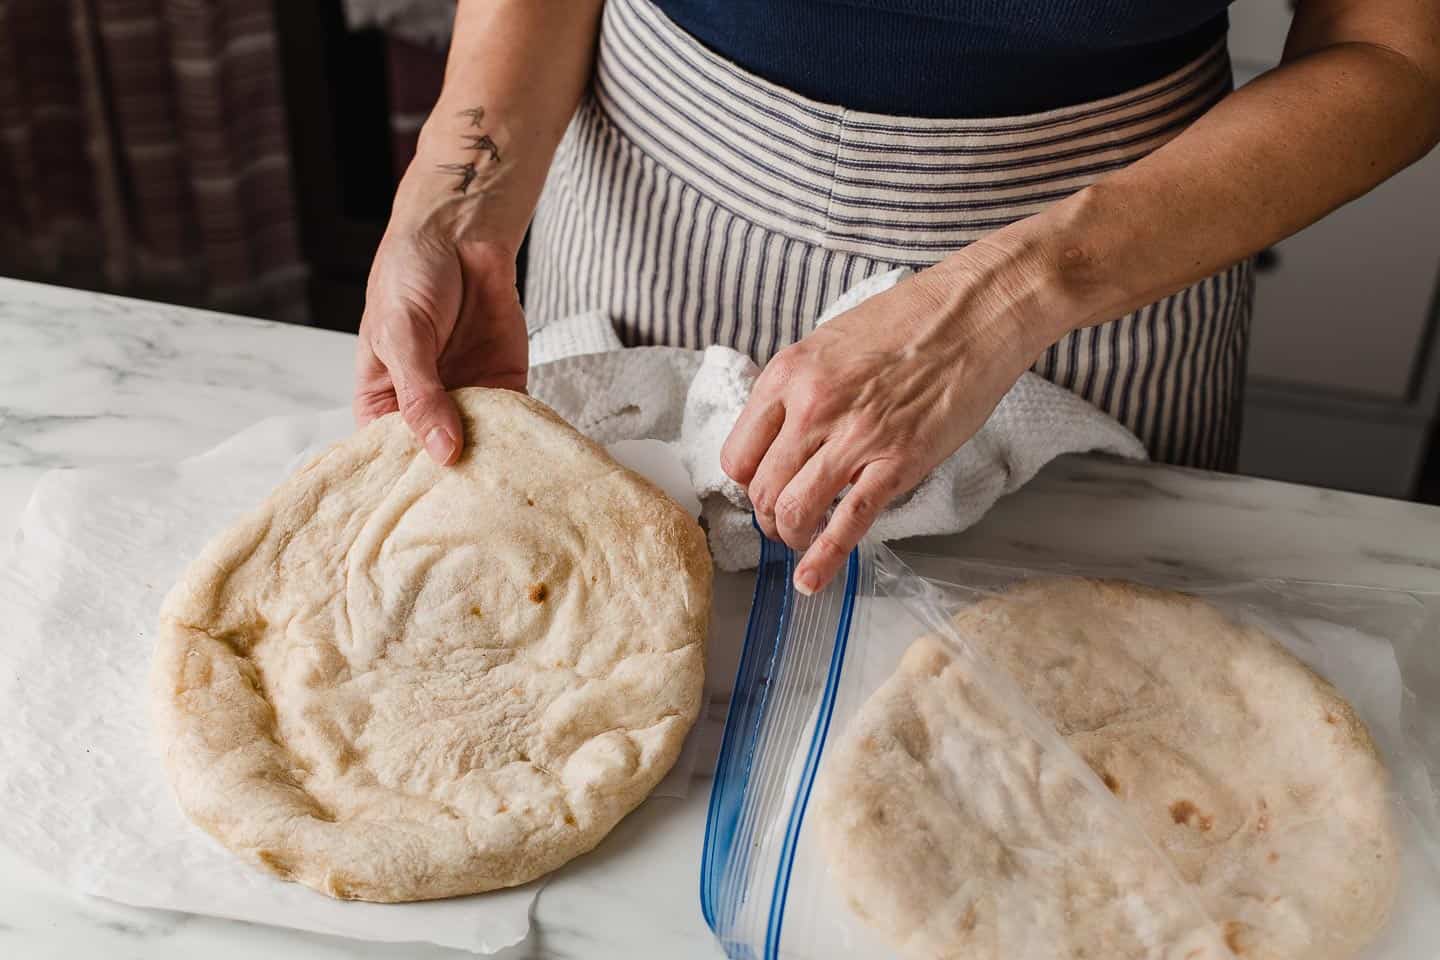
- Shape the crust and cook in the cast iron skillet over medium-high heat for 5-6 minutes. Finish under the broiler for 1-2 minutes.
- Let cool and freeze in a freezer-safe bag between sheets of parchment paper.
- When ready to bake, preheat your oven to 400°F (204°C). Remove the crust from the freezer and place on a baking sheet. (No need to thaw.) Add desired toppings. Bake for about 15-20 minutes or until the crust is golden and toppings are cooked through.

Recommended kitchen tools
- cast iron skillet (affiliate link)
Do you like this recipe? Make sure to subscribe to our newsletter and we'll send you fresh recipes, valuable troubleshooting advice, useful tips, and other information we believe will be helpful to you!
Other sourdough recipes you may like:
If you make this recipe let us know how it turned out! Leave a comment and a rating in the comment section below!

Sourdough Pizza Crust Recipe
EQUIPMENT
- Mixing Bowls
- Kitchen Scale
- 12" Cast Iron Skillet
INGREDIENTS
Sourdough pizza crust
- scant ½ cup (100 g) sourdough starter discard
- 2 teaspoons (10 g) fine sea salt
- 2 tablespoons (30 g) olive oil
- ⅓ cup + 1 tablespoon (50 g) whole wheat flour
- 3 ¾ cups (450 g) all-purpose flour
- 1 ⅓ cups + 2 tablespoons (350 g) water (see notes)
Pizza toppings
- pizza sauce
- homemade pesto
- your choice of toppings
INSTRUCTIONS
The night before
- Add the pizza crust ingredients to a large mixing bowl and use your hands to mix until they are fully incorporated. Cover the bowl and allow the dough to ferment at room temperature overnight.
The next morning
- Perform a set of stretch and folds. Wet your hand with water to prevent the dough from sticking. While the dough is still in the bowl, gently pull one side of the dough up and over itself. Turn the bowl and repeat this on all sides of the dough until you turned the bowl full circle.
- Cover the bowl and place in the fridge, up to 36 hours until ready to bake. (The dough can be used at this point to make your pizza, the cold ferment is optional.)
That night
- Remove the dough and let rest on the counter for 30 minutes to come to room temperature.
- Divide the dough into 4 equal pieces and on a generously floured work surface, shape each portion into ball shape. Cover the mounds with a tea towel let rest 30 minutes.
- Turn on your oven's broiler and heat a cast iron skillet over medium to medium-high heat. While the skillet is preheating, use your hands to press a ball of dough into an 8" circle on a floured surface. Use more flour as needed to prevent sticking. (If you find the dough difficult to shape into a pizza crust, let it to rest on the counter for 15 minutes in order for the gluten to relax.)
- When the skillet is hot, lay the circle of dough onto the skillet. Immediately place the sauce and toppings on the crust and cook for 5-6 minutes or until the bottom of the crust is starting to char.
- Once the bottom has turned brown and charred, transfer the cast iron skillet to the broiler to finish baking the top of the pizza 2-4 minutes. Remove, slice and serve hot.
NOTES
- This recipe has been EDITED on 12-15-20 from the original, with the following changes: water- reduced from 1 ½ cup (375g) to 1 ⅓ cup + 2 tablespoons (350g).
- If you do not have an oven-safe or cast iron skillet, start the pizza on the stove-top in a non-stick skillet. (If it is not a non-stick skillet, spray a little cooking oil to prevent the crust from sticking.) When the pizza is ready to go under the broiler, carefully slide the crust onto a baking sheet to finish it.


Tracy McGee says
Baked 2 immediately and were delicious!
Froze the other 2 balls of dough only to take them out 1 month later with mold. Very weird! Nothing else in that freezer showing any signs of temperature changes or problems. Very sad.
Will try again and do the baking then freezing method.
But, again the first 2 were great!
Amanda says
I love this recipe! I want to make it for a larger crowd. Is this recipe fine to double or even triple? Thanks!
Cara P says
Followed the recipe exactly and froze the dough for a later day. We made them with friends and everyone loved them! My husband asked if I could make more the next night! The cast iron doesn’t need to be as hot as I thought it did. I am used to making steaks in it so definitely pre heated it too much and my first one cooked really fast. Still delicious though!
one thing, the instructions say to add toppings after you put the crust in the cast iron. we added toppings before on one pizza and it was a mess!! lesson learned- do as she says and add toppings after the crust is already in the cast iron.
so easy and sooo delicious! we are already making more and giving some to friends and family.
Jamie LaRue says
This is our family’s favorite sourdough pizza recipe, and we make it every Friday night! We’ve tried lots and lots of sourdough pizza recipes, but this one is the best by far. So simple, foolproof, and yummy. I was skeptical of the skillet process, but it’s easy as pie and the crust turns out amazing. Highly recommend!
Cherilyn Hawkins says
How long can this dough stay in the fridge?
Amy says
I've kept mine in the fridge for up to 4 days with no issues.
Karen says
Can you freeze the dough and use it for future pizzas?
Kym says
Can you let this ferment for longer than 12 hrs on the counter?
Amy says
No, the dough would over-ferment.
Sue Havlish says
We are totally spoiled and don’t like any pizza now except for this! Thank you so much )and it does freeze very, very well).
Lauren says
FYI the tortilla link above recipe box goes to wrong post
Amy says
Thank you!
Stephanie says
I’d like to try this tonight but I don’t have whole wheat flour. Can I use all purpose in place of it? Thank you so much for sharing your recipe!
Amy says
Yes you can 🙂