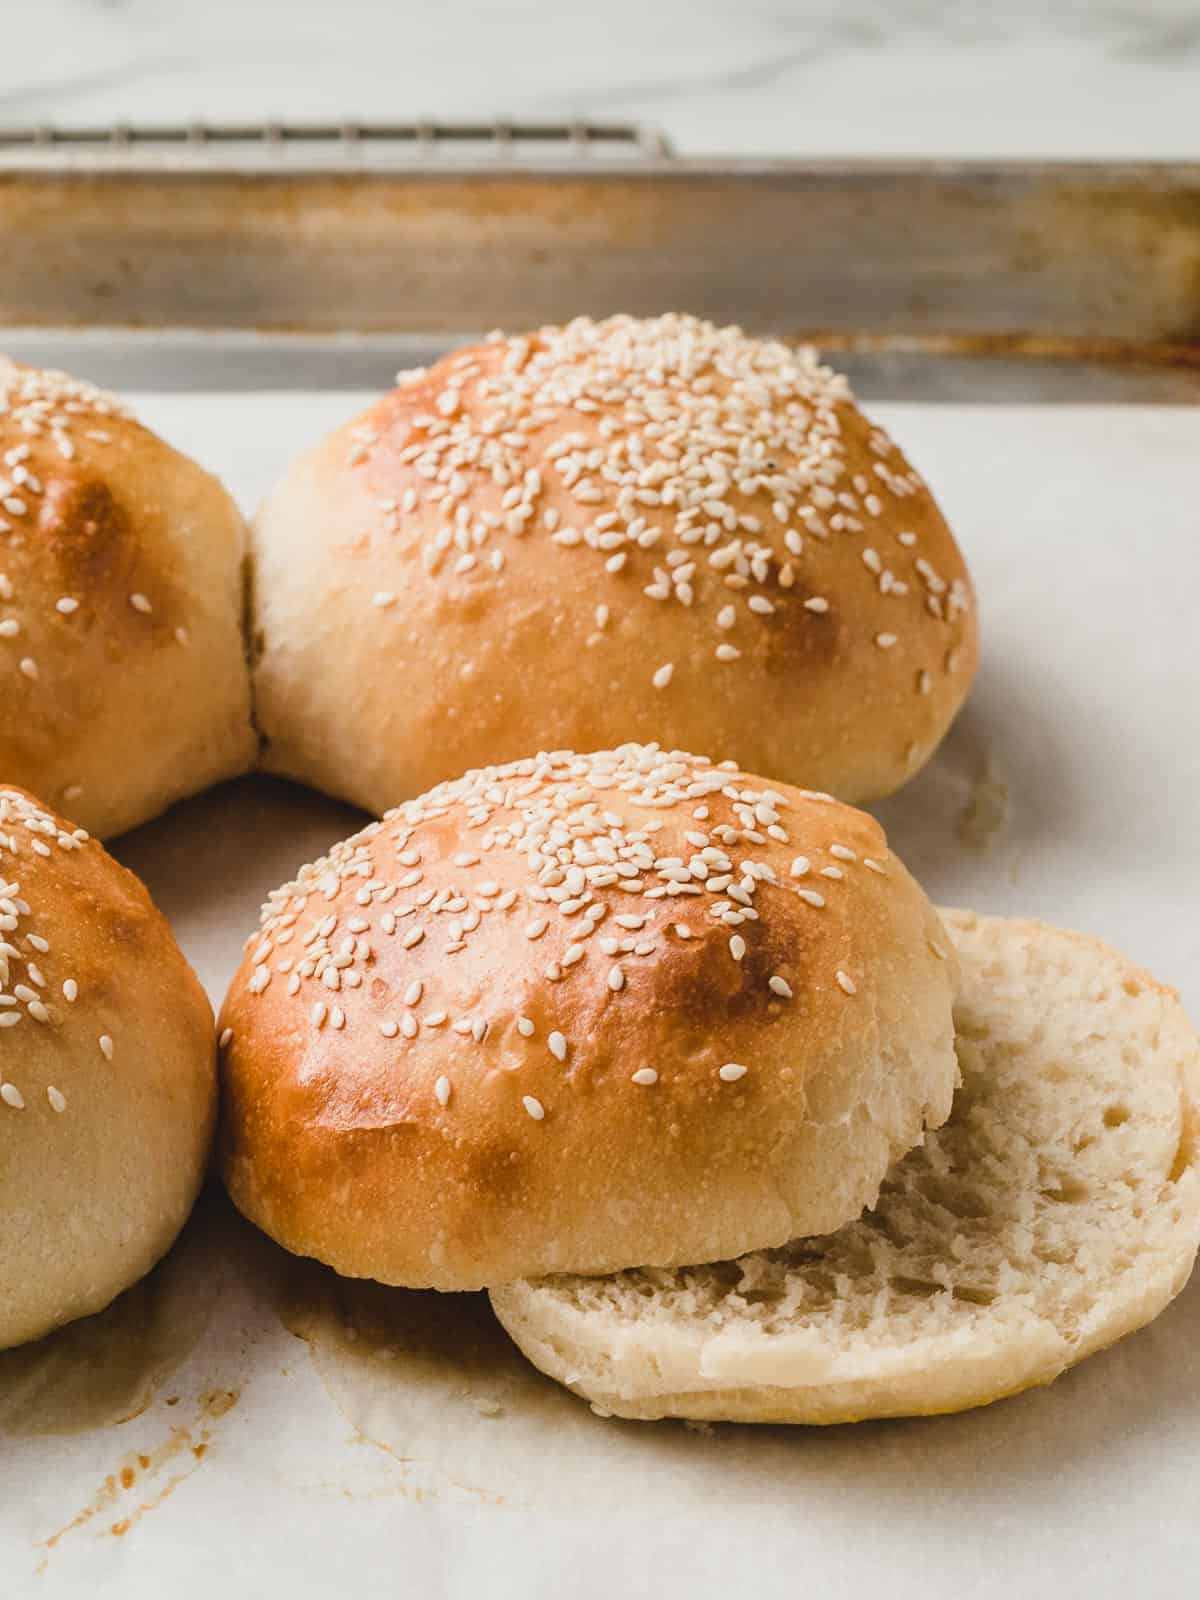
Sourdough hamburger buns are easy to make with your sourdough starter and a few simple ingredients. Mix the dough in the morning and bake them fresh for dinner the same day!
We love making as many baked goods with a sourdough starter as we can.
Instead of buying things such as tortillas, pizza crust or bagels at the store, it's easy to make them from scratch using a sourdough starter.
These homemade sourdough hamburger buns are so soft and fluffy. Whether you're craving a juicy cheeseburger or a delicious bean burger, these buns will become your new favorite way to stack them!
This recipe makes 6 nice sized hamburger buns. The dough can also be shaped into 6 hotdog buns.
Jump to:
Sample baking schedule
I tested this recipe in a 72°F (22°C) kitchen. Warmer kitchens will need less time for the dough to double and colder kitchens will need more time.
The night before
- 8:00 PM: Feed your sourdough starter.
The next morning
- 8:00 AM: Mix the dough and let rest for 30 minutes.
- 8:30 AM: Perform a set of stretch and folds.
- 9:00 AM: Perform second set of stretch and folds.
- 9:30 AM: Perform third set of stretch and folds. Cover and let rest until the dough has doubled in size.
- 3:30 PM: Divide and shape the dough. Cover and let rest until puffy.
- 5:00 PM: Brush dough with an egg-wash, sprinkle sesame seeds and bake.
Ingredients needed
- All-purpose flour: Up to 25% of the flour can be substituted with whole wheat flour if desired. You will need to add more water to the dough. Somewhere between 25-30g should be enough. Add it slowly until you get the right consistency.
- Sugar: Honey or maple syrup can be used in place of granulated sugar.
- Salt
- Water
- Egg: You will mix an egg with a tablespoon of water to use as an egg wash before baking the buns.
- Sesame seeds: This ingredient is optional but highly recommended! Regular, toasted or black sesame seeds can be used.
Step-by-step instructions
Let's go over the step-by-step instructions for making the best sourdough hamburger buns from scratch!
Feed your sourdough starter - 8 PM
The night before you plan to mix your dough, feed your sourdough starter. You will need 50g of active starter.
You can mix it directly in the bowl you plan to use for your dough or, measure it into a clean jar.
Mix the dough - 8 AM
In the morning, add the flour, sugar, salt, active sourdough starter and water into a large bowl. Mix everything together until the dough forms a shaggy mass.
Cover the dough and let it rest at room temperature for 30 minutes so the flour can absorb the water.
Stretch and fold - 8:30 AM
After the 30 minutes is up, perform a set of stretch and folds. Cover the dough and repeat this step 2 more times, spaced 30 minutes apart.
First rise - 9:30-3:30 PM*
After the last stretch and fold, cover the dough and allow it to rise until it has doubled in size.
*The first rise time is based on a kitchen temperature of 72°F (22°C). Adjust your rise time accordingly. Warmer needs less time, cooler needs more time.
Divide and shape - 3:30 PM
After the dough has doubled, it's time to divide it and shape it into buns.
Please note that the dough will be VERY sticky and a little difficult to work with if you are new to sourdough baking. (Make sure to watch the video where you can see how I handle the dough during the shaping process.)
Turn the dough out onto a generously floured surface. It should be floured enough for the dough to slide around without sticking.
Use a bench scraper to divide the dough into 6 even portions. They should weigh about 112-115g each.
NOTE: You'll want the top of the dough to be free of flour so that as you shape the buns, the dough will stick to itself.
To shape the buns, pull the dough up on one side and press it into the center on top of the dough. Repeat this until you've come full circle around the dough and then flip the dough so that the seam side is facing down.
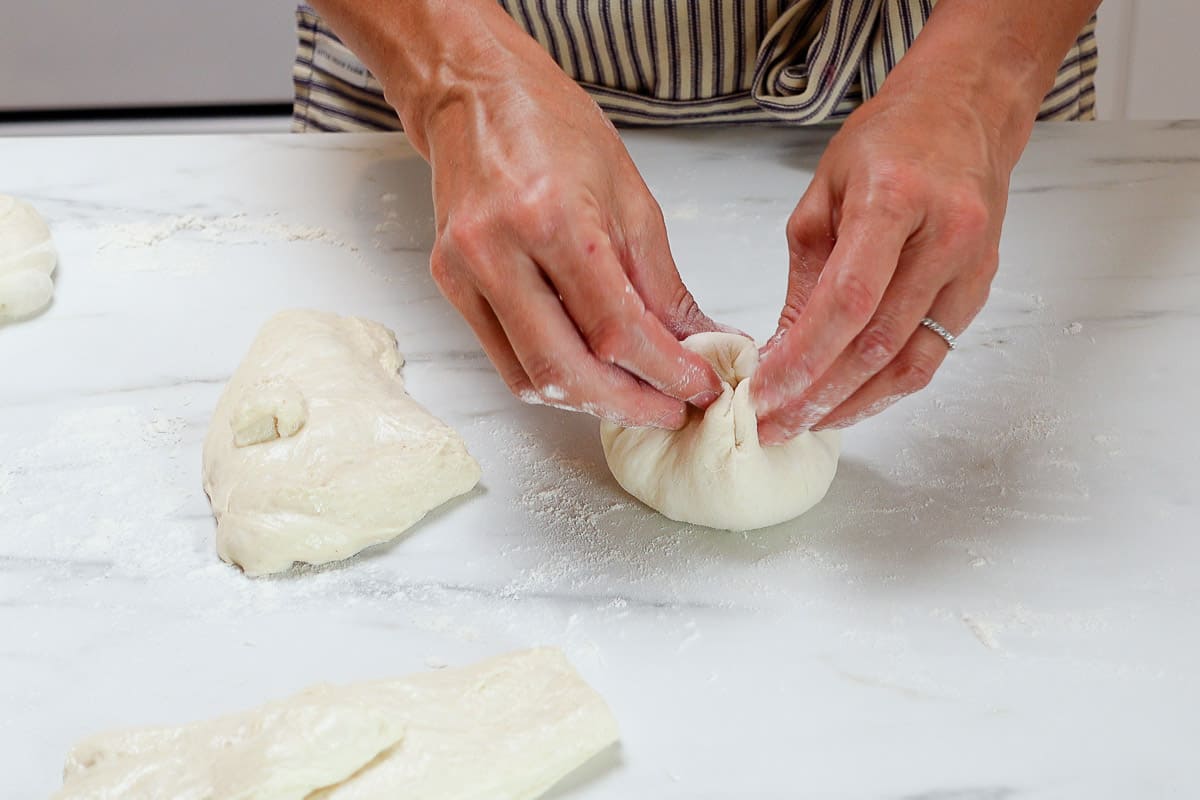
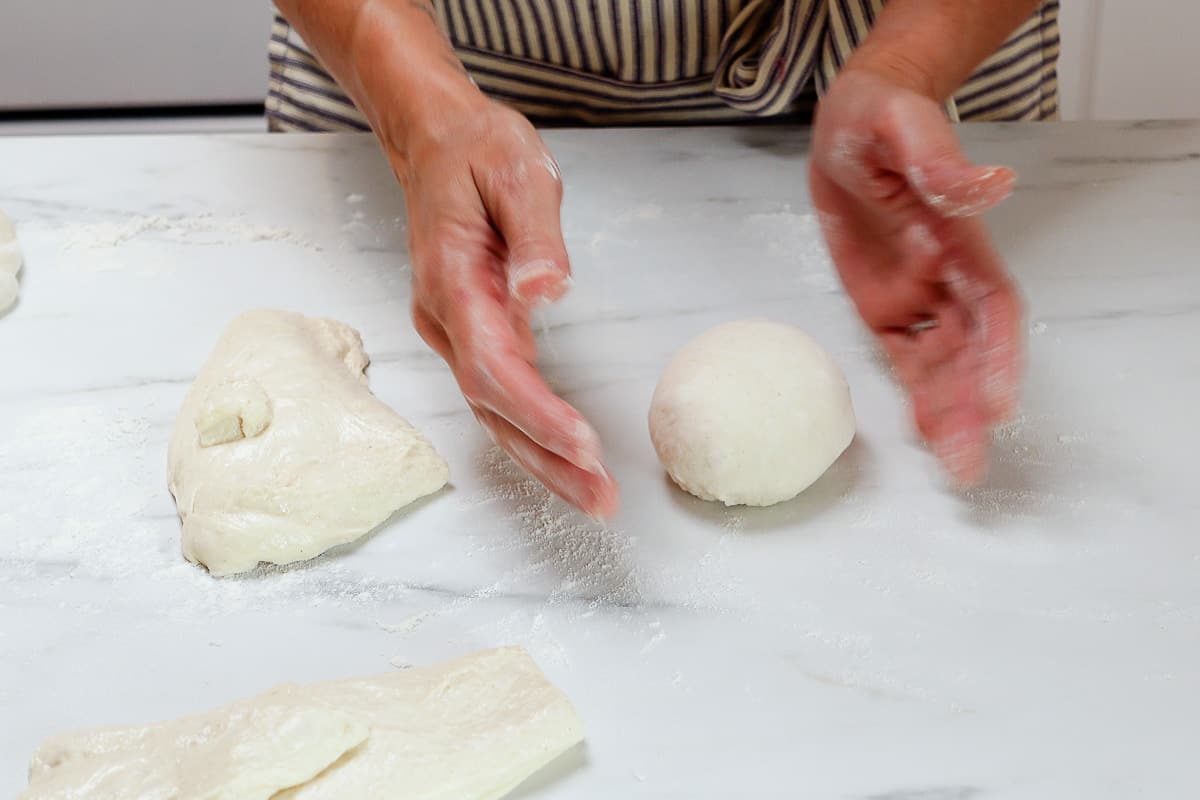
Use your hands to cup the bottom of the dough ball and gently twist it on the work surface to form a taut ball.
Transfer the dough ball to a parchment lined baking sheet. Repeat with the remaining dough.
Cover the baking sheet with a clean kitchen towel and allow the dough to rest at room temperature until they are puffy. About 1-2 hours.
Preheat your oven to 375°F (190°C).
Beat an egg with a tablespoon of water in a small bowl to create an egg-wash.
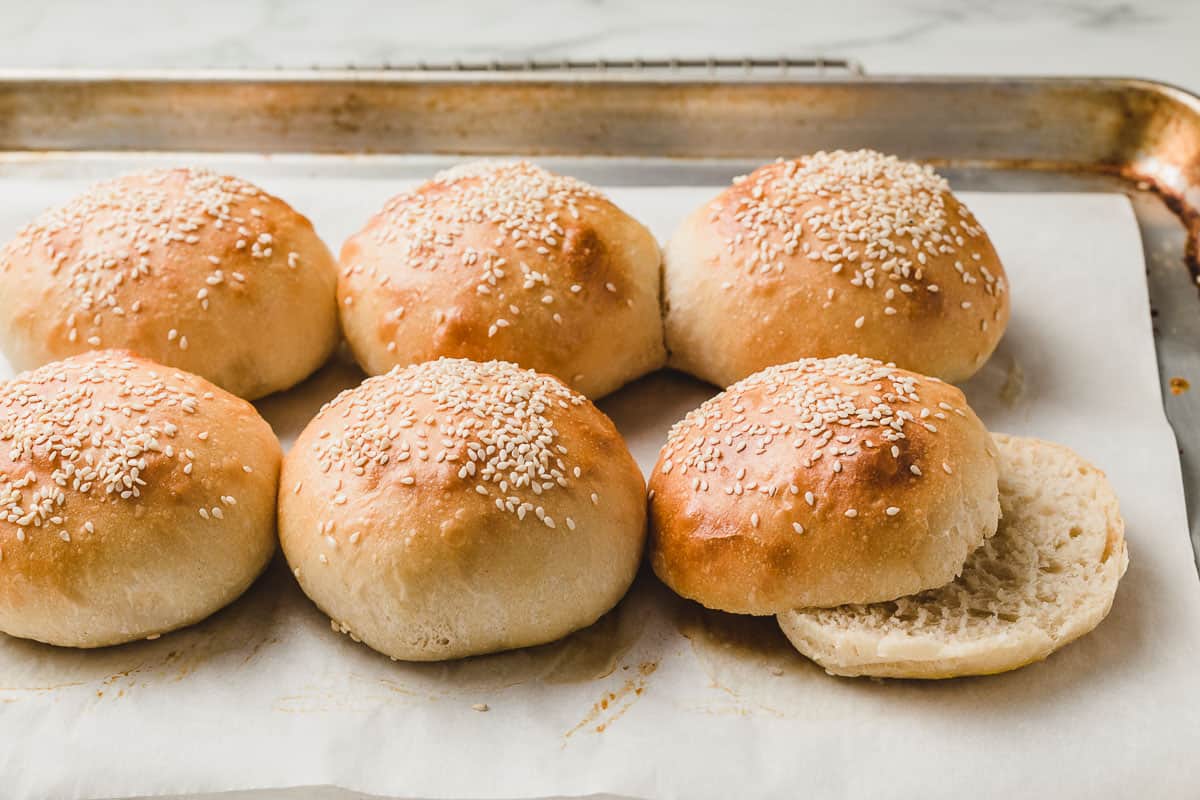
Brush the top of each dough ball with the egg wash and sprinkle with sesame seeds.
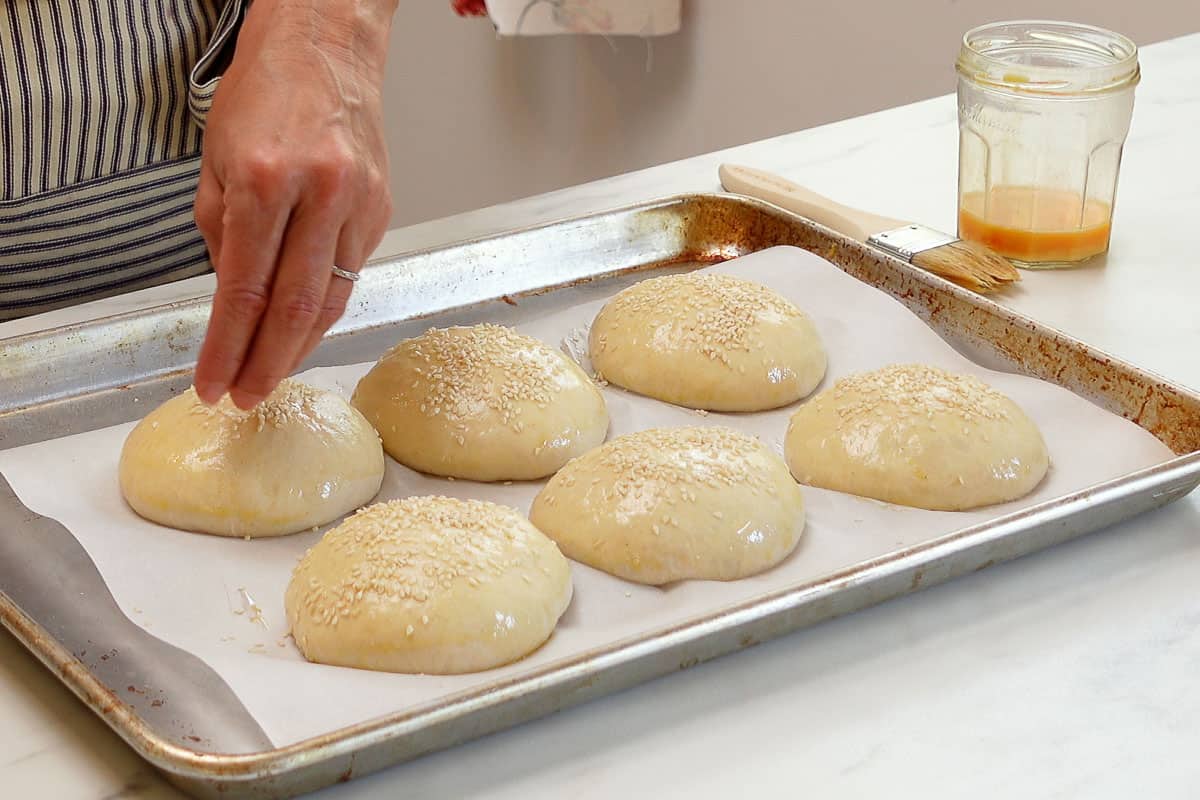
Bake the buns for 25 minutes or until they are at your desired brown color. Remove the buns from the oven and transfer them to a wire rack to cool before slicing.
How to store and freeze
The sourdough hamburger buns will stay fresh at room temperature for up to 2 days. Store them wrapped in a towel or in a plastic bag.
You can also freeze the buns! Place them into a freezer-safe bag after they are completely cooled. Keep them in the freezer for up to one month for best quality.
When you are ready to eat one, simply take it out of the freezer and allow it to thaw at room temperature.
Do you like this recipe? Make sure to subscribe to our newsletter and we'll send you fresh recipes, valuable troubleshooting advice, useful tips, and other information we believe will be helpful to you!
More easy sourdough recipes: sourdough pretzels / sourdough english muffins / sourdough bread for beginners
Sourdough Hamburger Buns
INGREDIENTS
Ingredients to make 50 grams (¼ cup) of active sourdough starter
- 2 teaspoons (10 g) unfed sourdough starter
- 3 tablespoons (25 g) all-purpose flour
- 5 teaspoons (25 g) water
Dough Ingredients
- ¼ cup (50 g) active sourdough starter
- 3 cups (360 g) all-purpose flour
- 1 cup (240 g) water
- 1 ½ tablespoons (30 g) honey
- 1 ½ teaspoons (10 g) salt
Egg wash
- 1 egg
- 1 tablespoon water
- sesame seeds (optional topping)
INSTRUCTIONS
Feed Your Sourdough Starter
- 12 hours before you plan to mix the dough, add the ingredients to make ¼ cup (50 g) of active sourdough starter to a clean jar. Stir until combined, loosely cover the jar and let the starter rise at room temperature. The sourdough starter is ready to use when it has doubled in size and there are plenty of bubbles on the surface and sides of the jar.(The ingredients will create a total of 60 g active starter but some of it will stick to the sides of the jar during the transfer, so we are making a little more than needed.)
Mix the Dough
- Add the ingredients to a large mixing bowl and use a spatula or your hands to mix them together until there are no dry bits in the bottom of the bowl. Cover the bowl and allow the dough to rest on the counter for 30 minutes.
Perform 3 sets of stretch and folds
- Wet your hand with a little water to prevent sticking. Pick up the dough on one side and stretch it up and over itself. Turn the bowl a quarter turn and repeat this step until you have turned the bowl a full circle. The dough should form into a tight ball.Cover the bowl and let the dough rest for 30 minutes.Repeat the stretch and fold process two more times.
First Rise
- Cover the bowl and allow the dough to rise until doubled. (This took 6 hours in my 72°F (22°C) kitchen.)
- After the dough has doubled, you can place the dough in the fridge for up to 2 days to bake them later OR proceed to the next step. See notes.
Shape and Second Rise
- Turn the dough out onto a floured surface. Divide the dough into 6 equal portions of 112-115 grams each.
- Working with one portion at a time, shape the dough into a ball. Lightly flour the top of the dough and then place it on a parchment paper lined baking sheet. Repeat with the remaining dough.
- Cover the sheet with a clean kitchen towel and allow the buns to rise at room temperature until puffy, 1-2 hours.
Bake
- Preheat your oven to 375°F (190°C). Mix the egg with the water in a small bowl and lightly brush the top of each dough ball. Sprinkle sesame seeds on top if desired. Bake for 25 minutes or until the buns are golden brown.
- Remove the buns from the oven and allow them to cool before slicing.
NOTES
- If you decide to put the dough in the fridge after the first rise take note that you will need to let the dough rise longer during the second rise due to the dough being cold.


Melanie says
First of all, thank you so much for this recipe and perfect instructions - especially thrilled with the video of your working with the dough. When I made this, even though you said the dough was sticky, I was certain I'd done something wrong, couldn't believe I could possibly do stretch and folds on the gooey bowl of dough. I made 12 tiny slider buns which turned out unbelievably beautiful with the perfect chew and hint of sourdough tang! When looking for a sourdough recipe I always come to your site first. You are the master!
Lexie Fleck says
With doing the 12 slider size, did you adjust temp or baking time?
Kayla says
I can't wait to try these tomorrow. I am going to give some to my 7 month old who loves sourdough, but he can't have honey. Is there something else I can use in it's place? Or can I just omit it completely?
Thank you!
Amy says
You can replace with sugar or omit it!
Heather says
These came out perfect! Thank you for the recipe 🙂
Melanie says
Mine turned out wonderful! I was wondering if this dough would be appropriate in making homemade sourdough hot dog buns. Have you tried that? Will it work?
Lena says
very good recipe. my buns turned out delicious.
Laura says
Yummy but I've made it twice and am messing something up. When I bake it gets really flat at the bottom, looks more like an English muffin than a bun. Do you know what I might be doing to cause that?!!
Amy says
It could be a couple of things. First I would make sure the dough is not over-fermented before you shape the buns. You also may need to work on the shaping itself. Make sure the dough ball it "tight" and that should help keep the buns shape better as it bakes.
Barbra-Anne says
Hey Amy, I just found your blog and I am obsessed! I am just starting my sourdough journey and I am making these buns currently (in the first rise stage after the stretch and folds) I see I can shape and rise and bake today or after this stage I can put it in the fridge for up to 2 days. Which do you personally prefer? Would allowing them to ferment in the fridge for a day increase the nutritional aspect of the bread and give more flavour? (I just see this mentioned in some recipes) and since you are a nutritionist - who better to ask! I’d also like to ask if you do put them in the fridge prior to baking do you think it’s better to leave all of the dough in the bowl or to shape , I see in comments it’s possible either way but if one’s better I’ll do that and if not maybe leave it all together for the purpose of fridge space. I appreciate any insight you can share!
Amy says
Hi Barbra-Anne! Yes, allowing the dough to ferment the extra 2 days will give the starter a chance to digest more gluten. I would put the dough in the fridge after the first rise. When you are ready to bake them, take the dough out, shape the buns and allow them to rise before baking.
Karina says
Hello! I enjoyed the recipe, easy to do, I’ve added some Herbes de Provence in the mix to give some extra flavour. Just one question though, I’m not very experienced yet with doing bread recipes and I’m wondering what did I do wrong cause the bread is a little chewy/elastic. Thanks in advance for your feedback, I really would like to become an expert ! 🙂
Amy says
Hi Karina, if I have to guess it sounds like you make need to let your dough rise longer. When dough is under-proofed it can be dense and chewy. Try letting the dough rise one hour longer than you did last time and see if that helps. Sometimes it takes a little trial and error to get it just right!
Karina Paquin says
Awesome, thank you! After the first rise, I sent to the fridge for 24 hours. When brought it out of the fridge, I let it sit for an hour before shaping in balls, then I let it sit for 3 hours on the baking sheet before cooking. I will try longer on the baking sheet next time. Thanks very much for your help!
Amy says
You're welcome Karina! 🙂
Jackie says
I’ve made these buns several times before and they always turned out fantastic. This is the first time I put it in the fridge for two days. I can’t figure out what I did wrong, but they did not rise.
Amy says
Hi Jackie, did you shape them buns and then put them in the fridge?
Tom says
This was hands down the best hamburger bun I’ve ever tasted. The recipe was so simple to follow & came together easily. It was a damp & cool day here in NW Florida, so I placed the dough in my proofer & it doubled in bulk in 4 hours. I baked the buns for the exact time listed in the recipe, rotating the sheet half way thru, & the result was the most tasty bun with just a bit of chew on the top part. It is too bad I can’t post an image here - the buns were picture perfect!